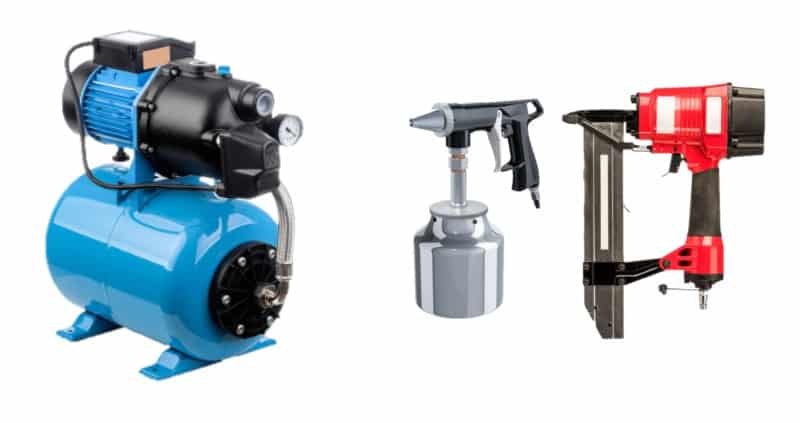
An air compressor is known to be versatile. It can be used for various different tasks such as paint spraying or fixing nails in a wood related project. Both of these tasks can be made easier with the presence of an air compressor. Not only does using an air compressor save you a ton of time; it completes the task quicker and does a clean and even job.
How to Operate an Air Compressor with a Paint Sprayer?
Attaching an air compressor to a paint sprayer is a great idea since it will evenly spray the paint. Hence, no patches are seen. Now attaching it to a paint sprayer might look complicated but it is not. Below are the steps you can follow to attach your air compressor to your paint sprayer.
- Firstly, you should identify the area where the air compressor is supposed to be attached to the paint sprayer. Usually, it is located at the bottom side of the paint sprayer. If you cannot find it then refer to the manual.
- Before attaching the air compressor you should attach the regulator first. Due to this, you will be able to view the power of the air at which it is entering the paint sprayer.
- Then you connect the hose to the regulator. In order to do this, you are required to have a female plug.
- Once you have that then go on ahead and screw it on the regulator. Now turn the air compressor on.
- The next step requires you to set the PSI (pounds per square inch) on the regulator. The tool itself should show you what PSI it should be on.
- In order to set the PSI, you should pull the trigger and allow the air to flow out. Once the trigger is pulled, the arrow on the regulator will fall. Once it drops you will know the PSI you should be spraying at, hence you can adjust it accordingly.
- And that is how you can now easily use the paint sprayer with your air compressor.
How to Operate an Air Compressor with a Nail Gun?
If you know how to use a nail gun with an air compressor, a plethora of possibilities opens up for you around your house, especially if you are into doing things yourself. For instance, you can replace or install your wainscoting or hang up a frame with a lot less time.
There are different types of nail guns out there such as the straight or angled finish nail gun or the brad nail gun. However, a pneumatic nail gun is required in order to attach an air compressor to it. This is because an air compressor cannot be used on an electric nail gun. Below are the steps you should take in order to attach your nail gun to the air compressor.
- If a detached rubber stopper came with your air compressor kit, you should fix it in place. Vise-grip pliers can be used to attach the rubber stopper on the front side of the air compressor. After attaching the rubber stopper, use the same pliers to fix the wheels at the backside of the compressor.
- Look for an air outlet for the compressor. Once located, use Teflon tape around the outlet by wrapping it. This will give a tight grip to the couplers.
- At the air compressor outlet, attach the central coupler. Grab the air hose and at each end attach two female couplers. On the central coupler fasten one female coupler and to the air hose’s other end attach a main coupler.
- At the remaining end of the air hose, fix the nail gun. According to the instructions of the manual, fill up the air compressor with the right amount of compressor oil.
Your nail gun and air compressor are pretty much ready to go at this point. Finally, turn the air compressor on and let the tank pressure go up to its maximum pressure, which is about 110 PSI. You can control that pressure by turning your regulator button and set it according to your preference. In the end, always remember to store your equipment in a safe and secure location.
Related Videos:
