
Why is Your Sandblasting Cabinet Unused? The reason is simple, initial air compressor set up for your cabinet was wrong. Now, you hook it up to whatever compressor you can find and get nothing but a few puffs of dust that don’t blow off the rust.
It’s frustrating so you don’t use it anymore. But did you know that you might not have to buy bunch of new equipment? Knowing how an air compressor work will tell you what to look for so it works correctley.
The system regulates pressure, manages moisture and delivers air volume. Get any one of those three wrong and you’ll waste your money (and time). But get all three right and you’ll be able to clean vintage parts or rusty bolt within minutes.
How To Set Up Sandblasting Cabinet Air Compressor
Choosing the Right Compressor Volume
Here is how to set up the cabinet for best use: First off, look at the volume rating of the compressor. It need to be able to deliver enough cubic feet per minute to do sand blasting effectivly. The pressure isn’t what matters as much than continuous flow in Cubic Feet per minute.
Most pancake compressors struggle to cut it, especially if your compressor only delivers three CFM at forty PSI. Ideally you want one that give you five or more CFM at 90 PSI. That sounds like a lot but it means you have a constant blast and not a sputtering mess that gets caught up in the valve.
Managing Moisture in Air Lines
Abrasive media that is damaged by moisture clog and is ruined. Clumps abrasive media Water in the air line wear out your cabinet seals way to soon, rust streaks all over your work, etc. Use a good quality air filter regulator lubricator combo or at least a good regulator with an automatic drain. The cheap filter doesn’t block water so it just ruins the media.
Mount this immediately following your compressor tank and before cabinet inlet. The drain should of been checked every day. A bowl of standing water mean you have a problem.
Selecting Proper Hose Diameter
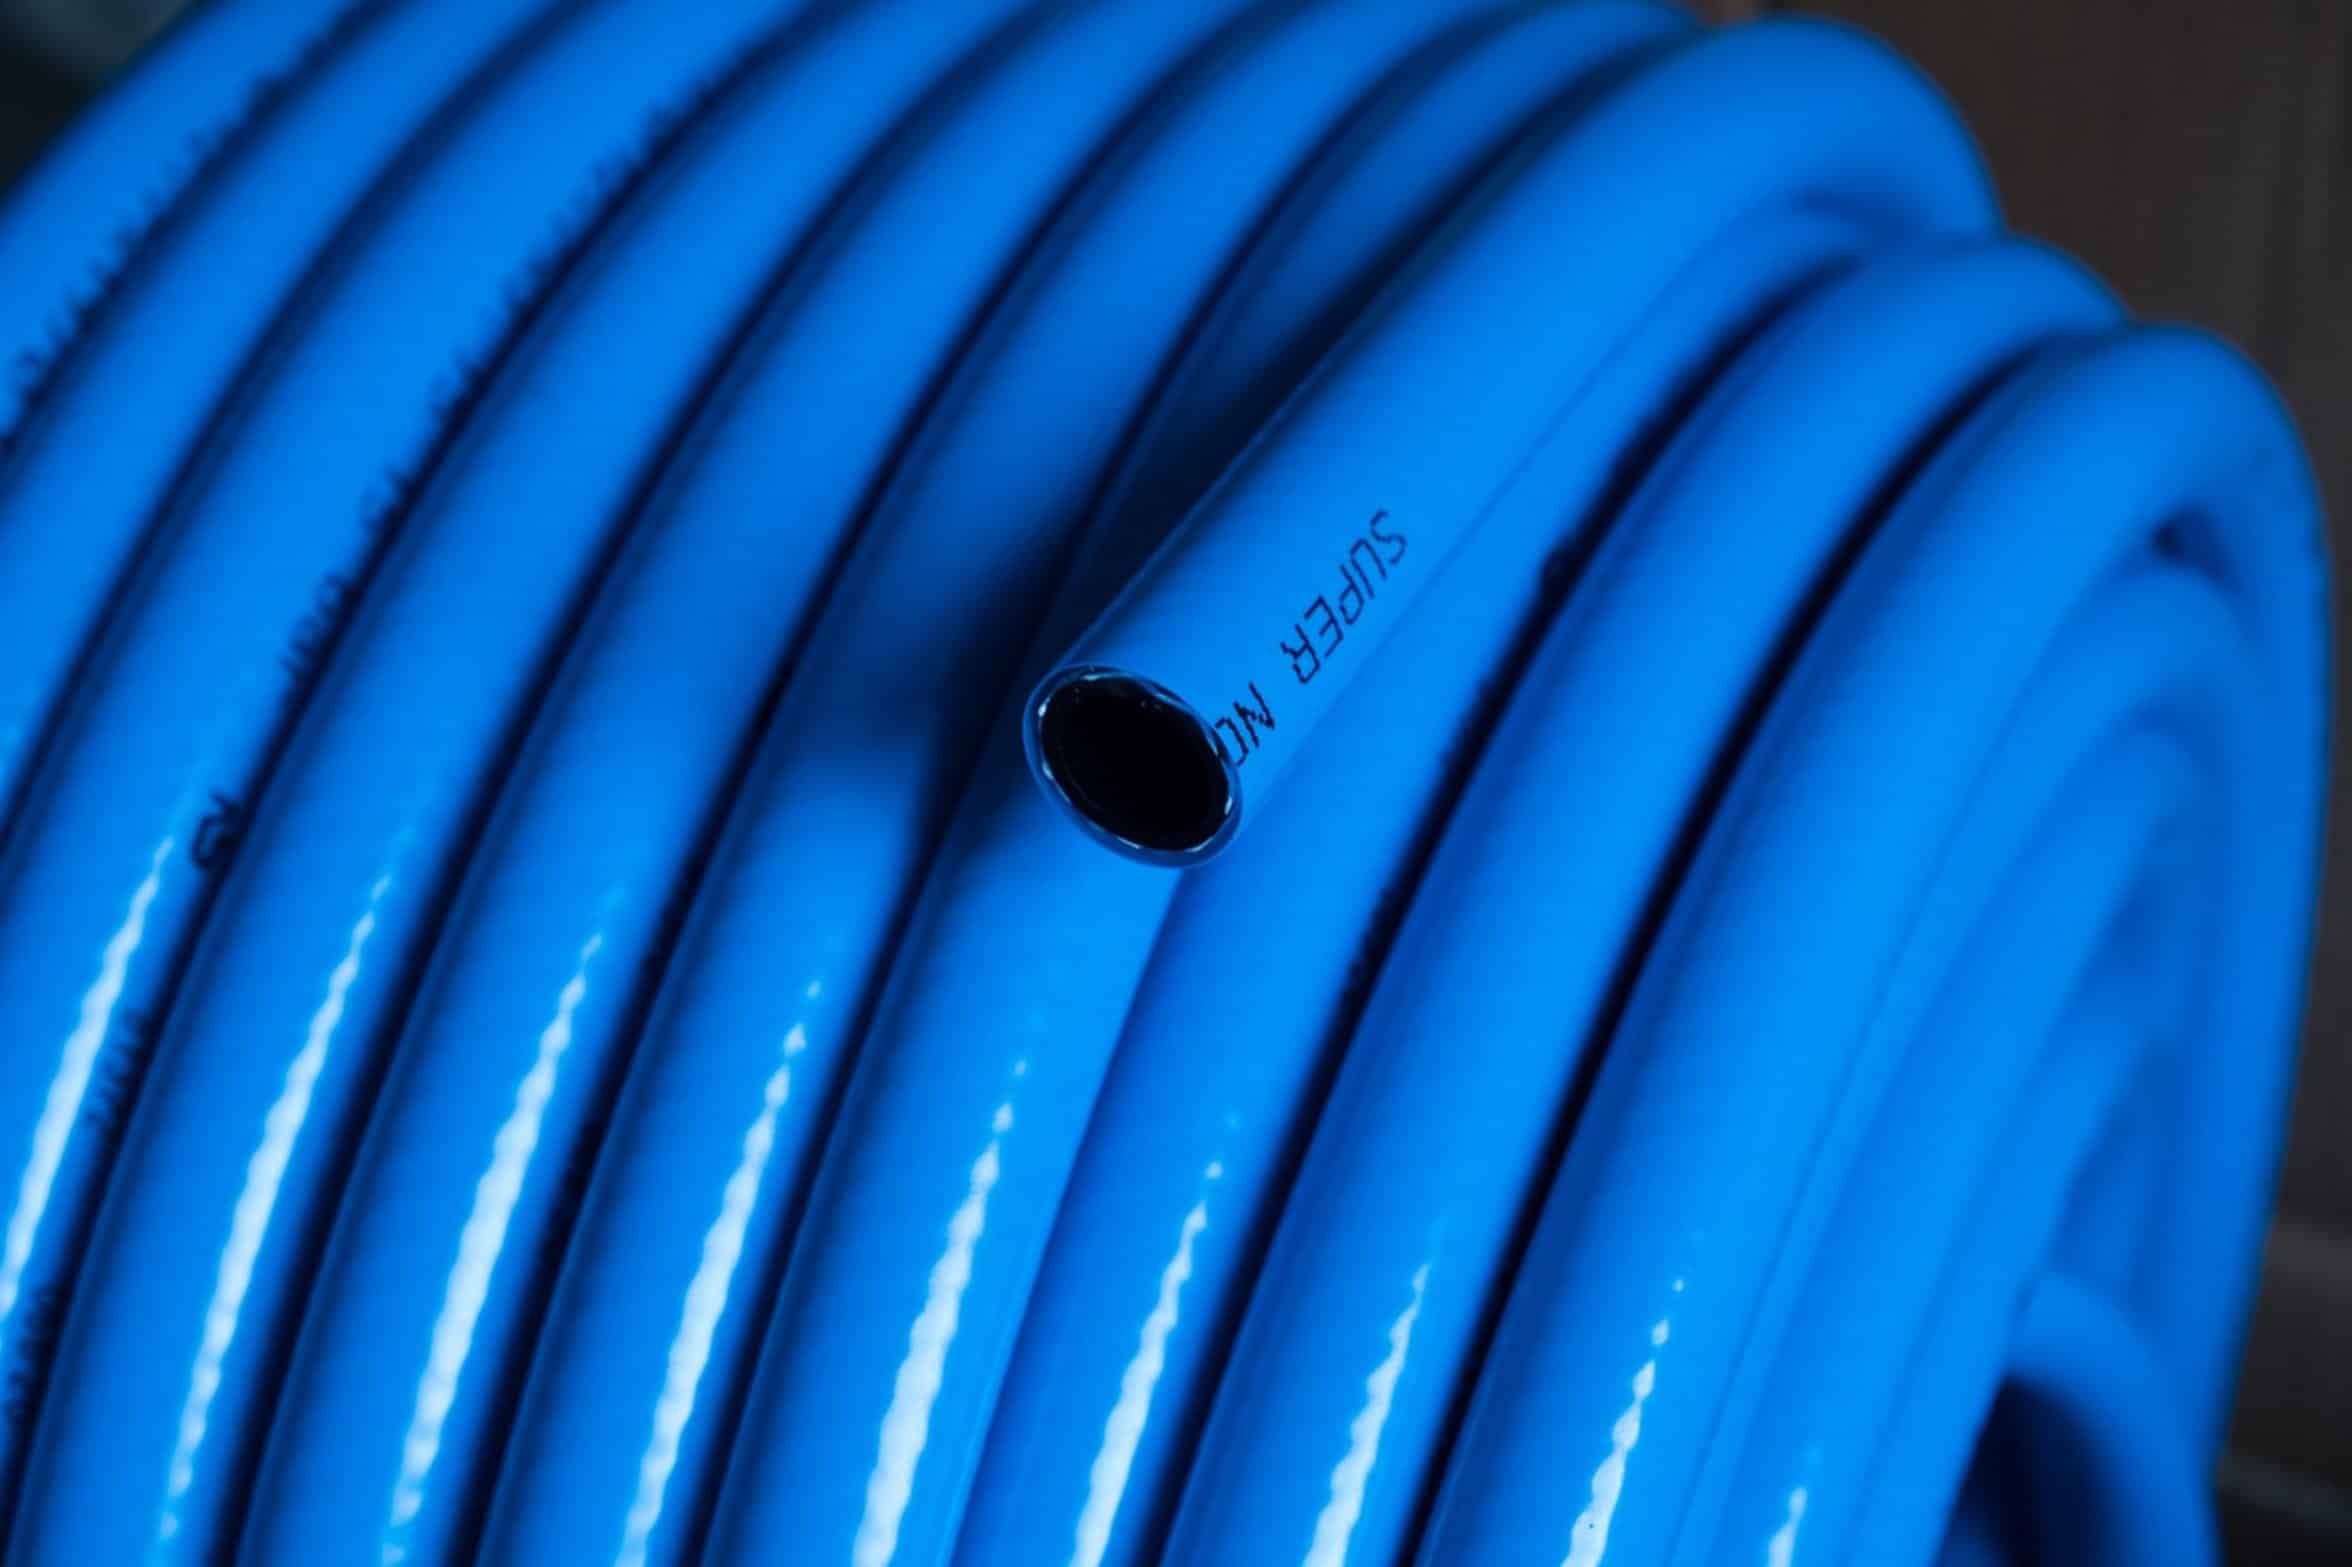
Performance vary a lot depending on your hose diameter. Anything as small as a standard nail gun hose, or even thinner like a garden hose, will constrict your airflow and lower pressure when it hits the blast gun. Go with at least a three-quarter inch inner diameter hose.
If you can get away with it, shorten your hose run… Each foot length increase resistance. Make sure connection is snug and not kinked.
Adjusting Blast Pressure
Air is energy and you want as much of it heading for abrasive as possible without losing it to friction. Tighten the regulator gently and adjust the pressure according to manufacturer’s instructions, typically around forty or fifty PSI for delicate operations. Excessive pressure make too much dust and wears down the nozzle more rapidly.
Insufficient pressure won’t remove the scale. While you’re blasting, gradually increase the pressure and observe what happens on the surface. Once it stabilizes, you’ll know exactly how to adjust.
Safety Grounding and Connections
Last, make sure it’s grounded. Sand blasting produces static, and a spark in abrasive dust is dangerous to risk. Ground the compressor and the cabinet with a grounded receptacle.
Check all of the connections. Safety first, then you can keep working with your hands. The right setup of the air system makes all the difference in this process.
From an exercise in uselessness, it transforms into something you just do. It is your friend instead of that hunk of junk sitting there collecting dust. Now you can get the crap off of those rusted component easily and understand how much of a diffrence a good set up realy is.