
Dragging a large tank on concrete can be frustrating in the garage. You wanted to put something together quicky. You set up your impact driver, only to discover hose isn’t long enough and you can’t work around the unit.
Over time this small inconvenience add up until you think of compressor as more of an afterthought. The hassle isn’t worth the benefit anymore. It’s a shame to waste such tool.
How To Properly Install Wall Mounted Compressors
Why Wall-Mount Your Air Compressor
Putting that air compressor up on wall really does change everything. You gain precious floor space, keep it off ground where you can’t bump or drop stuff on it and reduce the annoying sound level. But there’s more to mounting an air compressor than looks.
If properly installed, your unit will last longer. It will also be easier to maintain and safer to use. Mounting an air compressor isn’t as easy as picking a location and drilling some hole.
Choosing the Right Wall and Hardware
Before you pick up that drill bit there is some preparation. Where will you mount your compressor? What are you mounting it on?
Knowing these things will help determine how much force the compressor put out in terms of PSI as well as the size and weight of the unit itself. For example most average garage compressors such as the popular Harbor Freight pancake model or the quieter Ingersoll Rand silent series range from forty to eighty pounds when full of air. That’s no small weight.
The wall has to bear the load. This means stud mounting or using a heavy duty anchoring system made for structural loads. Mounting to drywall is an invitation to trouble.
The first key is stud location. Run a decent stud finder and mark all vertical support members in your wall. Brick or cinder block?
You’ll be needing some masonry anchors there. Hardware selection is dictated by the material. Lag bolts (the big boys) are your buddy when it comes to wood studs.
They grab hold and won’t back out on you under the dynamic loading of a vibrating motor. Don’t use cheap plastic anchors designed for hanging pictures. We’re talking about heavy duty stuff here.
Selecting the Proper Mounting Bracket
Respect it. Now we’re ready for the mount. Decide where you want to mount it, then take your measurements.
If you’d rather not build a custom platform, there are a few on the market. There are even some pre-made compressor mounts out there for sale. Brands such as Master Mechanics makes a nice one.
While they do cost money, they are easy to install and give you the convenience of going that route. Typically the bracket bolts right onto frame of the compressor. Make sure to place the bracket in line with your compressor’s lifting point(s).
Bolting into the wrong section of the case will cause cracks in metal when stressed. Garage compressors vibrates a lot. The motor kicks on and you feel those shockwaves across the frame every single time it happens.
Managing Vibration and Noise
And if that frame is directly bolted to your wall, then those vibrations gets transferred into the house structure. You’re going to hear it upstairs. Constantly being shaken around also damages internal component and loosens up bolts.
You want some form of isolation. Use vibration dampening pads or rubber grommets between your mount and compressor. It absorbs the energy and keeps everything secure and quiet.
Electrical Safety and Cord Management
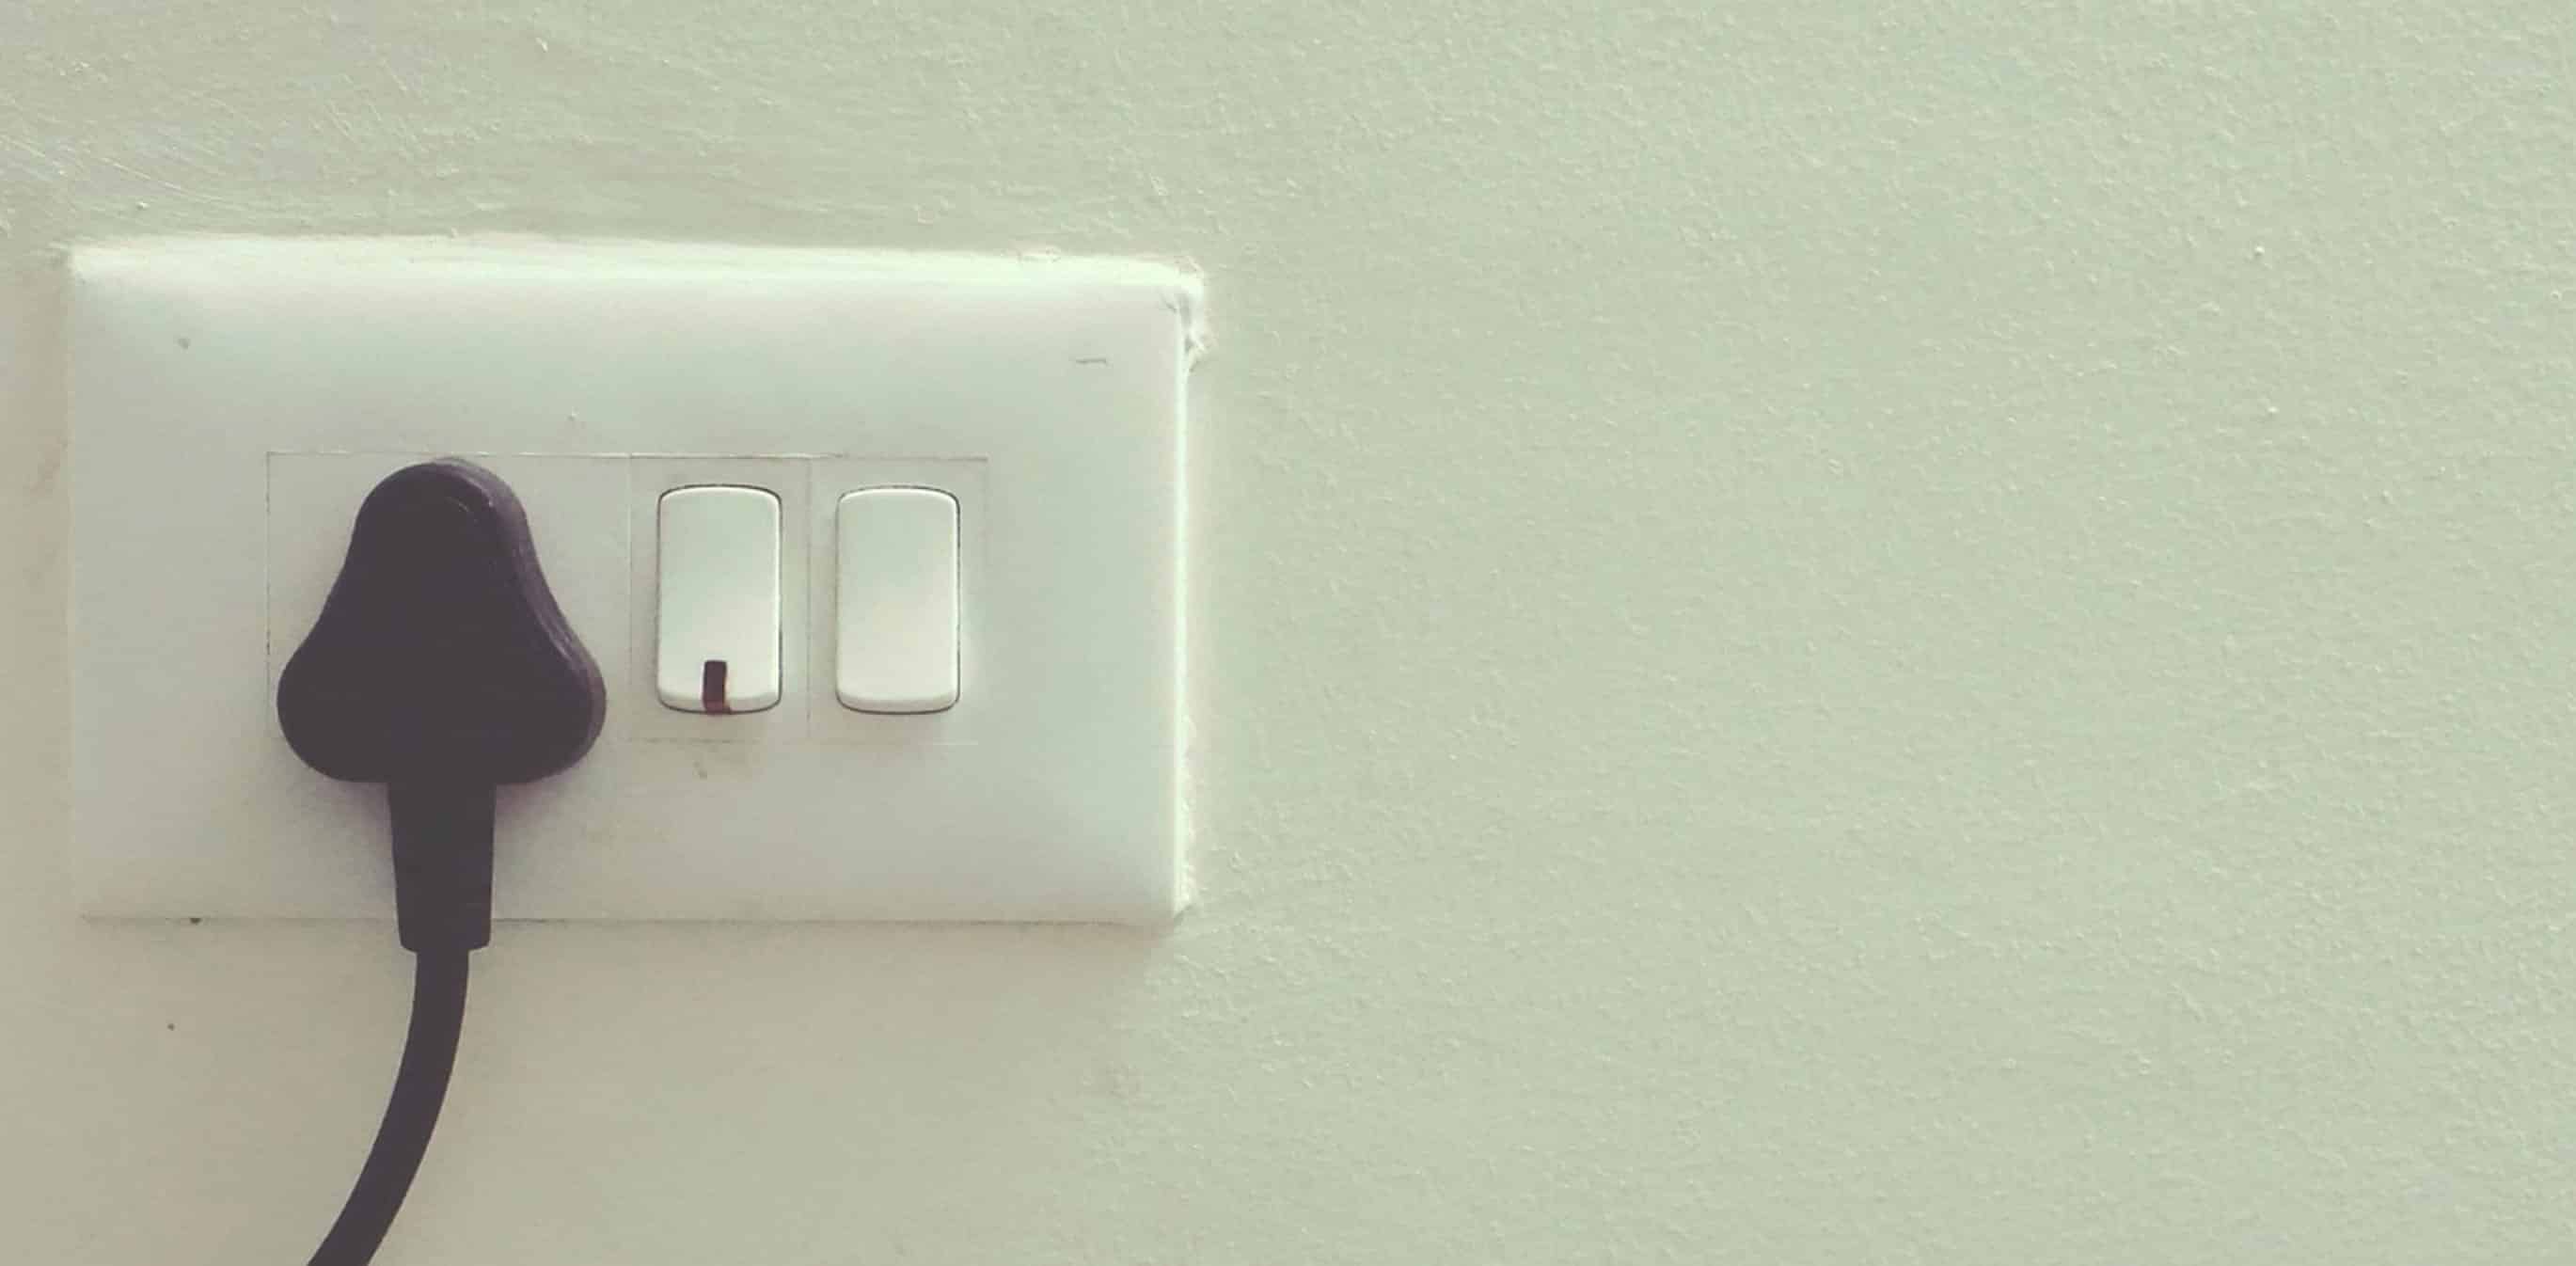
Don’t skimp on electrical safety. Your compressor requires power; it runs off an electrical outlet. Dragging a long cord along the ground isn’t safe or convenient.
Have a dedicated outlet installed close by your mount. This keeps your cord short and neat. You can also use a strain relief clip to fasten the cord to wall.
This prevents tension on the plug and reduces wear on the wire. Unless you’re comfortabley doing electrical work, hire a licensed electrician. It’s a little money well spent for peace of mind.
Optimal Height for Maintenance Access
Don’t forget to provide access for service. Tank condensate must be drained on a regular basis. Draining the tank becomes a chore involving ladders if the mount is too high.
If it is too low, you will either trip or hit your head. Mount it at a height that lets you stand comfortabley in front of the unit. Reach the pressure gauge, oil fill port and drain valve without stretching.
Consider how you work each day. When it is easy to use, it gets maintained more often. Neglect kills compressors And last but certainly not least… test it out.
Final Installation Check and Tightening
Go through and tighten all bolts before you pump up the tank fully. Listen for a rattle and run the compressor for several minutes to check for any movement. Stop if you notice anything moving again and double check your mounting locations.
You want it to be solid as a rock. Feel like it’s part of the wall? Once you get everything tight it frees up that precious space on the floor and takes away the pull of a heavy tank.
Your garage will feel bigger than your tools will be right at hand. Spending a little money on a good mount goes a long way toward making your job easier and helping it last longer. It makes your workspace something to work in instead of around.
