
Nail heads protrude from studs. This is one of those things that drive you nuts while doing framing. You grab your nailer, pull the trigger and see a round head nail sticking out off the wood.
This happens over and over again until your trim look like fence post with annoying lumps for fingers that paint brushes catch on. It’s not only unsightly but it catch drywall tape and rips through clothes as you is building further along. Most of the time this are nothing more than a calibration mishap.
How to Adjust Nail Depth Settings
Why Nails Protrude From Studs

When you get most nailers out of the box they is set conservatively. It’s good because it protects their mechanics while in transit and keeps the tool from being overly strong on more delicate trim piece. But if you’re driving 2 inch framing nails into treated lumber or 16 gauge finish nails into hardwood, your nails are going to stand out too much with factory setting.
Factory Settings and Calibration Mishaps
Adjusting the depth is what makes all the difference between pro looking finish work or an amateur screwup. Know what control the power in your particular tool. Some older pneumatics may have a basic valve adjustment on the bottom of the handle.
More moddern cordless battery tools feature digital displays with electronic sensors. Regardless of the power source, you’re adjusting the stroke length of the driver blade, which translates to understanding that a short stroke will keep the nail shallow and a long stroke drive it deeper into the wood. It’s a mechanical relationship that make troubleshooting quicker.
Locating the Depth Adjustment Dial
Where do I find it? Each tool will have some type of button or adjustment dial located somewhere on it. For example, on a typical Senco or Bostitch pneumatic nailer, it’s typically either at the base of the handle or around the nose piece in the form of a textured knob.
Counter-clockwise means less driving force, whereas clockwise go up. Modern cordless tools has a simple plus/minus interface built into their bodies. You press a button to see the setting on a small LED indicator.
This prevents anyone from accidental changing it while working overhead. It is simple and effective.
Testing Drive Depth on Scrap Lumber
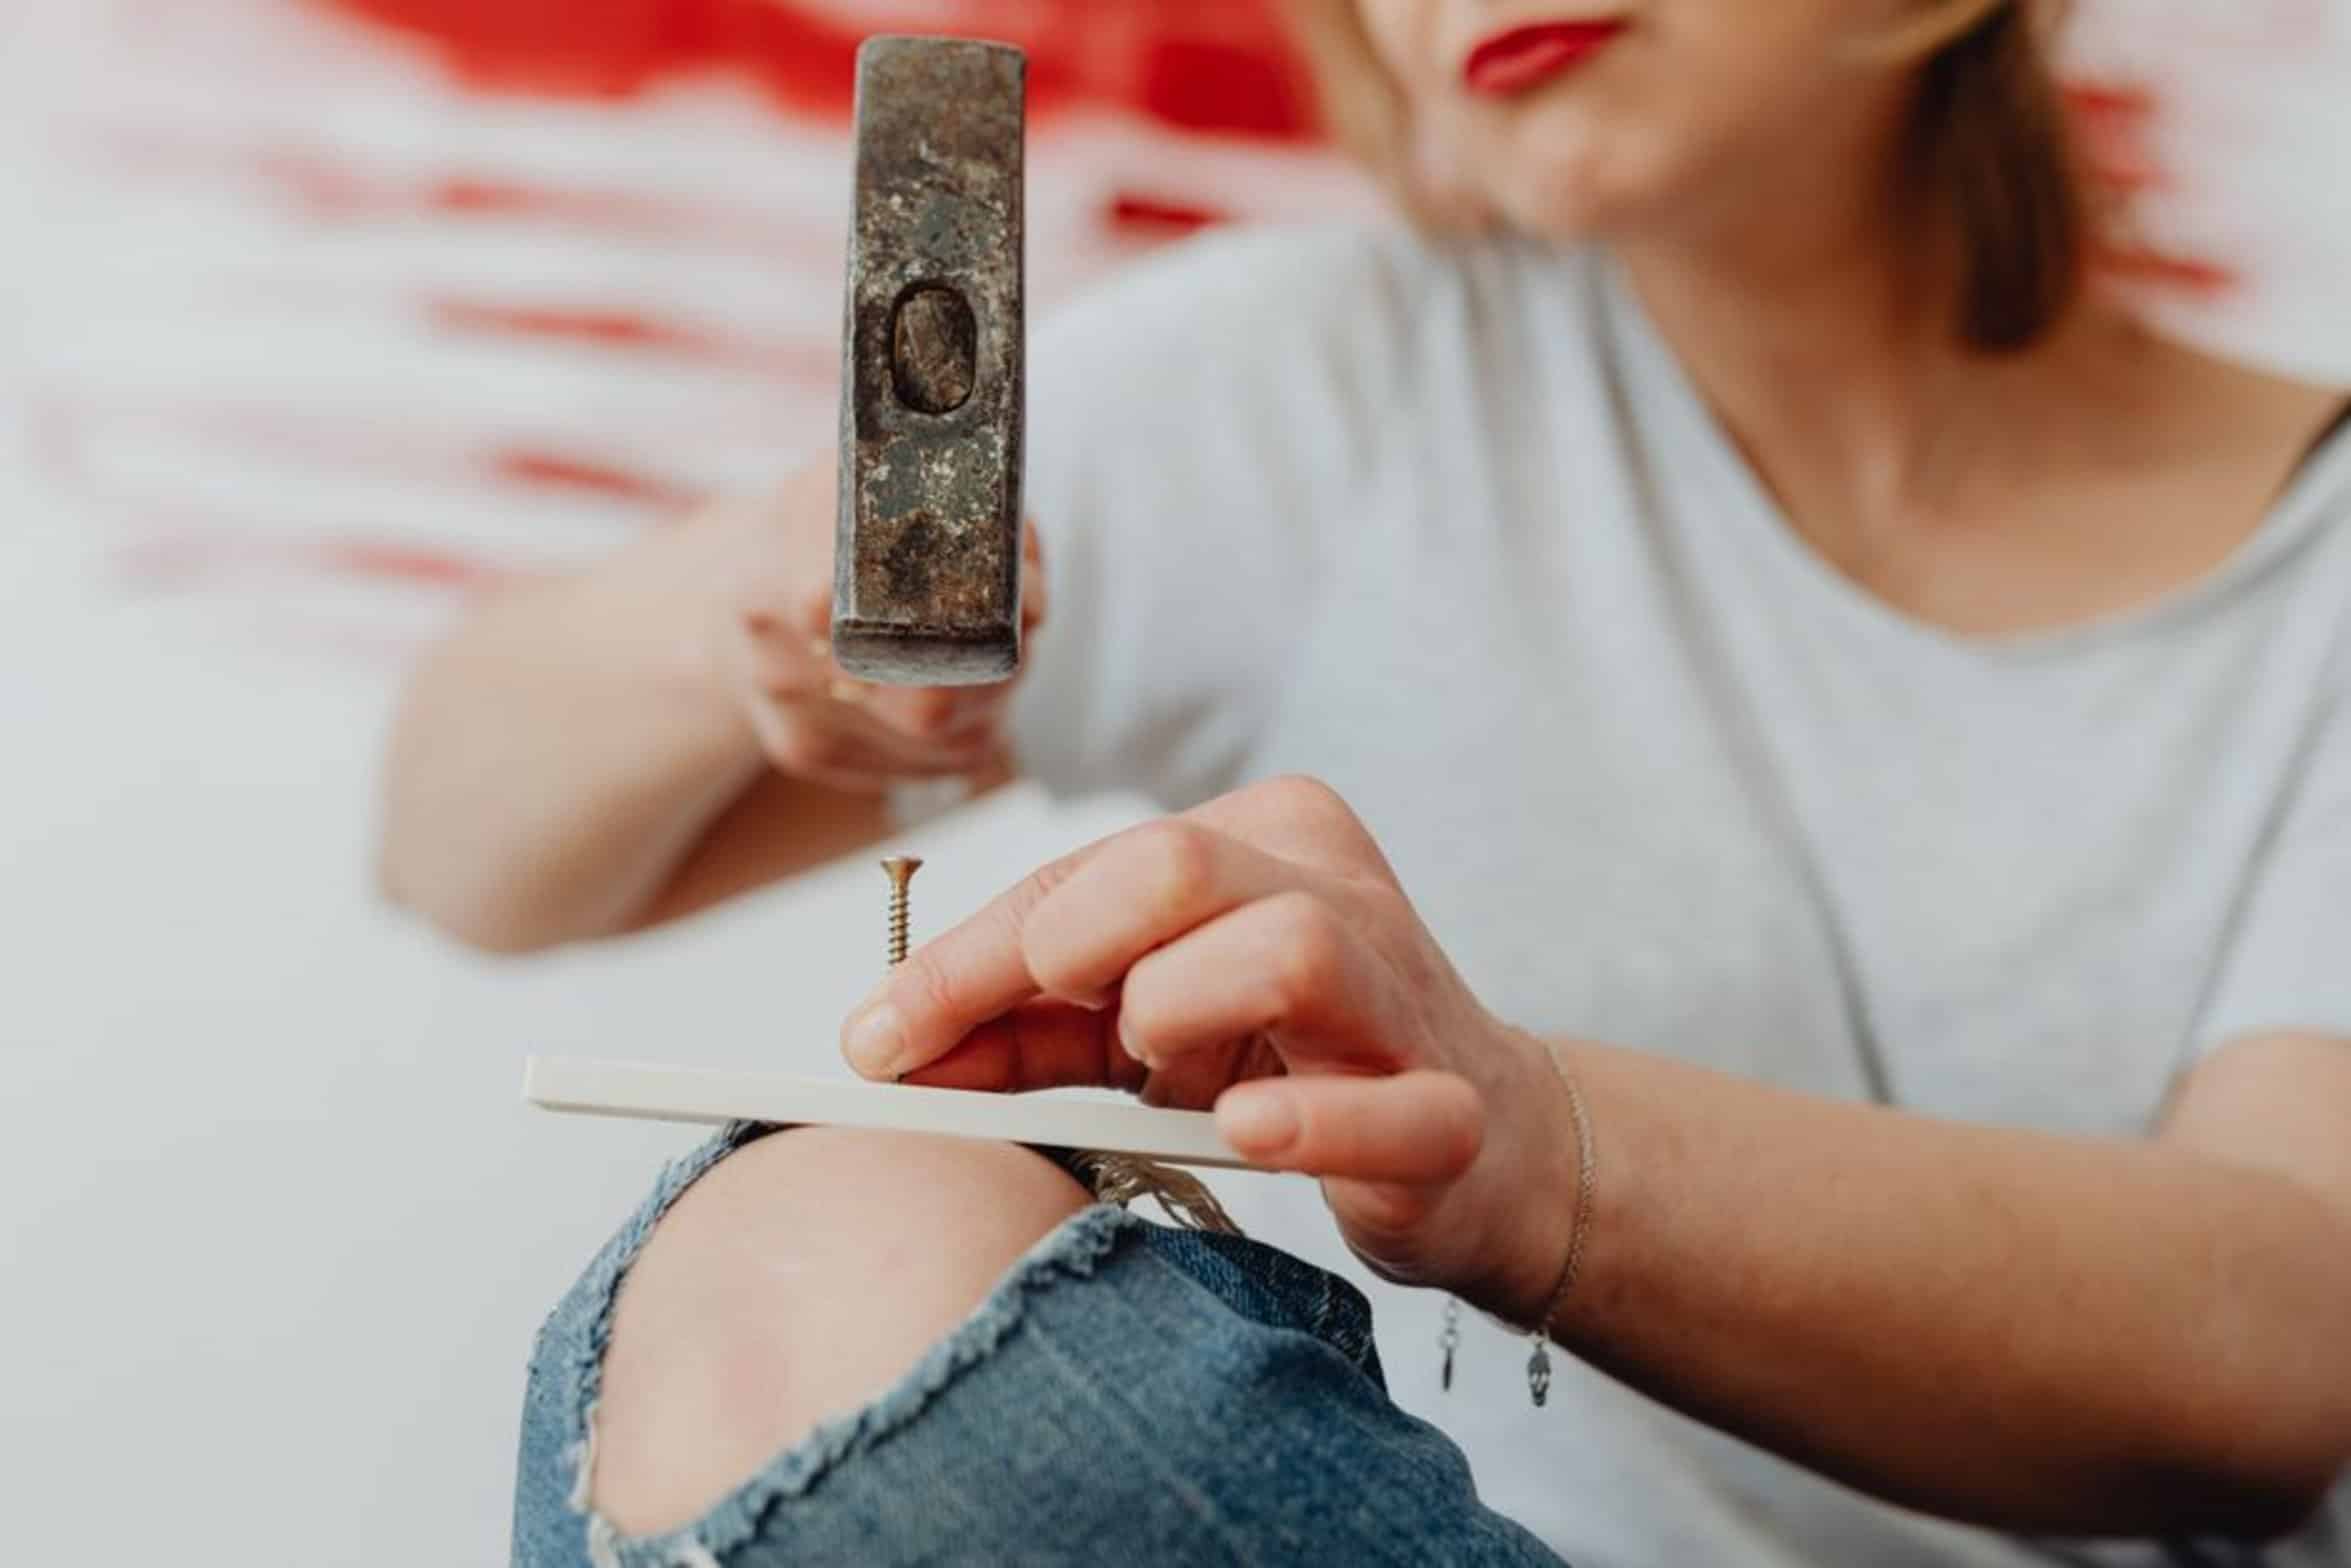
To do a test drive, get yourself a scrap piece of 2×4 lumber that’s about as dense as whatever material youll be using for your project.
Then shoot a nail into the end grain once. It’s more difficult to drive a nail into end grain then face grain, so if your nail stick out like this, just turn up the power setting one notch and give it another go. Do this over and over until the head of the nail sits nice and flush against wood.
This will take less than a minute.
Adjusting for Wood Density and Moisture
Also: Don’t think that whatever works at the beginning of the day will work all day long; every job site has varying density, and a batch of oak floor joists might require maximum power while a box of pine trim might only need half power. Each species of wood differ significantly in moisture content, too, so keep an eye on how the nails is behaving, any sign of them refusing to set or backing out means you should of stop and check again on the depth.
Thirty more seconds is worth more then having to bang down hundreds of heads later. Other environmental factors affect it as well.
Environmental Factors and Air Pressure
Pneumatic lines will be stiffer when cold.
This reduce the amount of air traveling through them. This essentially decreases the driving force without having moved the dial. Work on something in your unheated garage in winter?
You might have to bump the depth setting up to compensate for the colder air. Battery powered tools is less subject to that, but extreme cold does sap voltage quicker, so get those air hoses nice and warm (if possible) and try to keep them kink free. Last of all, realize that battery voltage (or air pressure) must be considered as working hand-in-hand with the actual depth.
For example: You may crank up the depth on your pneumatic nailer and it’s still not going very deep because your compressor is spitting out only 60 PSI. Your best bet is to set the air supply at 70-90 PSI for just about any framing application. Use lower pressure and deeper penetration for finer control when doing finish work.
Balancing Stroke Length and Force
Bottom line: It’s all a balancing act. Balance the length of the stroke and the amount of force to get the depth you want. Adjusting the depth is the key to mastering this tool and making it go from a frustrating tool to one that can be used with accuracy.
You have to take time to find how far down to set it on various pieces of wood, but when you do you can set it and forget it and have nice clean work that looks like a pro did it. No bumps and no hammers. Nice seamless joint that dissapears into the structure.
Quiet and complete performance by the nail, just the way a nail should.
