
It’s annoying when your nail gun jams at the final stage of completing a trim project. But it doesn’t necessarily mean your tool is damaged. Typicaly, nailer jams is caused by a combination of incorrect materials, wrong tools and person doing the work.
Why Nail Guns Jam And How To Fix Them
Diagnosing Air Pressure and Battery Issues
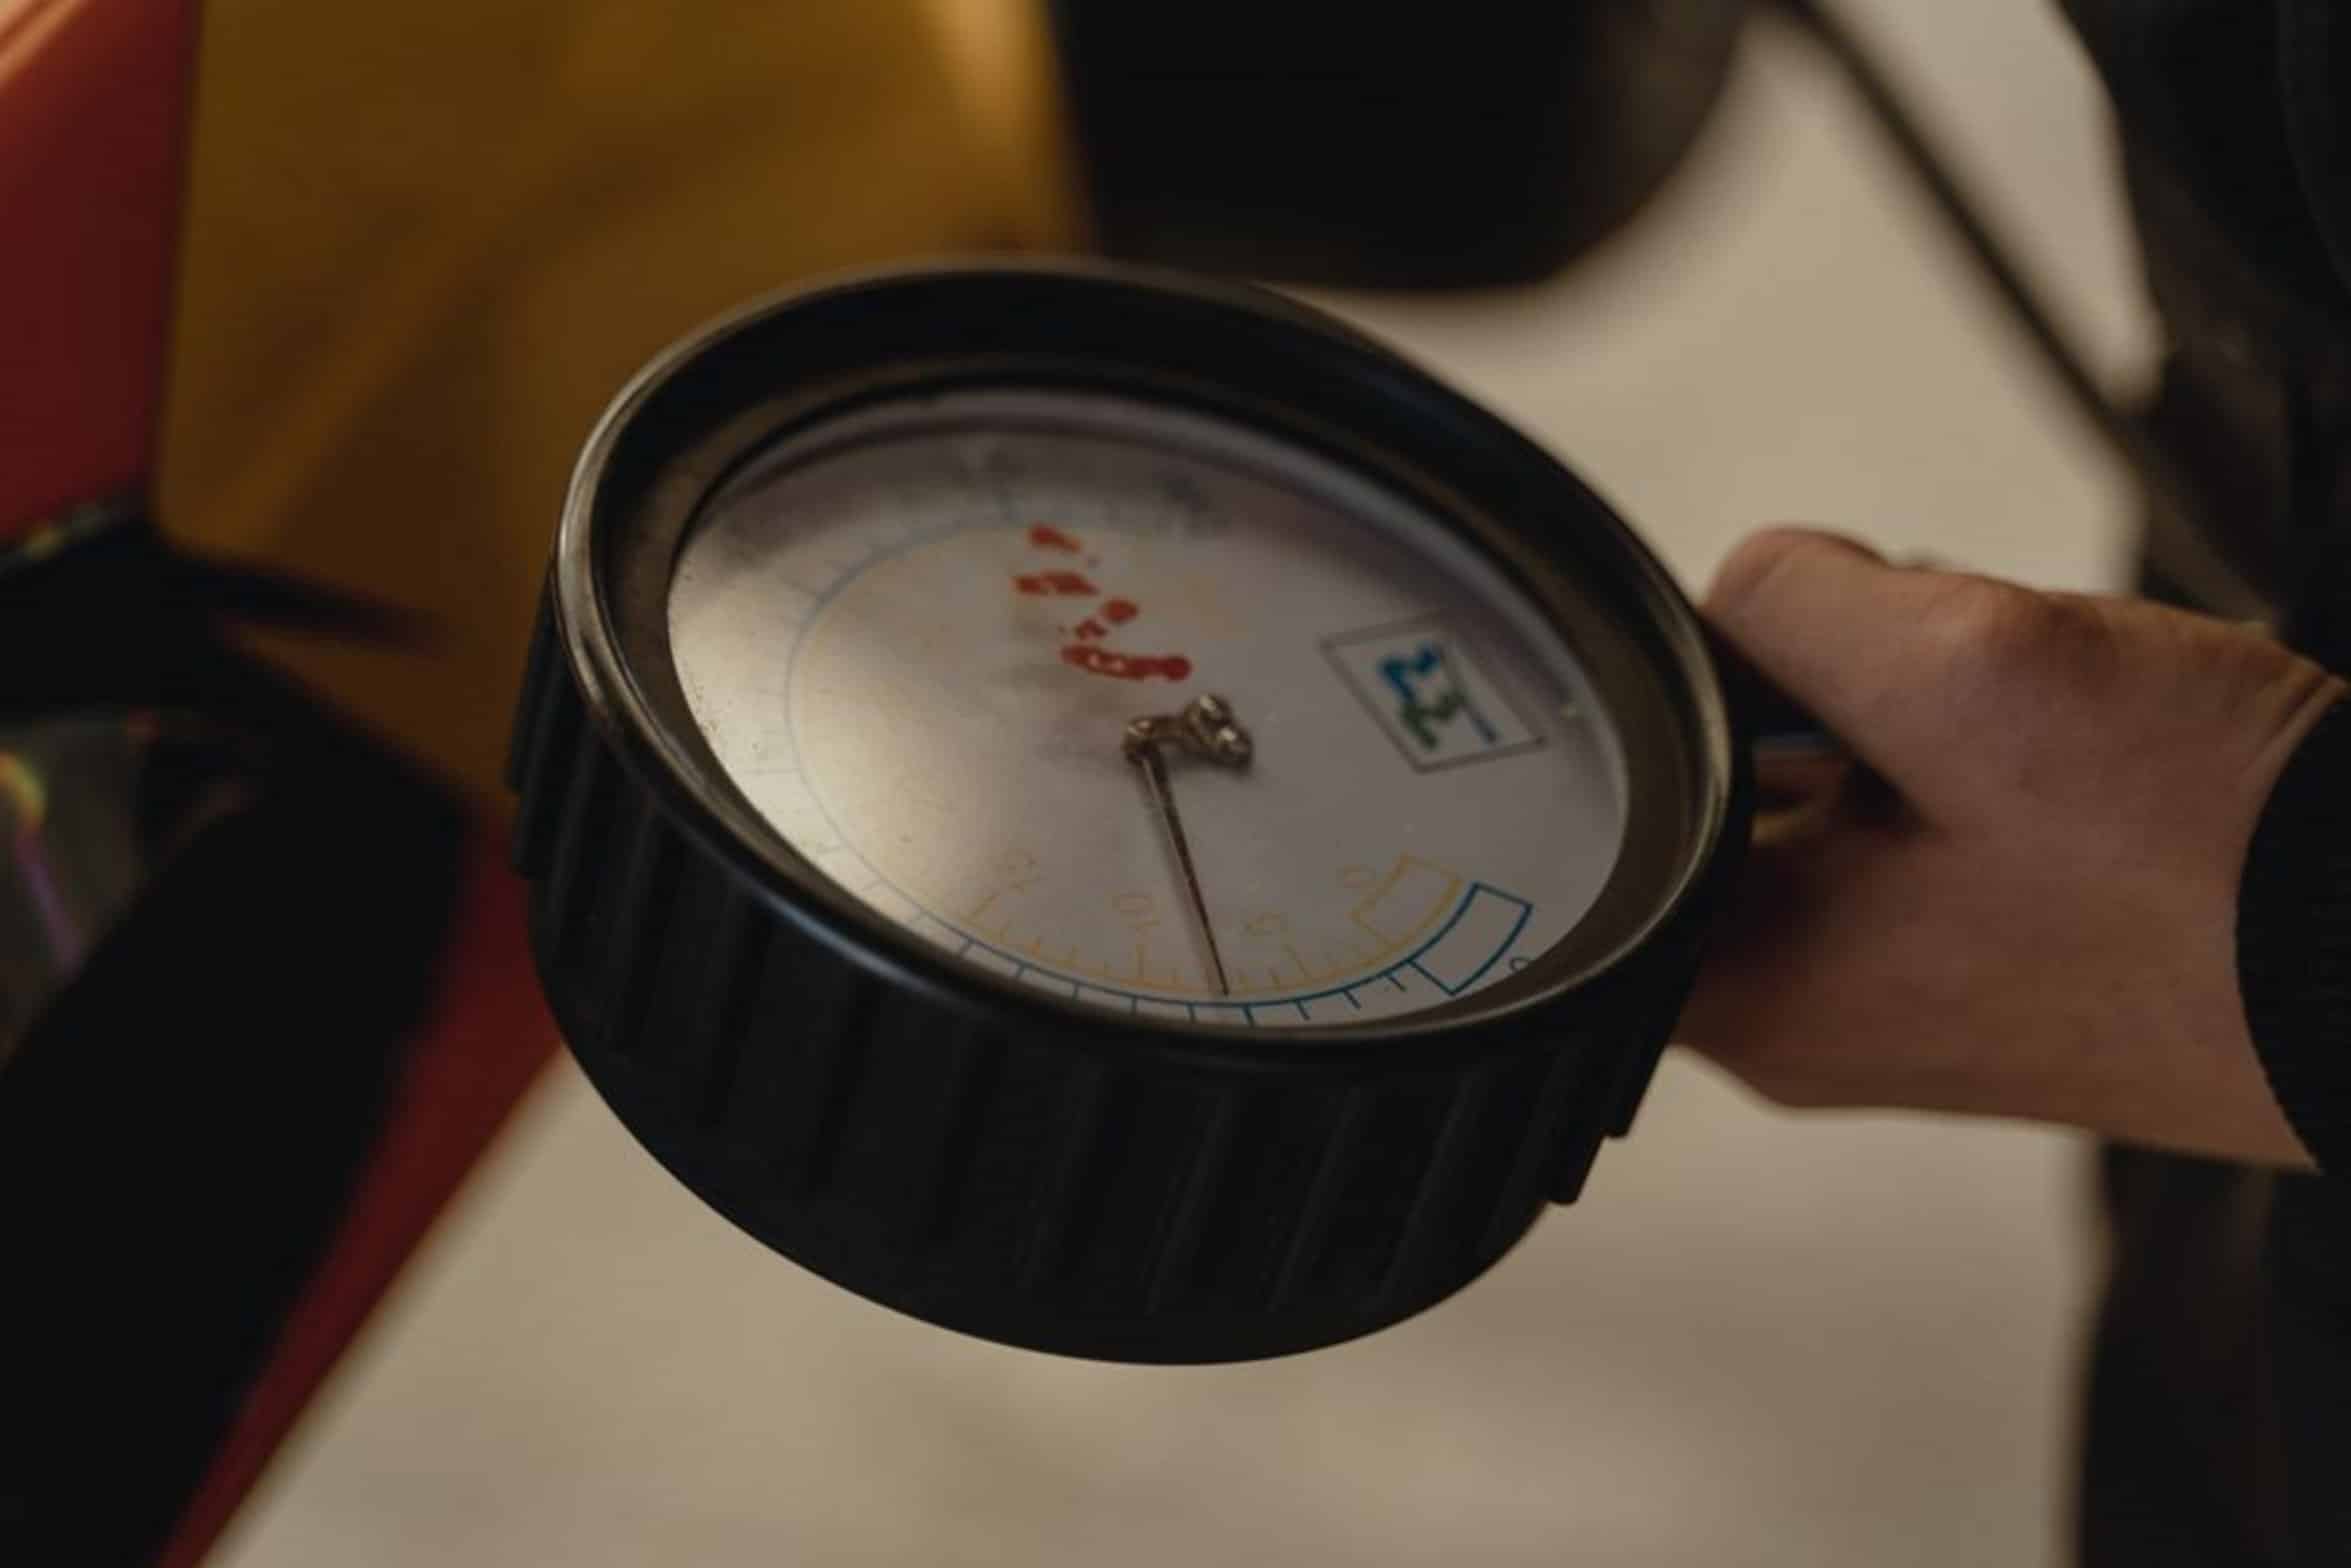
Knowing what cause the jam will enable you to fix the situation in no time flat, and avoid future jam that can derail your workflow. Battery problems or lack of air pressure are root cause of most jams. For pneumatic nailers you must maintains pressure so that when the piston fires, it has enough force to expel previous nail from the chamber.
When your compressor are inadequate for the tool, pressure will drop shot-to-shot. The nail move into the firing position but does not have strength to fire out. Now you have a stuck fastener or double feed.
Your regulator should of be set between 70 and 90 PSI for framing applications and lower for finishing work. More important then raw power is consistency in pressure. Now if you are using a line of battery powered tool such as the DeWalt 20-Volt Max or Milwaukee M18 Fuel, then you need to be aware that the driver blade doesn’t go all the way when the battery voltage droops due to loading.
This results in pushing the nail partially into the plate, and failing to clear exit hole. This is more common with an almost dead battery, or on a really colde morning. Fully charge your batteries before beginning work.
And don’t try to force a tired battery through thick hardwoods. You’ll regret the day you has to take apart nose of your luxurius tool trying to extract a bent fastener. Next time your nail gun jams, it’s probably due to air or battery issues, using wrong nail, or debris buildup.
Matching Nails to Materials
First, not all nails are created equal. Smooth shank? Screwed and/or ringed shank?
Specialized tip for holding power? A high-holding screw shank nail will create so much friction that it will hang up in the driver blade if use in soft pine. On the flip side, a smooth shank nail may not get enough grip on engineered wood and result in misfires.
Match the nail to the material. For instance, use smooth (or fine finish) nails when working with trim and ring shank nails when subflooring. Seems obvious right?
But don’t mix types and brand in the same magazine. That’s a recipe for disaster. Debris is what quietly cause nail guns to fail.
Preventing Debris Buildup
Wood chips, dust, sawdust will get into the firing channel much quicker than you may realize. This buildup over time form on both the nose piece and the firing blade or driver. Friction occurs when it shouldn’t.
Nail stick, jamming tool follows. The solution is maintenance. After each job blow out the nose of your nail gun with a can of compressed air.
If you use an air tool, drop a couple of drops of air oil into the air inlet. Cordless ones? Check manufacturer guidelines on lubing.
Prevent a bit now, save yourself a big teardown down the road. If and when you do get it jammed, don’t force the trigger. That can damages the driver mechanism inside your gun.
Or it could even send a nail shooting in all sorts of directions. Shut it down. Either unplug the battery or disconnect air line.
How to Clear a Jam Safely
Next go to manual. Most manuals has a section on how to clear a jam. This process usually require you to release the driver blade.
Go by the book. No improvisation allowed. After clearing, check the nose of the tool for cracked plastic or bent metal.
If the tool are compromised, put it away. Safety trumps convenience. It’s not always about brute force when dealing with a jammed nail gun; it’s about respecting your machine.
Use the correct fastener. Clean the nose regularily. Maintain consistant pressure.
Treat it well and the tool will repays your efforts with reliable and smooth operation. Less tinker time, more project time.
