
In summer, you’re happy to look at a green lawn, but not when a cold snap cause your irrigation system to freeze and burst. Preventing such damage will save you money on your water bill (and also prevent a cracked head or pipe). Blowing out the system with an air compressor is the single-most-important task of all for homeowners for winterizing, and though it might sound scary if you’ve never done it before, it’s simply applying some careful physics to garden problem.
How to Blow Out Sprinkler System With Air Compressor
Why Winterizing Prevents Pipe Damage
But you’re thinking: I had a mild winter last year; why bother? One wet winter do damage a zone. When ice freezes, it expands, and applies expanding pressure to PVC and other polyethylene irrigation lines.
The weak link is typicaly a plastic nozzle or a joint. If the seal fail, you’ll be digging it up, replacing parts, and losing money by trying this do-it-yourself route. Not to mention the peace of mind of knowing your system will operate in spring.
Overpressurizing are the greatest danger; many folks yank out their biggest compressor and dial up the PSI as high as it will go. That blow gaskets off valves and shreds sprinkler heads, yet you must use enough air to displace the water without wrecking hardware. Half the battle is understanding your system’s limits, and half is learning how to propery time the zones so no single drop of moisture remain in the lines.
Understanding System Pressure Limits
Before doing anything though, make sure you know the proper amount of pressure your system can support. Most systems in residential homes don’t have more than 50 psi before their blowout point. Newer parts may be more sensitive, but head and valve manufacturers will has info listed in their specs.
Failing that, err on the side of caution. Starting lower isn’t bad… It’s better then having a broken manifold by getting too aggressive with the air trigger.
Choosing the Right Air Compressor
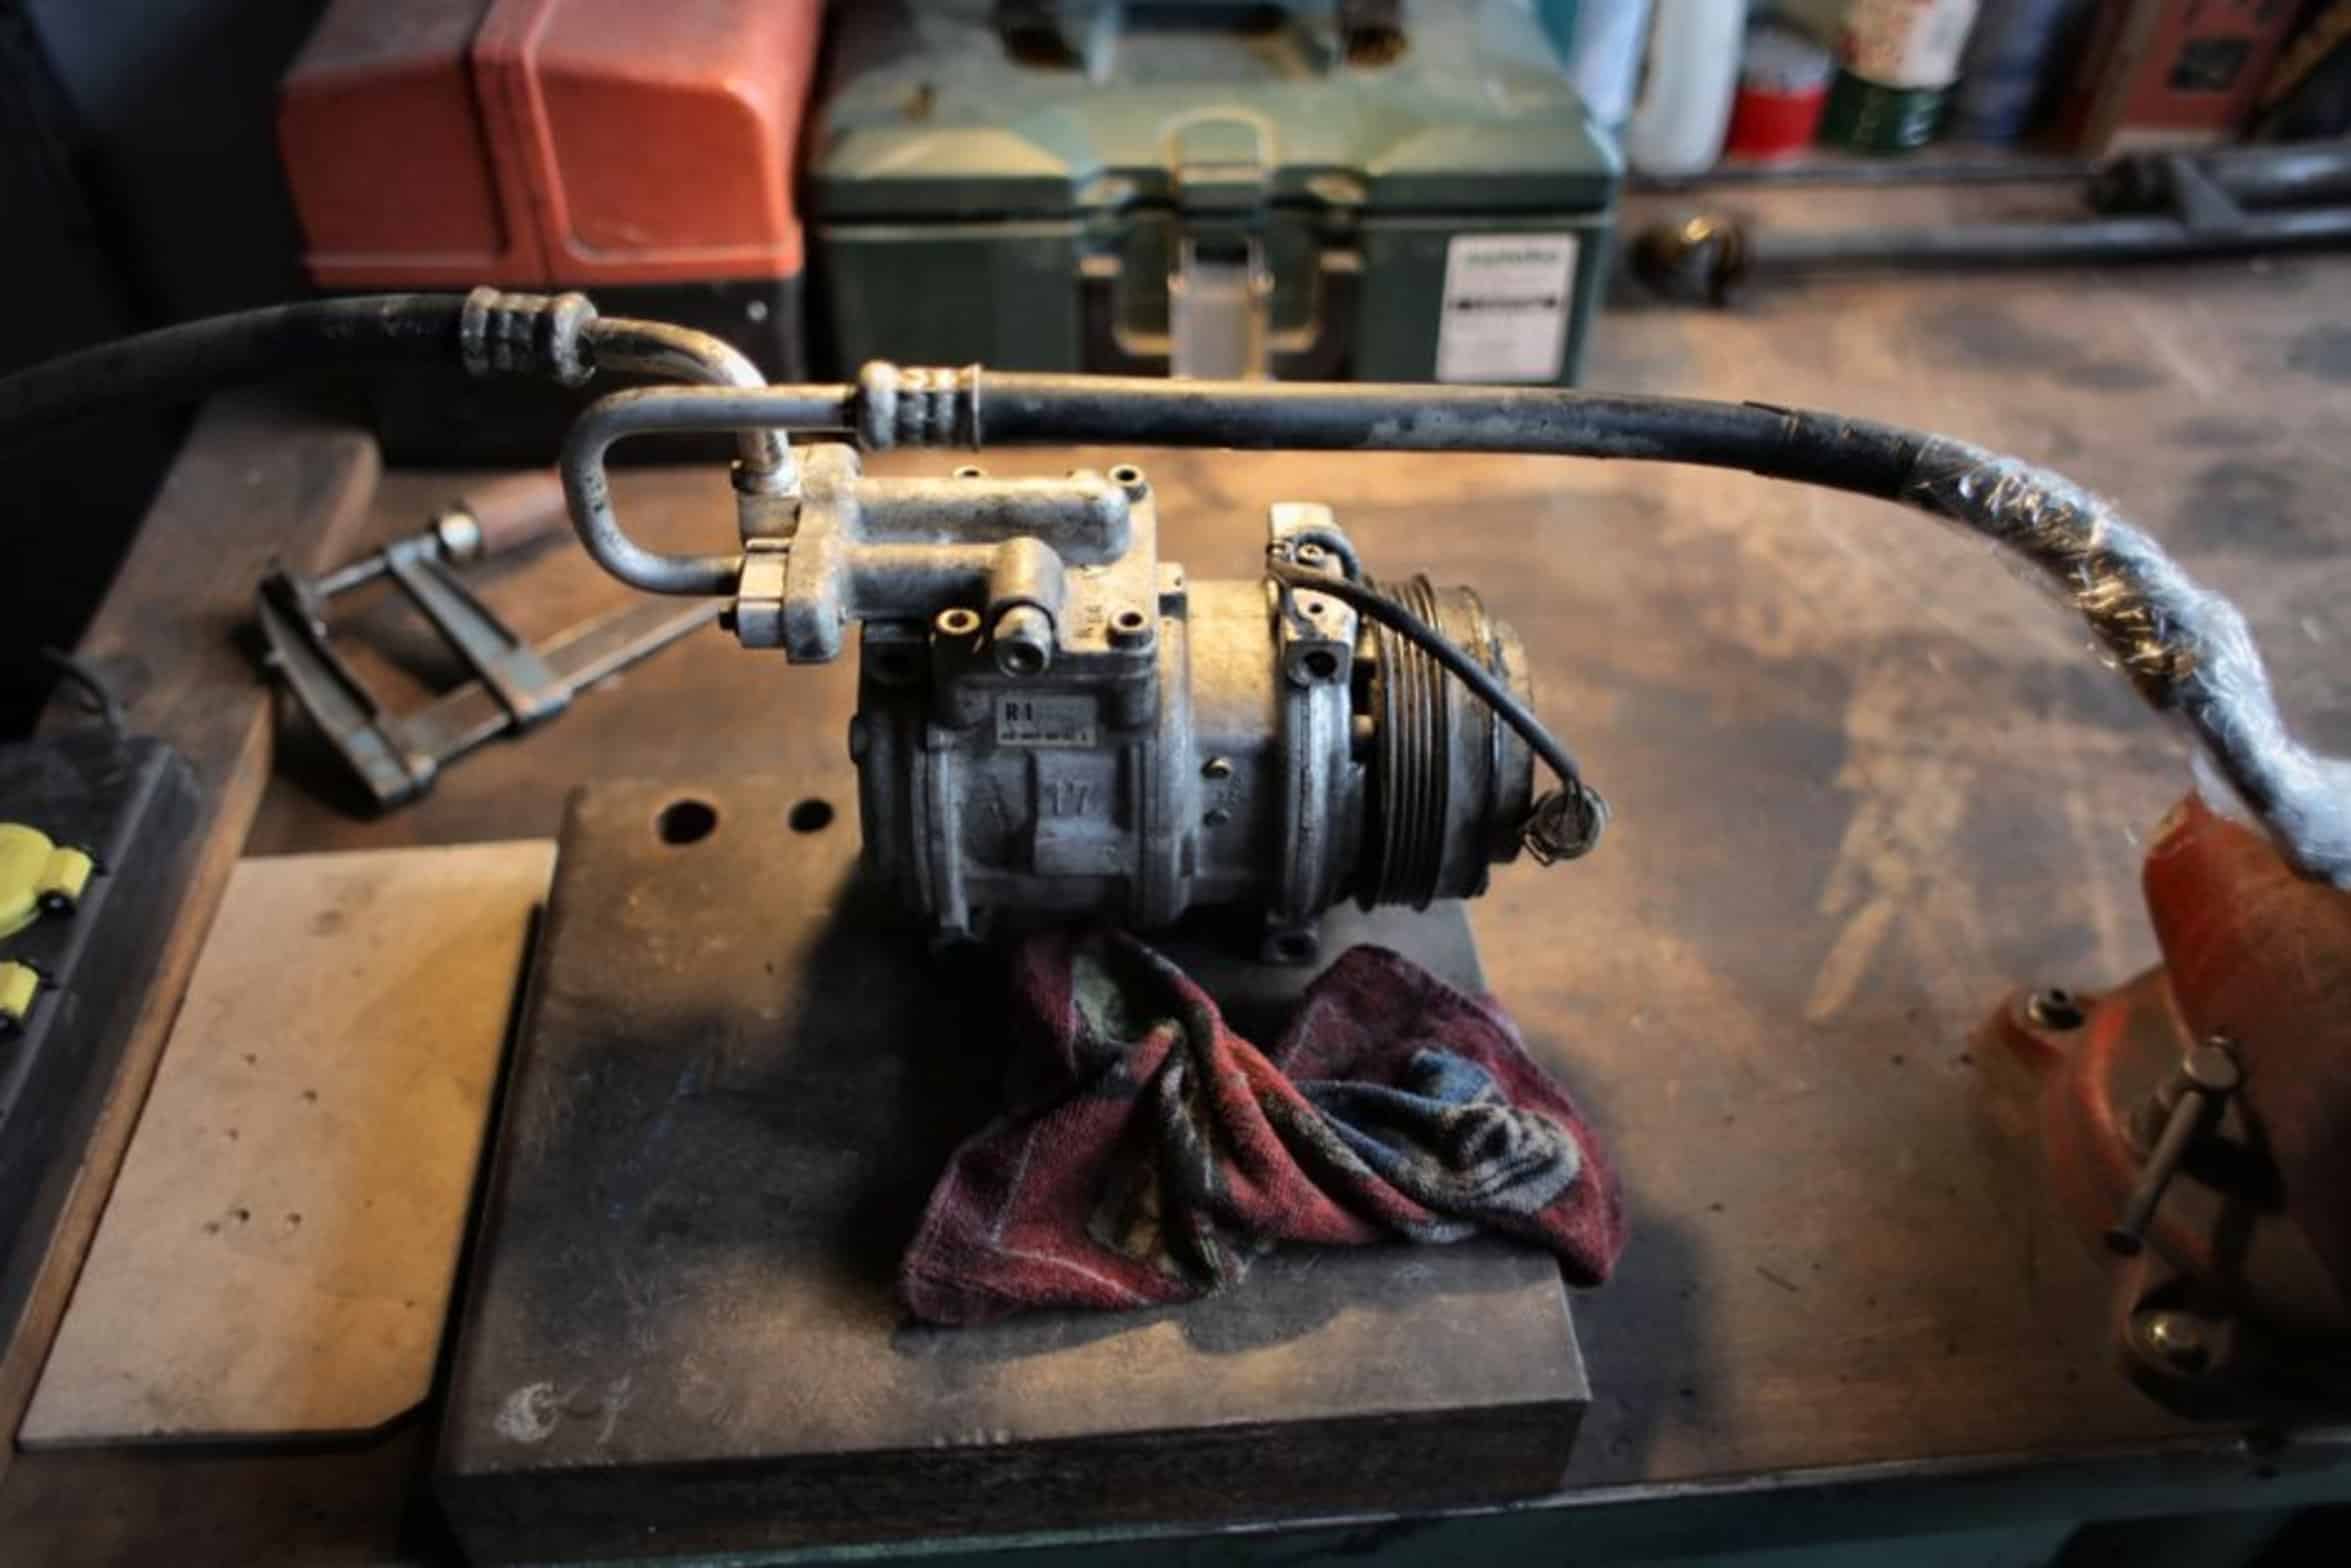
High pressure are a fast track to a broken manifold. Then, you have the right air source prepared, meaning not just high PSI but sufficient CFM from a compressor. A small 80-psi pancake compressor might hit eighty PSI but may not be able to push water down long runs.
So you desire steady flow. You use the proper adaptor, attach the air hose to the blowout port, and make sure that fitting is snug. A loose fitting blow compressed air into the ground instead of the pipes, which wastes time and can cause injury.
Executing the Blowout Procedure
At that point you start to actualy blow; you open up the main valve slowly so that the whole system starts to pressurize. And then you open one zone after another, you don’t have all your zones going at once. The water is going to push out of the farthest head first, since it’s only going in one direction.
So you watch the sprinkler heads and when you turn them on they hiss and they spurt clean air. And if they spit water, you just leave the zone on another half minute or so longer and you keep doing that till the thing’s dry. Pop-up spray heads and rotary heads is your special attention areas.
You go through each zone systematically. Water stays in the risers; if a single drop are missed and freezes, the housing crack. It takes longer then you think; patience pay off here.
Finalizing the Winterization Process
But do it right the first time and avoid those expensive repair bills after the thaw in spring. Finally, turn off the controller and close the main valve. If your system has a manual drain valve, open it to let the last of the air out and remove any leftover moisture lingering in the lowest parts of the system.
Now you’re done, and come spring, you’ll thank yourself for having taken the time. Your sprinklers is intact, and the water’s right where it should of be (in the ground).
