
Fixing an electric motor on a tank style air compressor are a regular task. It’s not rocket science but that doesn’t mean you has to be a degreed electrical engineer to perform it. All it takes is some sweat equity (get your hands dirty), a little time (patience) and understanding how to approach the project like it was a step-by-step swap.
How to Replace Your Air Compressor Motor
Identifying the Correct Motor Specifications
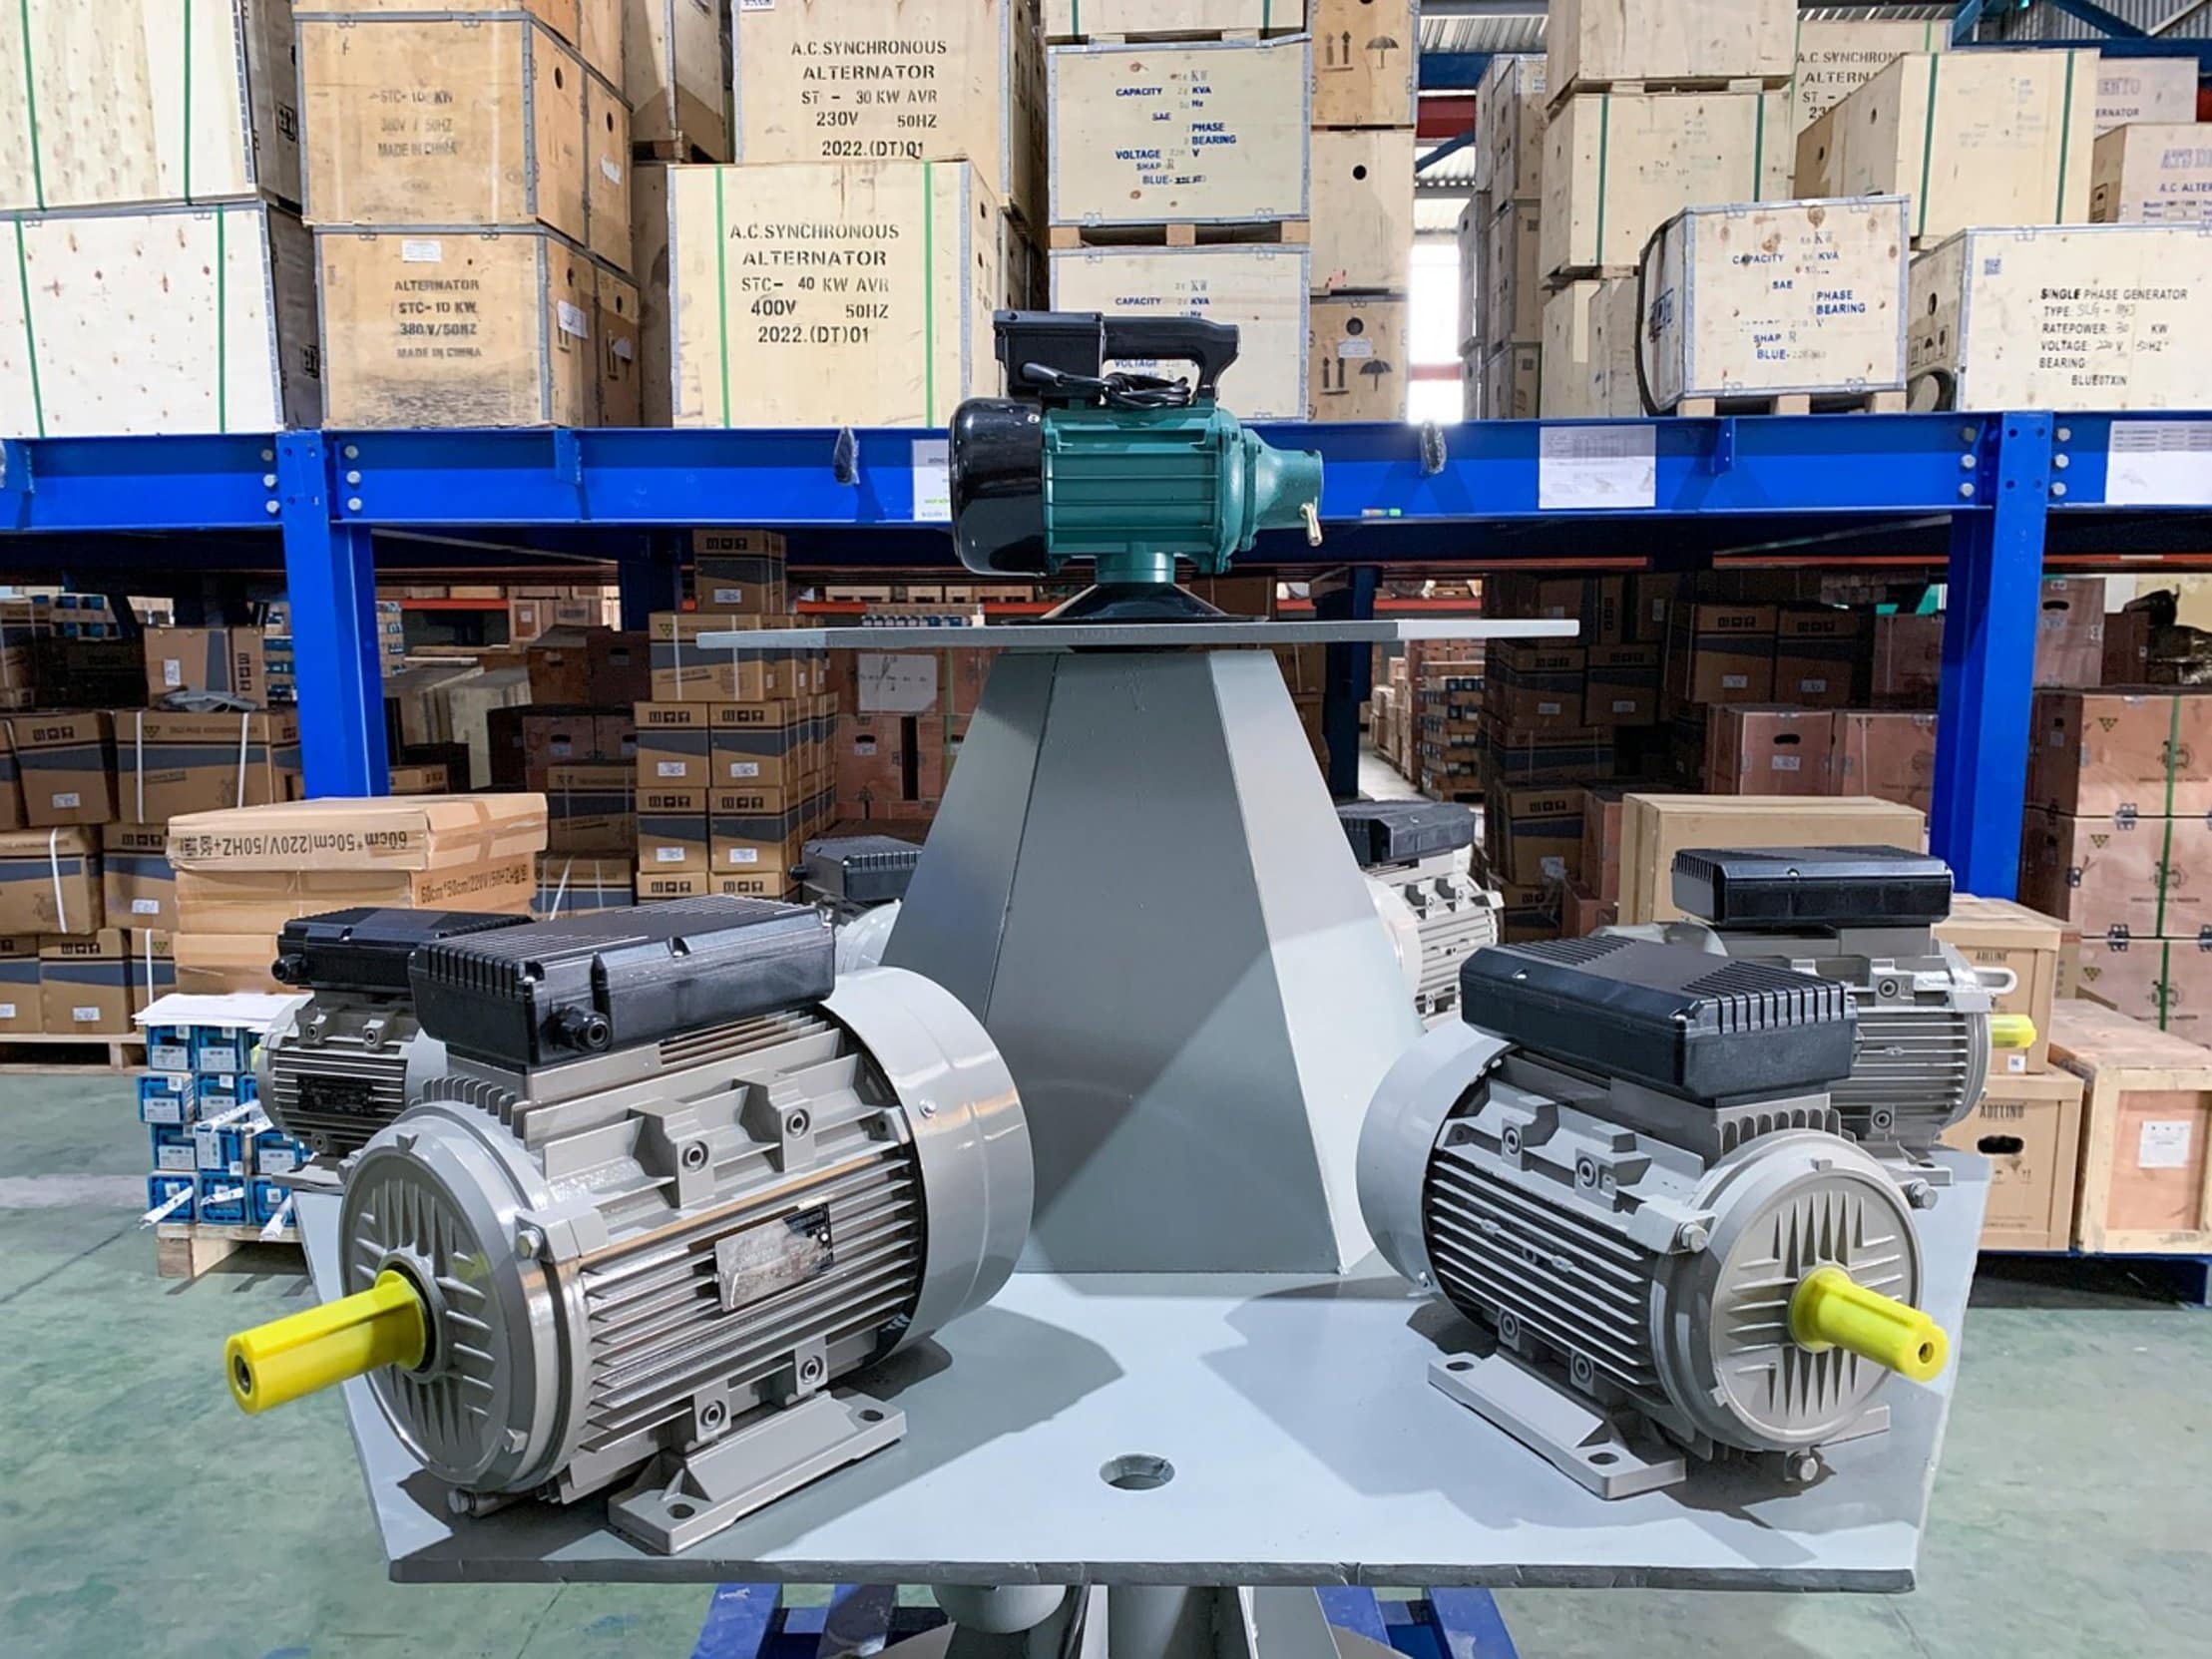
Follow the brain of the machine and you’ll be back on the job fast while saving money. First identify This is where most folks trip themselves up. It sounds so easy.
Don’t open that access panel until you know exactly what you’ve got. Most compressors uses standard frame motors. But each is different in specs.
On the old motor find the rating plate. That’s the sticker on the motor that give the frame size, horsepower, voltage, and RPM. Don’t assume a 3/4 HP motor is interchangeable with a 1/2 HP just because they look alike.
They’re not. Guessing here will result in buying something that will either not fit or won’t last long. Make sure it’s compatible with the voltage available.
Choosing the Right Voltage and Horsepower
Use single phase motors on 110 volt. If you have a separate 220 volt line running to a specific outlet, use either a dedicated 220 volt or a dual-voltage unit. Using one without the other will burn out the equipment right away and is also unsafe.
Determine what kind of wiring you already have. Typically there is a diagram of how to hook up dual voltage on the motor plate. Call an electrician if you’re not certain.
Better safe than burned out from starting a fire in the shop. Horsepower matter. But it is not what you may imagine.
Generally speaking, you want to go like for like. So if your compressor was shipped with a 1.5 HP motor, purchase a 1.5 HP replacement. It sounds like an upgrade to go higher, but you are putting added stress on the belts and the pump.
These parts aren’t made to handle that torque. Going lower will strain the new motor, causing it to overheat and fail early. When possible, stick to the original specs from the manufacturer.
Matching Frame Size and Shaft Dimensions
Restore the system to its original state. The physical interface between compressor base and the motor is called the frame size. That’s the width of the feet that you mount the motor to.
It’s also measured in inches. For instance, a 56 frame motor does not mount onto a 56C base. Small differences counts.
Also keep an eye on the shaft diameter and length when shopping for a replacement. Too much or too little can cause problems with tensioning the belt. Too long and it may contact the housing.
Be sure to measure those yourself. While the descriptions in the catalogs help, nothing beats using a tape measure.
Step-by-Step Motor Replacement Process
Now that you’ve got the proper motor, here’s how you do the swap: First: turn off power.
If necessary, lock out the breaker. Second: drain tank fully. Third: Remove old motor.
Fourth: take pictures before disconnecting wires. You’ll thank yourself later for this step when you’re trying to recall what terminal goes to what. Fifth: unbelt the motor.
Sixth: Unmount motor. Seventh: clean mounting area on compressor base. This stuff gets gunky.
It can cause bad alignment and prevent good grounding.
Aligning Belts and Reconnecting Wires
To mount the new motor, align it carefully. The motor shaft has to be parallel to the pump shaft.
Otherwise the bearing on the motor will fail fast and the belt will wear unevenly. Slide the motor around until the belts is at the right tension and in line. When you give the belt a moderate amount of pressure you should of be able to deflect it maybe 1/2 inch.
Do not make it too tight, or you will wreck the bearings. Not too loose and you burn up the belt by letting it slip. Get it in that sweet spot.
Use your photos as a guide to reconnect the wires. Then tighten everything down good. Test it.
Testing and Verifying the Repair
Now’s the time to be careful. Reconnect the power and turn the compressor back on. Does it sound right?
There is no strange noise. Is the motor running smoothly and quiet? Let it run a couple more minutes and check the tension on the belt.
Remember it will expand slightly with heat. When everything looks and sounds right, set it and let it fill up to relieve the pressure. You’ve fixed your air compressor if it behaves well.
It is a satisfying repair that extends the life of a reliabel tool.
