
You think it’s easy to plug-in an air compressor when it is time to work, but then you remember that you can’t just hook it up to your regular household wall socket. That’s something most shop guy discover the hard way, by burning out a plug, or tripping their breaker. Two key factors determines whether your compressor hums along at maximum efficiency without causing trouble for house’s electricity.
One is determining the proper wire gauge; the other is choosing the appropriate circuit breaker. This is a step-by-step guide to the process and the components. The steps includes determining the amperage, selecting the correct size wire for your application, and connecting it correctly.
The principals apply to your shop compressor as well as a portable pancake style compressor. Both wants to perform while keeping themselves safe. Get the wires hooked up properly so your tools can work.
Step By Step Guide To Wiring 240V Air Compressor
Locating the Compressor Nameplate
Find the nameplate: First thing first, locate your compressor’s nameplate. It’ll be located somewhere close to air tank and often near motor housing. Look for the amps rating, not horsepower.
Horsepower have no bearing on electrical draw and is a marketing number. Amperage is what you’re looking for. That number will tell you exactly how many amps it pulls off the wall.
Write it down. This will be the foundation of all future decisions on this project. Now add the NEC safety factor to that amperage.
Calculating Amperage with NEC Safety Factor
According to electrical codes, circuits must accommodates 125 percent of the continuous load. In other words, this cushion allow for normal use without tripping the breaker or causing the wires to overheat. So if your compressor pulls 20 amps, multiply it by 1.25 to equal 25 amps.
That’s the number you’ll need in a circuit. And that’s good for both your house and your investment. Okay now, take out the circuit breaker.
Selecting the Correct Circuit Breaker
Pick one that’s equal to or greater than the number of amps you figured in step 1 (the 125 percent load). In our example we have 25 amps so normal breakers is 30 amps. Don’t pick a smaller one as it WILL trip instantly as soon as the compressor kicks on.
And don’t go bigger than required unless your code specifically calls for going bigger based off the gauge of your wires. The breaker are the gate keeper. If it doesn’t open up, the wire will melt.
Choosing the Right Wire Gauge
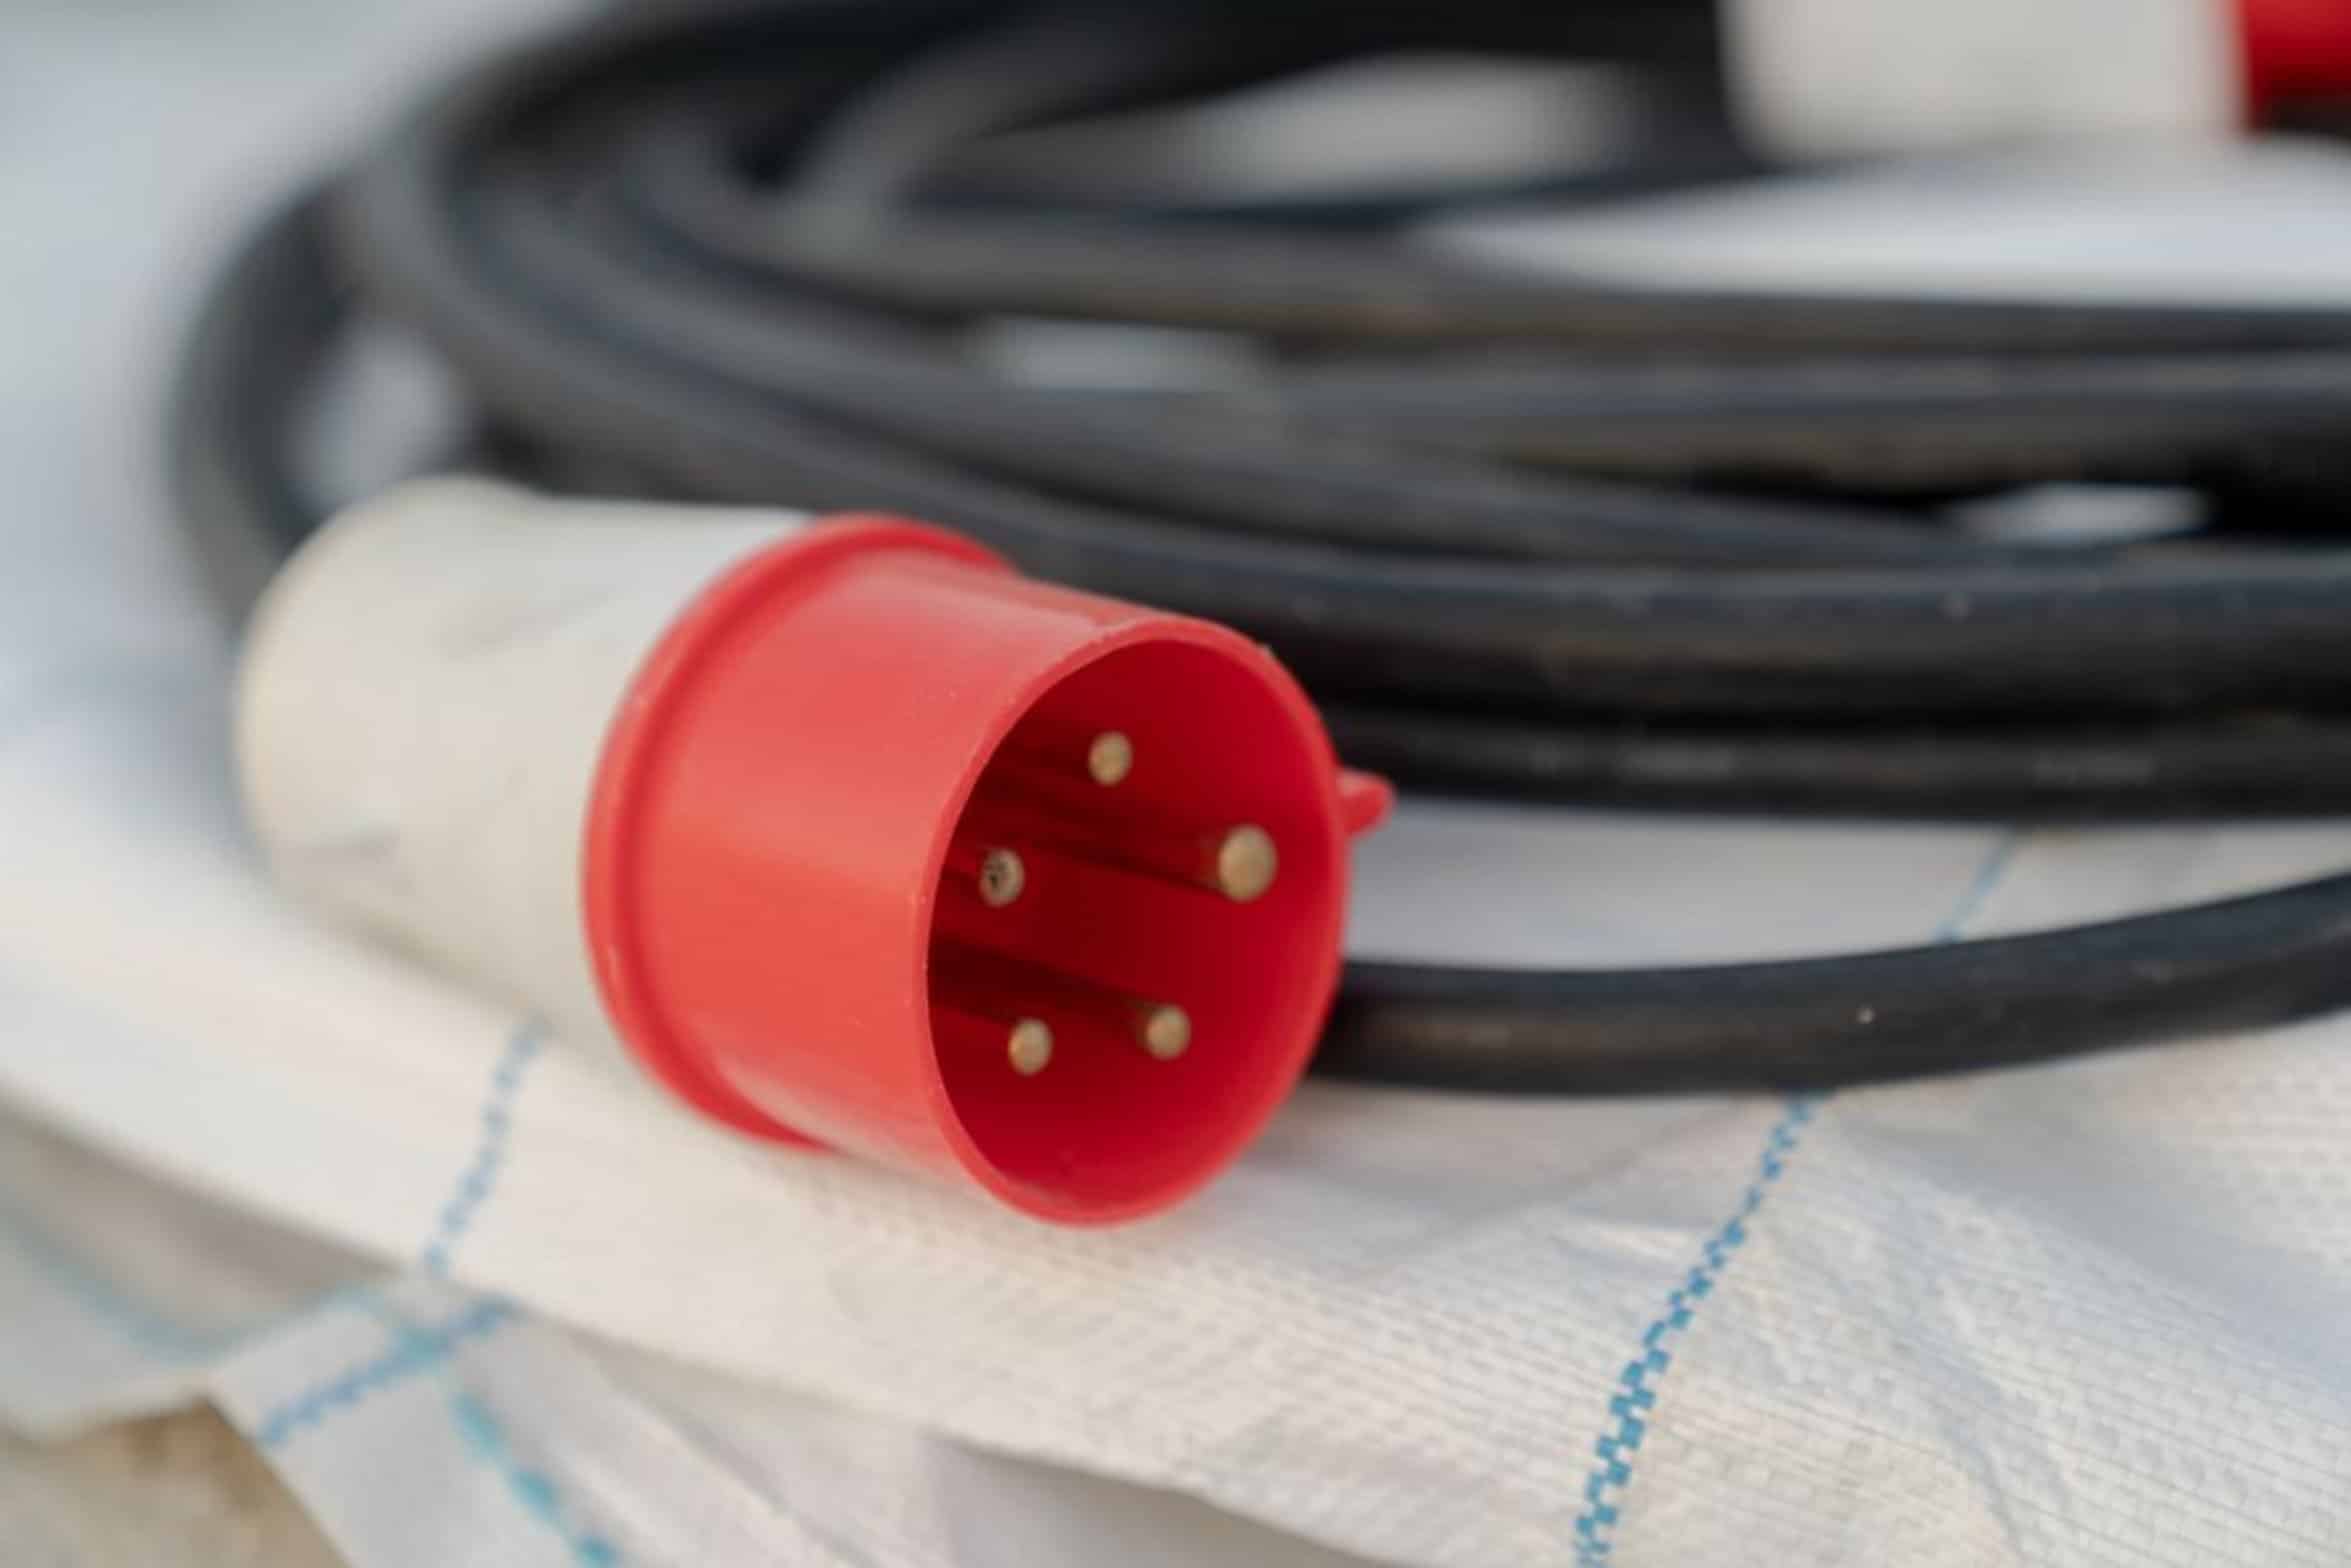
Next, select your wire gauge. The wire is what physically carries electrical charge from the panel to the compressor. The thicker the wire, the less resistance it has and the more heat it can handles safely.
To run a 30 amp circuit, use 10 gauge wire. If you’re going with a bigger compressor on a 40 or 50 amp circuit, go with 8 or 6 gauge wire accordingly. Check National Electrical Code table for specifics.
Too small of wire is a fire waiting to happen. Next think about how far it will have to run. The further a wire is from the panel the more voltage drop you’ll have.
Accounting for Voltage Drop in Long Runs
A 10 gauge wire could still dip below enough voltage to cause problems when loaded up if it’s running 100 feet to the compressor. Then that means your motor has to work extra hard which can lead to overheating. To be safe with longer runs you may need to step up to 8 gauge wire.
It’s more expensive now but saves your motor down the road. If you’re right on the edge, measure twice and buy the bigger one. Use a hardwired disconnect or a dedicated duplex receptacle.
Installing the Outlet and Grounding
Based off how it will be used (portable versus stationary), install either a 5-15R or 6-20R outlet respectively. Hardwire the connection for a more secure and cleaner installation if using a stationary unit. Just make sure to attach the ground wire correctly.
Poor performance and even shock hazards may results from a floating ground. Be sure to follow your local codes. Better yet, hire a licensed electrician if in doubt.
Testing the Installation
Turn on the breaker (double-check that you turned it back on). Now turn on the switch. Check to see if the breaker size matches the gauge of the wire.
Is the ground solid? Turn it on and listen. Does it start smoothly?
Does it hum to life or struggle? It should be humming happily along. It should not smoke or make you sweat.
No anxiety here, just confidence. If done right, it just works. The air keeps blowing and the power stays on.
You could of avoid this mess with a bit more planning. Actualy, getting the right wire is the most important part so don’t assume anything. It should be easier than that, but things can get moddern or tricky if you aren’t careful.
Make sure you recieve the right parts before you start and dont let the job get too complicated. If your workin with high voltage, you should of double checked everything first.
