
Nothing will put a sour taste in your mouth quite as fast as realizing that something isn’t right with your air compressor. Suddenly, your air compressor sounds and look different than it should. The pressure gauge is down.
Is air leaking from a supposedly tight fitting? Is there rattling coming from inside? What used to be an aid has now become the hindrance.
It’s almost like failing on some level. But most often it’s not failing, it’s failure to maintain. Compressors are actualy pretty simple devices.
They is strong enough to withstand abuse but fragile enough that they’ll fall apart if you don’t care for them. The Slime brand compressors has established themselves as workhorses. Not race cars.
A compressor with great reliability at a reasonable price point, one that doesn’t cause you to bleed a little more money from your wallet for every purchase. If something goes wrong with them, it’s typically not due to some fancy electronic module getting zapped. It was likely that a piston ring got too worn, a gasket dried up, or a valve became seized shut.
Unless you know what’s happening inside of a compressor, you can’t troubleshoot it without throwing away an old one and replacing it with a new one. The pump is the heart of your reciprocating compressor. And for many Slime owners, the pump is where they stub their toe on day one.
Essential Slime Compressor Repair and Maintenance Tips
The Critical Role of the Check Valve
A pump create pressure inside the tank by sucking in air from outside and then engaging a cut off switch when it reaches a set amount. When this stops working, one of two things happen: you never reach pressure or the compressor continuously runs without ever getting there. More often than not, the problem comes from a little piece called a check valve…
A small but critical component that allows air into the tank while preventing it from being sucked back out. What happens if the check valve gets stuck? Air bleeds back through the valve into the pump and eventualy causes it to overheat and seize.
Fixing the seal is simple and inexpensive. Replacing the check valve kit is cheap and straightforward, but ignoring it destroys the pump head. Guess what most folks do?
Wait until the metal bend before making repairs. Next step in the nitty gritty is the piston assembly. Valves, cylinder liner, and piston rings makes up this part of the machine.
Maintaining the Piston Assembly
Over time they all become worn out. And if run in an unventilated or dirty environment, so do they. Piston rings seal the cylinder, keeping the air sealed tight so that it compresses effectivey.
As the rings get thinner the compression reduce, forcing the motor to have to work harder to attain the desired pressure. That result in premature motor failure. Removing the cylinder head is a moderate skill level job and involves inspecting the parts.
A steady hand with a torque wrench will pay off with a machine running quietly and cool again. This small detail affect the life of the whole unit. Not everything’s indestructible, including the motor.
Troubleshooting Motor and Capacitor Issues
Bearings seize, brushes wear out, capacitors fail. If you have a compressor that hums but won’t turn on, the capacitor is likely the culprit. It give the motor additional torque to overcome inertia and make it spin.
A bad capacitor is an easy, cheap repair. You can use a multimeter to check it. All you do is unplug it, replace it with another of the same microfarad rating and plug it back in.
Don’t go guessing on the microfarads. Exact specs are required for proper fit. Once the motor turn freely, it relieves some of the stress on the rest of the system.
This protects the pump from harsh starts that will damage the pump inside. Oil levels and filters is the unsung heroes of compressor maintenance. Most Slime models are oil lubricated pumps, which means they depend on a film of oil to seal and keep moving parts cool.
Oil Levels and Intake Filter Care
Catastrophic failure comes in hours, not years, if there’s low oil. Check the oil level through the sight glass regularly and top it up with the correct, non-detergent compressor oil according to the manufacturer specs. The wrong oil can cause breakdowns of seals and leave sludge in your crankcase.
Also, the intake filter prevents dust from entering the cylinder. Restricting air flow causes the pump to overheat while the motor have to work harder. Replacing or cleaning this filter only takes a couple of minutes but will save you hours of troubleshooting later.
That’s what preventative care is all about right? Last, the tank itself require care. Every time the compressor fires up moisture collects in the tank, which leads to rust.
Preventing Tank Rust and Moisture Buildup
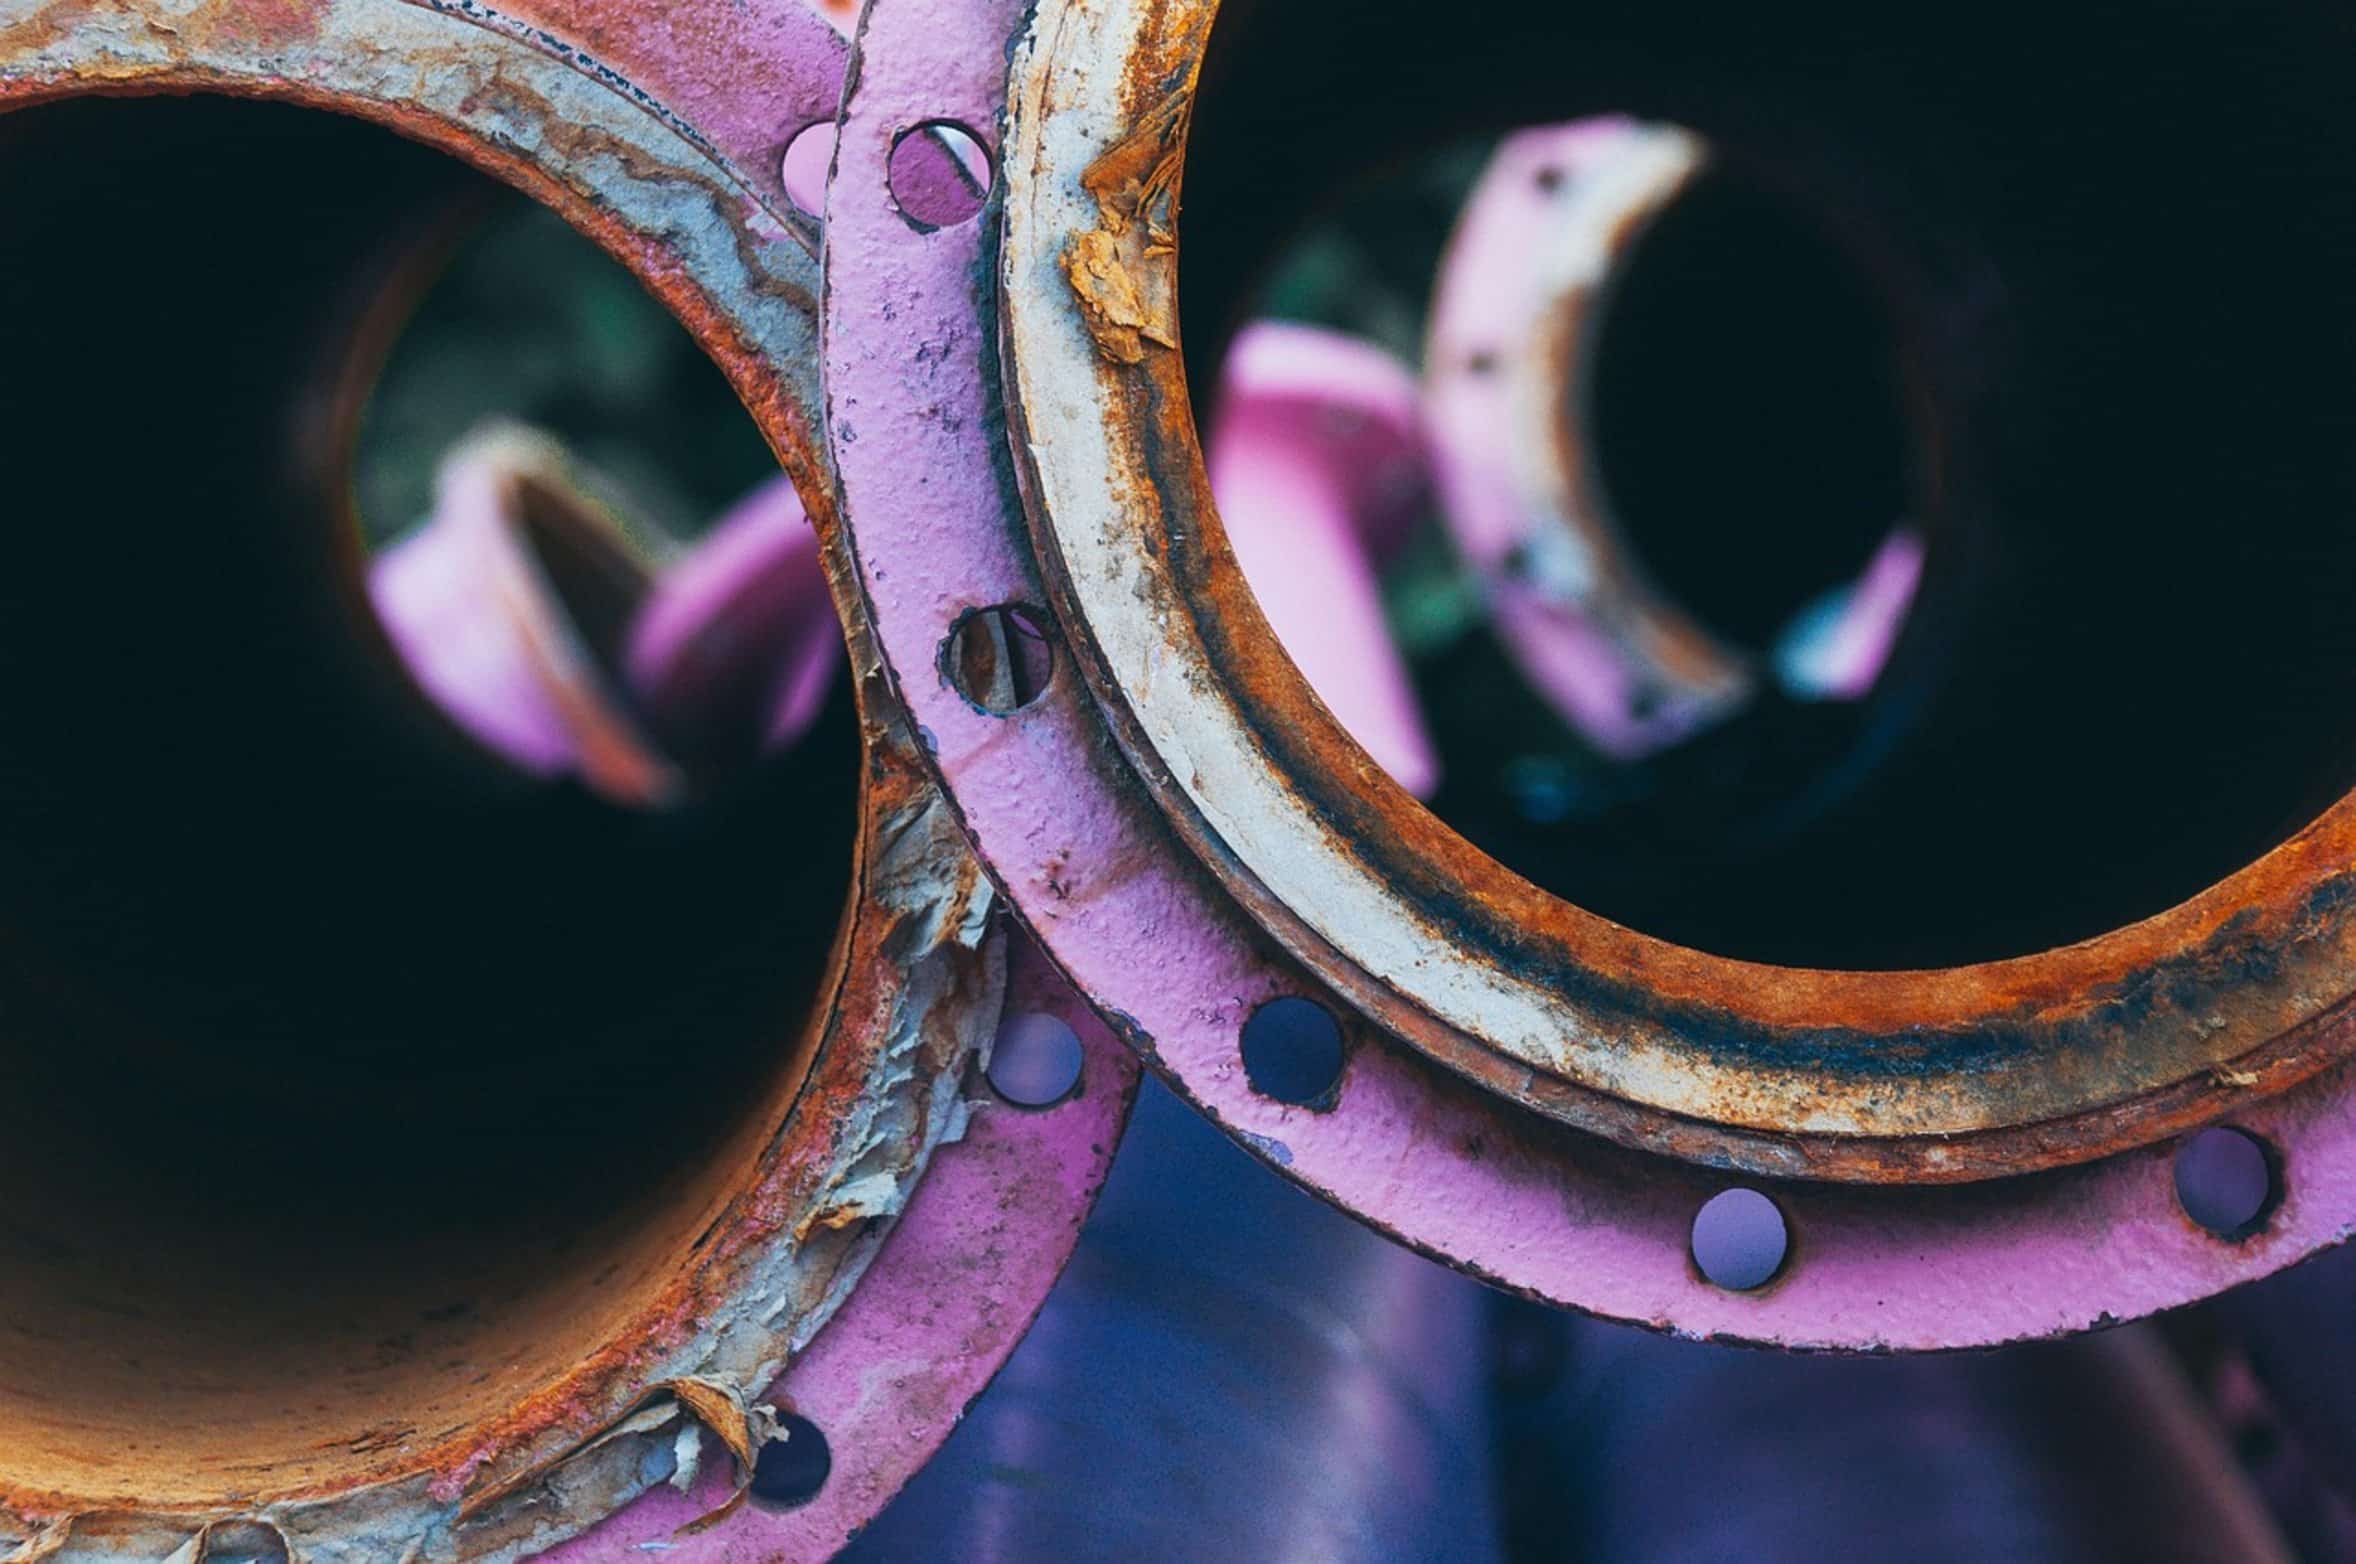
The tank walls becomes weakened with rust and can pose a safety risk. Even for light use, the tank should be drained once a week if not every day. Compressors that come with automatic drains like some Slime models fails.
To ensure you get the water out before it can do any damage just make sure you drain manually. Check the outside for spots of rust and use touch up paint on exposed metal to prevent rusting. Remember a rusted out tank is a ticking time bomb.
No amount of pump repair can fix a compromised vessel. Safety is not an afterthought but the foundation of repair. Maintaining your Slime compressor isn’t rocket science, it’s all about respecting the basics.
Listen to what your machine says to you; check your oil and make sure you drain the tank. If things change, don’t wait until the machine completely breaks down, investigate right then and there. Not only will you continue on with your projects but you’ll also be able to extend the life of your tool while saving some money along the way.
The machine want to work, you just have to keep it sealed and clean. That’s the secret to getting the air flowing.
