
As an alternative to traditional thread-on connections, push-to-connect fitting provide a quicker option. Just insert tubing and pull to make sure it’s locked in place. No sealant or tools is required.
But pushing on connectors is not simply plug and play. There are certain rule to follow. Break them and you have broken your connection.
Essential Guide To Push-To-Connect Fittings
How Push-to-Connect Fittings Work
Knowing how they work enable you to keep the integrity of your system intact. If you push with respect for the design, the connection can be stronger then a threaded assembly. A stainless steel collet form the heart of fitting.
It is a ring that grips the tube. There are sharp teeth on the inside of the collet. These bite into the tubing material, creating a mechanical lock, not a friction fit.
As it bites down, the teeth deform slightly to conform to diameter of the tube. This locks the tube in place as well as sealing it against high pressure. For this to function the tube need to be cut squarely with no jagged edges.
Preparing Tubing for Installation
If there is a jagged edge, the collet won’t seat properly and will cause leak that can be difficult to find. The first thing is to prepare. Do not try to work with crushed or dirty tubing.
Make sure the end of your tube has no burrs on it. You will need a tubing cutter specifically made for tubing. Scissors, wire cutters etc…will create a rough edge, that will cause a bad seal.
Nylon and polyurethane tubing cut easy and are soft. Steel braided hose is different. It require its own cutter so that the braiding does not interfere with collet.
Matching Tubing and Fitting Sizes
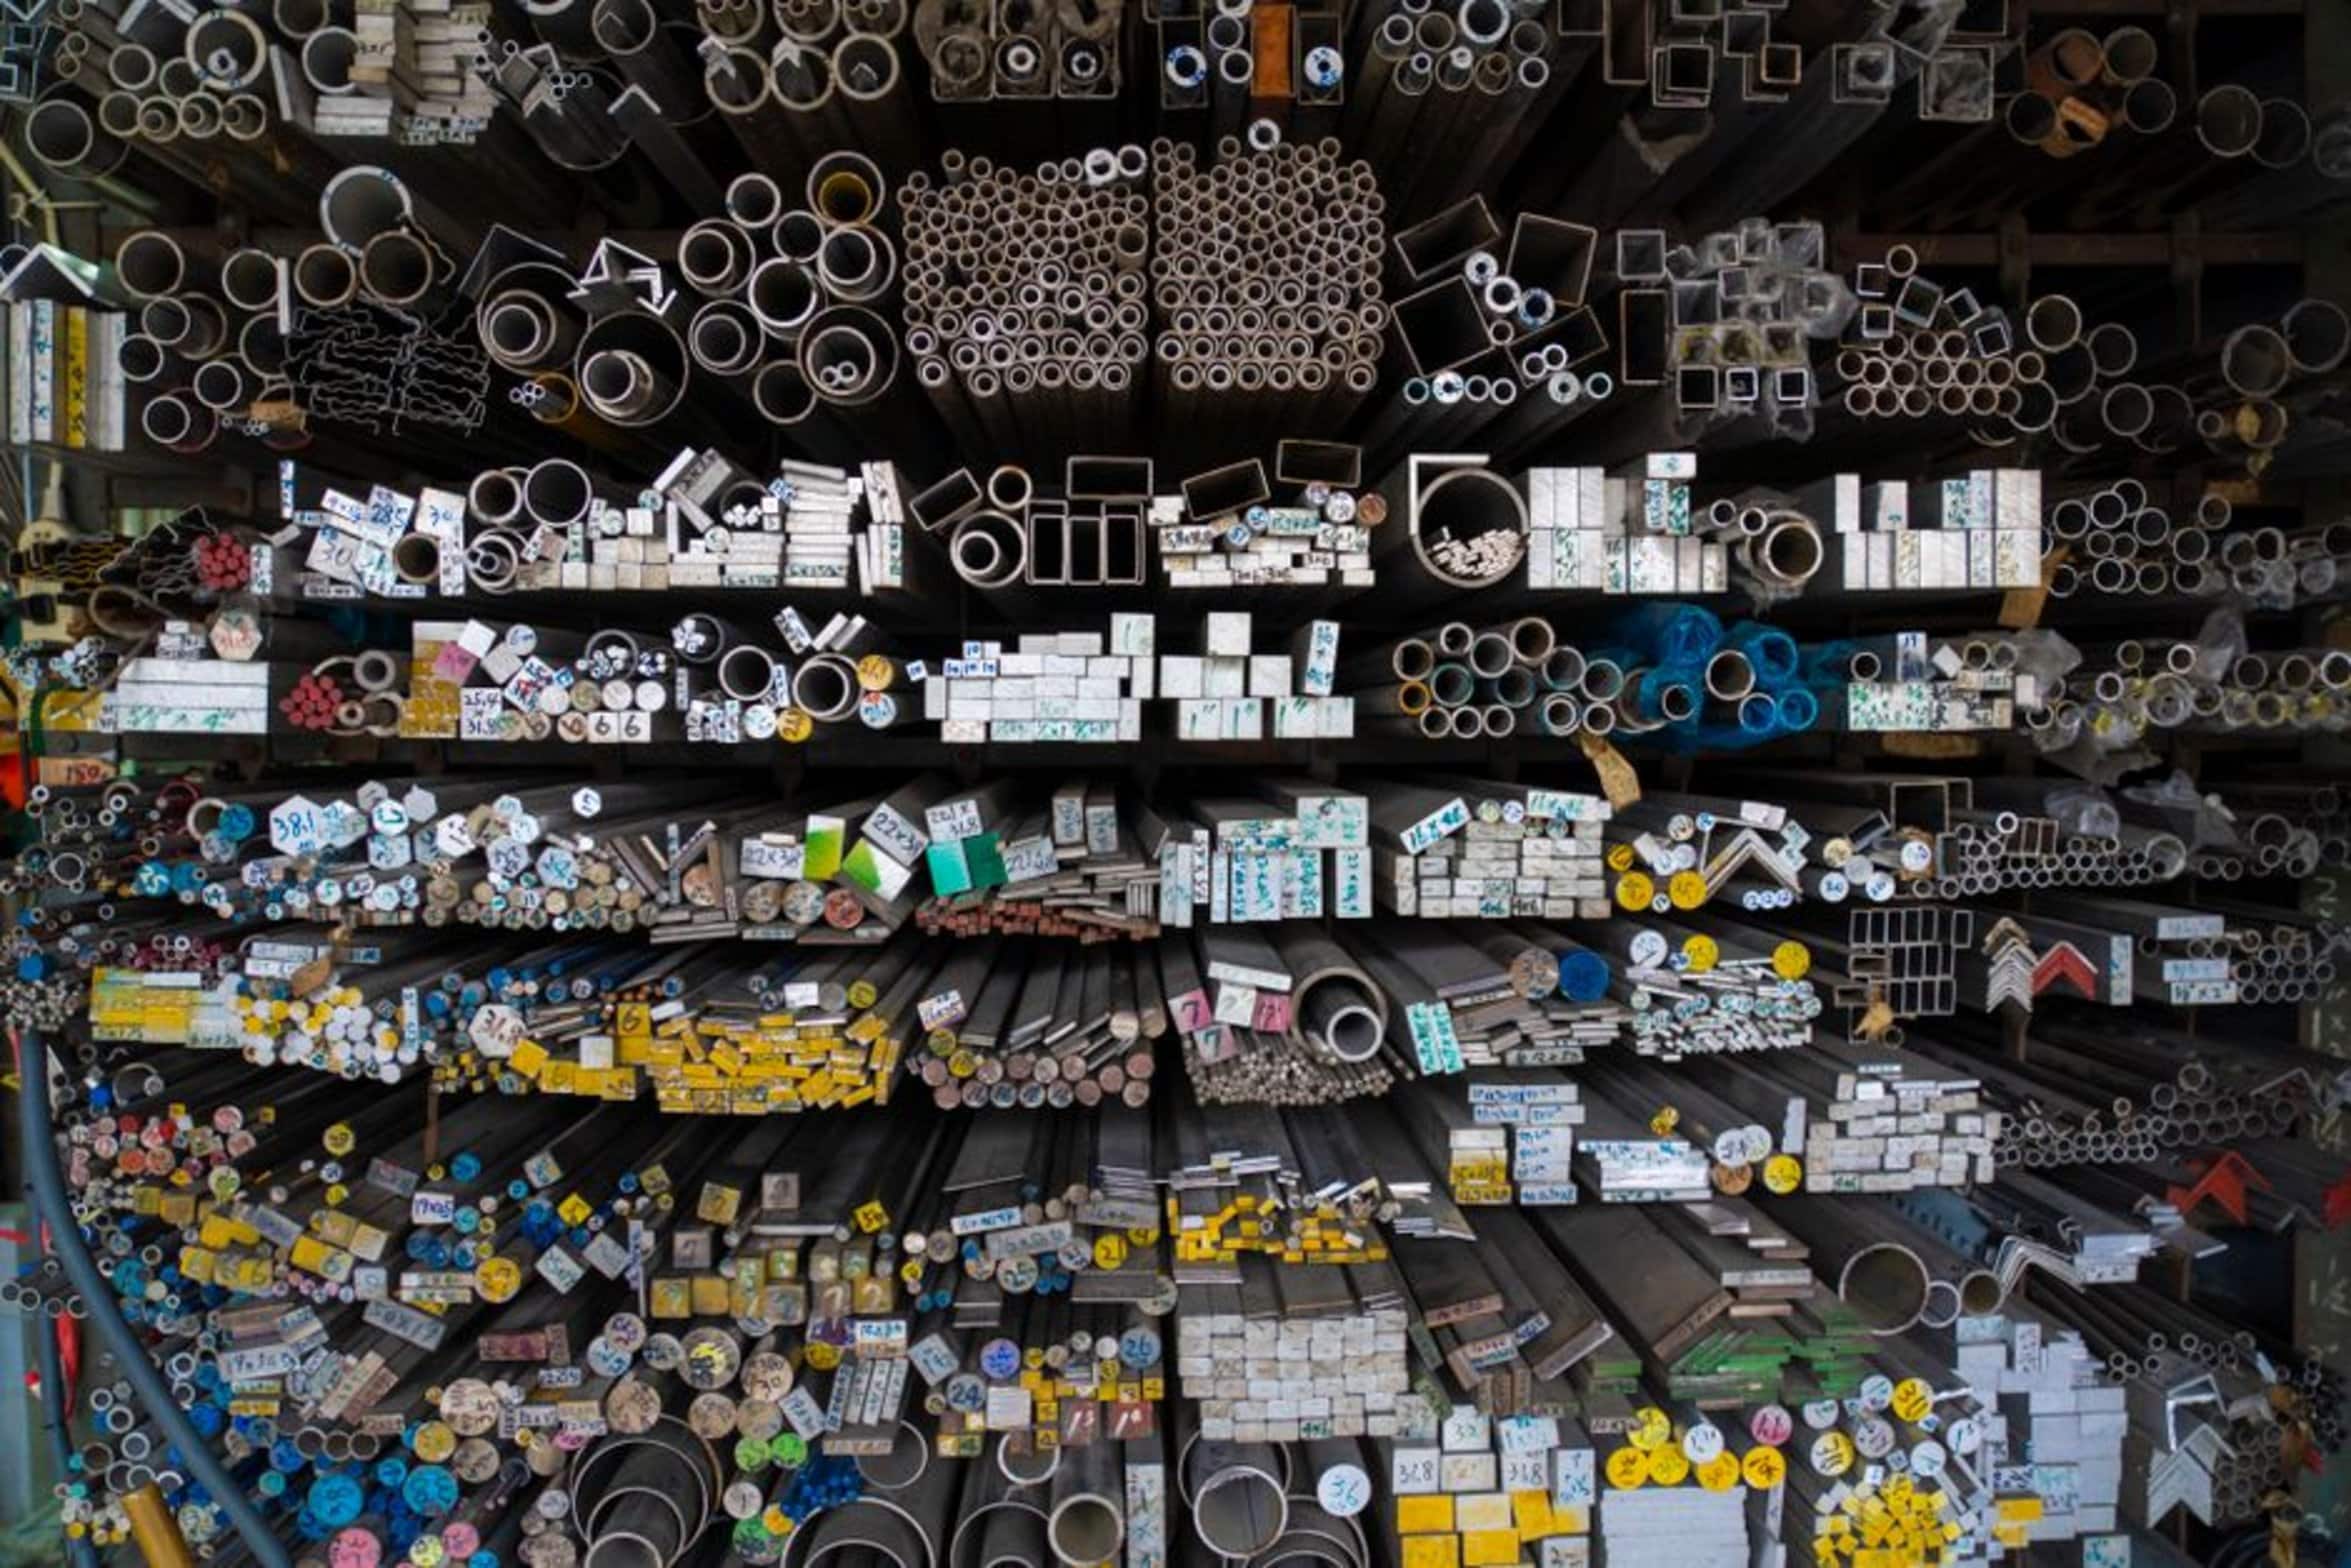
Be aware that not all tubing fit all fittings. Some push-to-connect fitting only work on certain outer diameter tubing. Sizes commonly available include 1/4 inch, 5/16 inch and 3/8 inch.
Tube size has to perfectly match this dimension. Otherwise the collet won’t grab onto the tubing and it will slip off. Standards is set by manufacturers such as Festo or Parker Autoclave Engineers.
Always check tolerances. Tubing that’s too thick doesn’t insert. Too thin a tube hold weakly.
Understanding Release Mechanisms
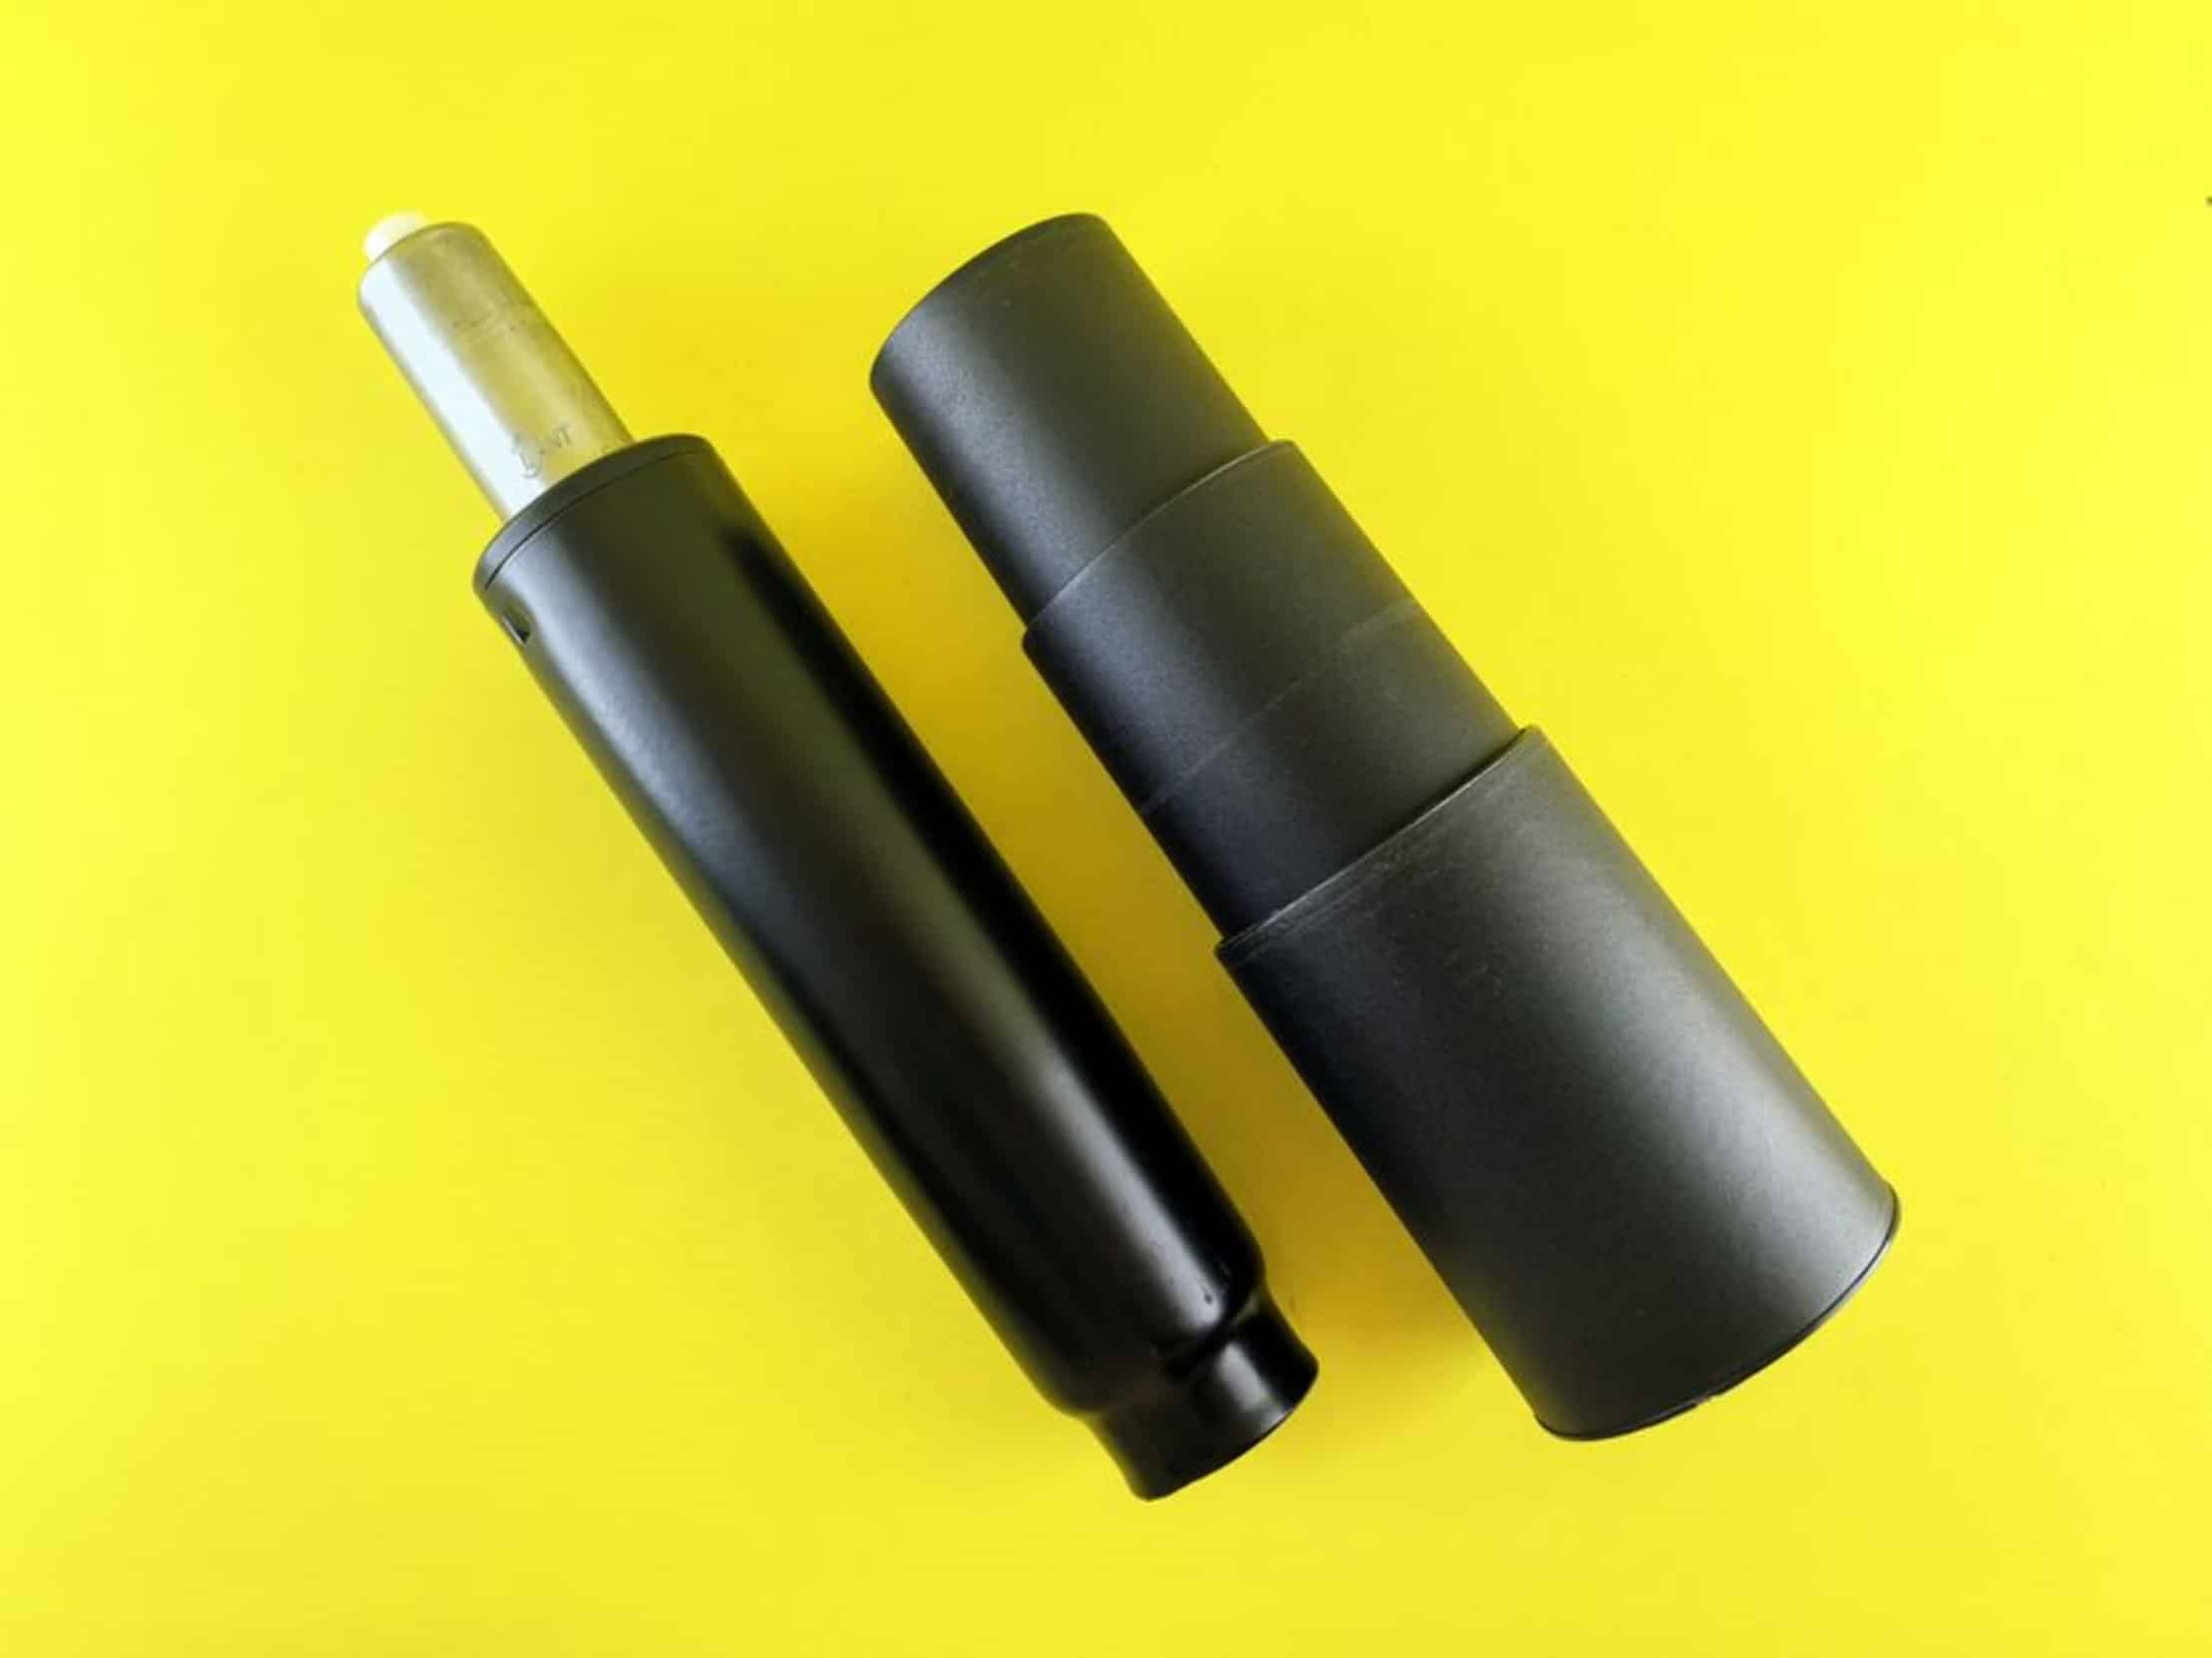
Each brand have its own type of release mechanism. The most common style is called a colored collar. Push the collar down while pulling the tube out.
It is simple, but it takes a little practice. Pulling too hard when not pushing on the collar will damage the collet inside fitting. A damaged fitting are a ruined fitting.
Other model employ a twist-lock or lever release. Knowing how the fitting release can save time and keep you from damaging parts. There are temperature limit.
Pressure and Temperature Limits
Usage boundaries include pressure rating and temperature limits. Standard fittings typically work to 200 PSI or maybe 150 PSI. For systems that run higher than this you want reinforced fittings.
There’s also a limit on temperature. Typically, the seals inside of the fittings is nitrile rubber or fluorocarbon material. Those materials have thermal limit.
When these limits is exceeded they begin to break down. That results in slow leaks. Consult the datasheet for your application.
Maintenance and Inspection Tips
It needs little to no maintenance, but you should of check it. There is an internal connection. You can’t see the seal.
So you have to depend on visual clue and pressure tests. Does he hiss? Are there drop-offs in pressure?
Typically failures are due to bad install, not age. If a fitting is damaged, replace it immediately. Don’t try to use a fitting that was over stressed.
Even though it might “look” ok its internal teeth could of been broken. These fitting offer value because they make fitting things together easy. You don’t have to guess during assembly.
There is no torquing down with a wrench. You won’t fear dried-up sealant. Hook up, check it off, move on.
Less time = less money for labor. Fewer mistake, too. A technician that runs lots of line will save a bunch of time.
When to Use Push-to-Connect vs Threaded
They are not a universal solution. For vibration-heavy application, use something like threaded fitting with locking nut. Collet grip is strong but will fatigue under constant shock.
To each his own. If you’re doing robotics/automation in general, go with push-to-connect fittings. If your application have extreme temperatures or needs to handle heavy load, go with threaded fittings.
So go forward on whatever project it is you’re doing. Know how it works inside. Have the tubing prepared properly.
Make sure the fitting matches the tube. That makes for an efficient and reliabl system. It allows for speed.
It allows for control. And it builds confidence in what can be a pretty tedious process but becomes a quick step.
