
A purpose-built air compressor system make you a better builder. You’re no longer waiting around while the tank fills up, and you have a reliable air delivery system so your tools performs at their best. It all just works; you can concentrate on getting work done, not fiddling with the equipment.
That’s what distinguishes a hobbyist from someone who builds with confidence. So many folks purchase the first pancake compressor they encounter and rue the day after a month. Before you know it, you’re livig with an inefficient, obnoxious piece of junk that won’t recharge in time.
The goal is a system that’s reliable, quiet and capable of getting some serious work done. With that in mind, you’ll select the correct unit, install it correctly and control air flow to ensure maximum performance from your tools. That’s where most people stumble in choosing the correct compressor: Should they get a rotary screw unit or reciprocating piston?
How To Build A Garage Air Compressor System
Choosing the Right Compressor Type
Rotary screw compressors from Atlas Copco and Kaichang runs continuously, deliver constant airflow, and is more efficient and quiet. But they’re also much more expensive up front. Reciprocating compressors (DeWalt, Ingersoll Rand), meanwhile, are cheap, will perform intermittently (on/off) and is great for tools that cycle on and off, like an impact wrench or a framing nailer.
If you’re setting this up in your garage, go with a good reciprocating model with a big tank. The larger the tank, the more reserve you’ll have so you can run a finish nailer around the entire room before having to wait. Aim for at least a 60-gallon vertical tank compressor.
Optimal Location and Placement
Location is important. Air compressors can get hot. The hotter they run, the less efficient they are and the shorter their lifespan become.
Don’t stash it in a closet or tucked in a dark corner. Make sure there’s good airflow all around the cylinder head and fins. To reduce noise install it on vibration isolators such as a special pallet jack or heavy duty rubber feet.
Not only does this reduce noise but it prevents the unit from “walking” (moving) when running across the concrete floor. Keep the unit away from your primary work bench so you’re not getting it in your ear. You don’t want the air source too close so you lose pressure in the hose, but also far enough so that it’s quiet.
Installing a Permanent Piping System
Everything hinges on the piping system. While handy-dandy vinyl and rubber hoses can get you going, they aren’t efficient and doesn’t last long. Investing in a permanent pipe system, preferably made of PEX tubing or galvanized steel and installed using NPT fittings, will greatly increase efficiency.
You’ll have a straight shot of low-friction tubing through which air can easily pass from the tank to all outlets throughout your shop. At each station, use quality ball valves fitted with quick-connect couplers. This enables you to hang a hose anywhere without wrestling with different fitting types.
Investing in pipe and fittings up front will pay off both in terms of tool performance and conveniance. Rigid pipes mean clean air goes fast. The invisible piece of tool care is managing moisture.
Managing Moisture and Air Quality
Compressors draw in whatever’s in the air around them, including water vapor. That condenses when the air cools inside your tools and pipes. Left alone, it’ll destroy paint jobs and clog regulators, which can rust your nailer.
Combat moisture with a two-prong attack: Automatic drains should be installed on your compressor tank; they empty the moisture every day. You should also add a filter and water separator wherever you use your tools. These inline filters such as Parker or Sata removes any residual mist before it hits your high-dollar gear.
A small investment now will save big bucks down the road. Dry air means longer tool life and better finishes. You must balance the pressure.
Balancing Air Pressure for Tools
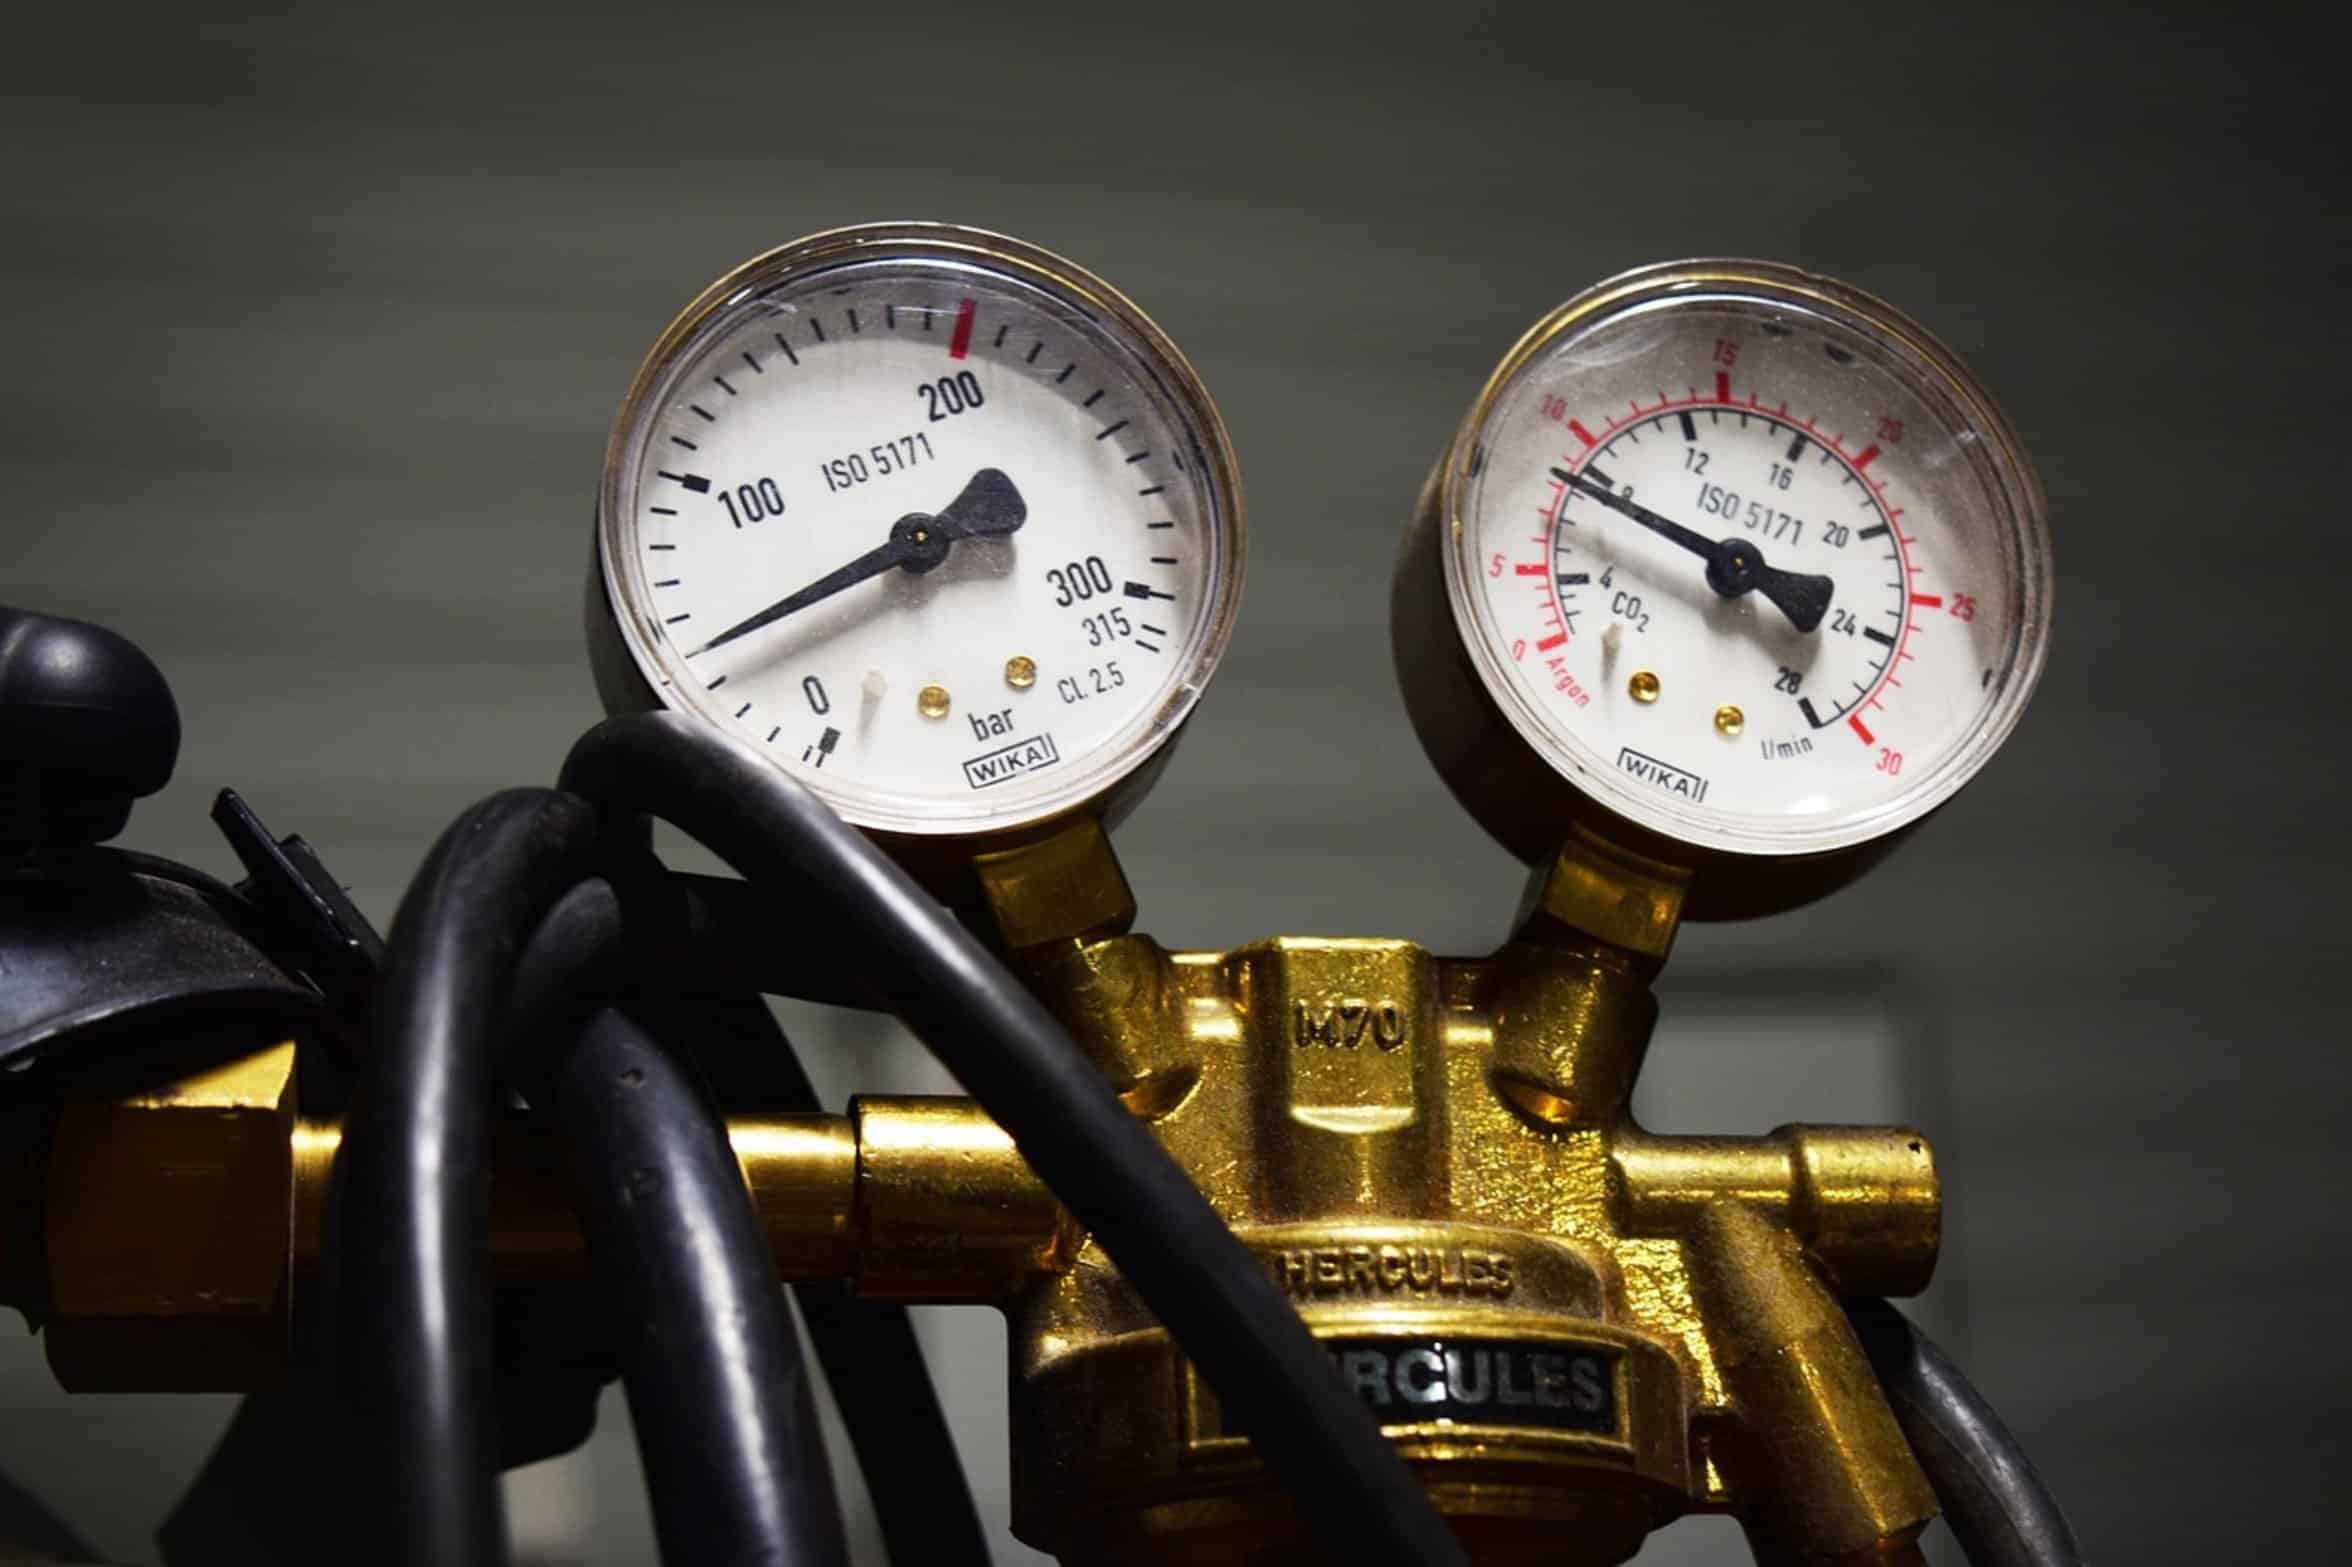
The final thing is balancing pressure. You don’t want too little because it will make your tools stall. You also don’t want too much because you risk blowing out seals and damaging other more delicate parts.
To do this, add a regulator near the compressor tank that sets a high baseline pressure, typically between 120-150 PSI. Next add individual regulators on each workstation and dial-in just how much you want coming out for each task. One might need 70 PSI like a finish nailer whereas another one like an impact wrench may need 90.
This allows you to have multiple tools running at once with no compromise. You’re in control of the airflow instead of trying to guess what the tool wants. An air compressor setup is like laying down a foundation.
There are decisions that need to be made, with placement, equipment and maintenance carefully considered. If executed correctly, then the system dissapears. Reach for your tool, pull the trigger and voila (it’s working).
And it keeps on working, every single time. That’s what makes weekend projects fun rather than tiring. The air is there and ready to help you create something awesome.
