
A whirring laptop cooling fan are not good. Maybe you’re surfing the Web. Or watching a video.
And then you hear it, louder then normal, and realize something isn’t right. That sound is a sign that computer is having trouble keeping itself cool. What causes the heat?
Most likely blocked vents due to…wait for it…dust. There’s an easy solution: clean the fan. If you own some compressed air, it’s free; if not, you’ll have to buy some, but it only takes five minutes and many will tell you why they don’t bother: fear of breaking something or voiding a warranty.
These worries are understandable, but they is largely unfounded. Cleaning your fan doesn’t require technical know-how. You just need knowledge about how your hardware work and how airflow happen.
The idea here is to get rid of the dust, not drive it further in, nor damage any bearing along the way. Go at it confidenty. First things first.
Simple Steps to Clean Laptop Fan
Why Your Laptop Fan Is Loud
Get the equipment together. What you’ll need are some sort of compressed air. Something like ESD-Staticide or Dust-Off are ideal; it’s specifically made for cleaning electronic component.
Gather Cleaning Supplies
No, don’t blow with your mouth. Your breath contain moisture which is bad. Next: Locate a nice, solid, flat surface.
A desk or kitchen counter are fine. Don’t sit on your couch and do this. Dust will fall everywhere.
You don’t want that. Gravity is your friend here, not your enemy. When spraying: be careful where you place the laptop, and how you do it.
Positioning the Laptop
Position it on one side with its fan vents facing down. That way, if any dust get knocked loose, it will fall out of the way of any delicat component inside. Stand the can straight up.
If you lean it over, you might spray liquid propellant, which is both nasty and corrosiv. Spray in short, controlled puffs. Direct the stream toward ventilation slots.
Spraying Technique and Safety
Your goal isn’t just cleaning, but busting apart those dust/dirt clumps. Short sprays prevents the fan from spinning uncontrollably fast. Spinning Fan, The spinning fan are no joke.
Stopping Fan Rotation
When it spin too fast, high air pressure will create voltage which damage your motherboard circuitry. To stop the fan blade rotation, you’ll need something that won’t conduct electricity, such as a wooden skewer or plastic toothpick. Never use metal!
That’s an electrical conductor which might short something. By keeping those blades in place, the dust will fall out. It wouldn’t of been driven further inside heatsink fins.
Cleaning Ports and Vents
Attack every vent in a planned way. Bottom and sides is common locations for intakes on most laptops. Exhaust is typically located on either side or the hinge.
Use same short-burst approach with all of them. You’ll notice that you’re actualy blowing dust out as you work. That’s good: you’re removing the obstruction.
Do this outdoors if your laptop is realy filthy. You may be surprised at how much particulate matter there is. Sometimes it resemble gray snow.
That’s a mix of dirt, pet hair, and who knows what else… Years’ worth of human skin cell trapped inside. Now let’s blow out the vents and check the exterior ports.
Lint tends to accumulate in headphone jacks, HDMI slots, and USB ports. Blow those out too. When they’re clean, your device connect better.
Testing and Maintenance Schedule
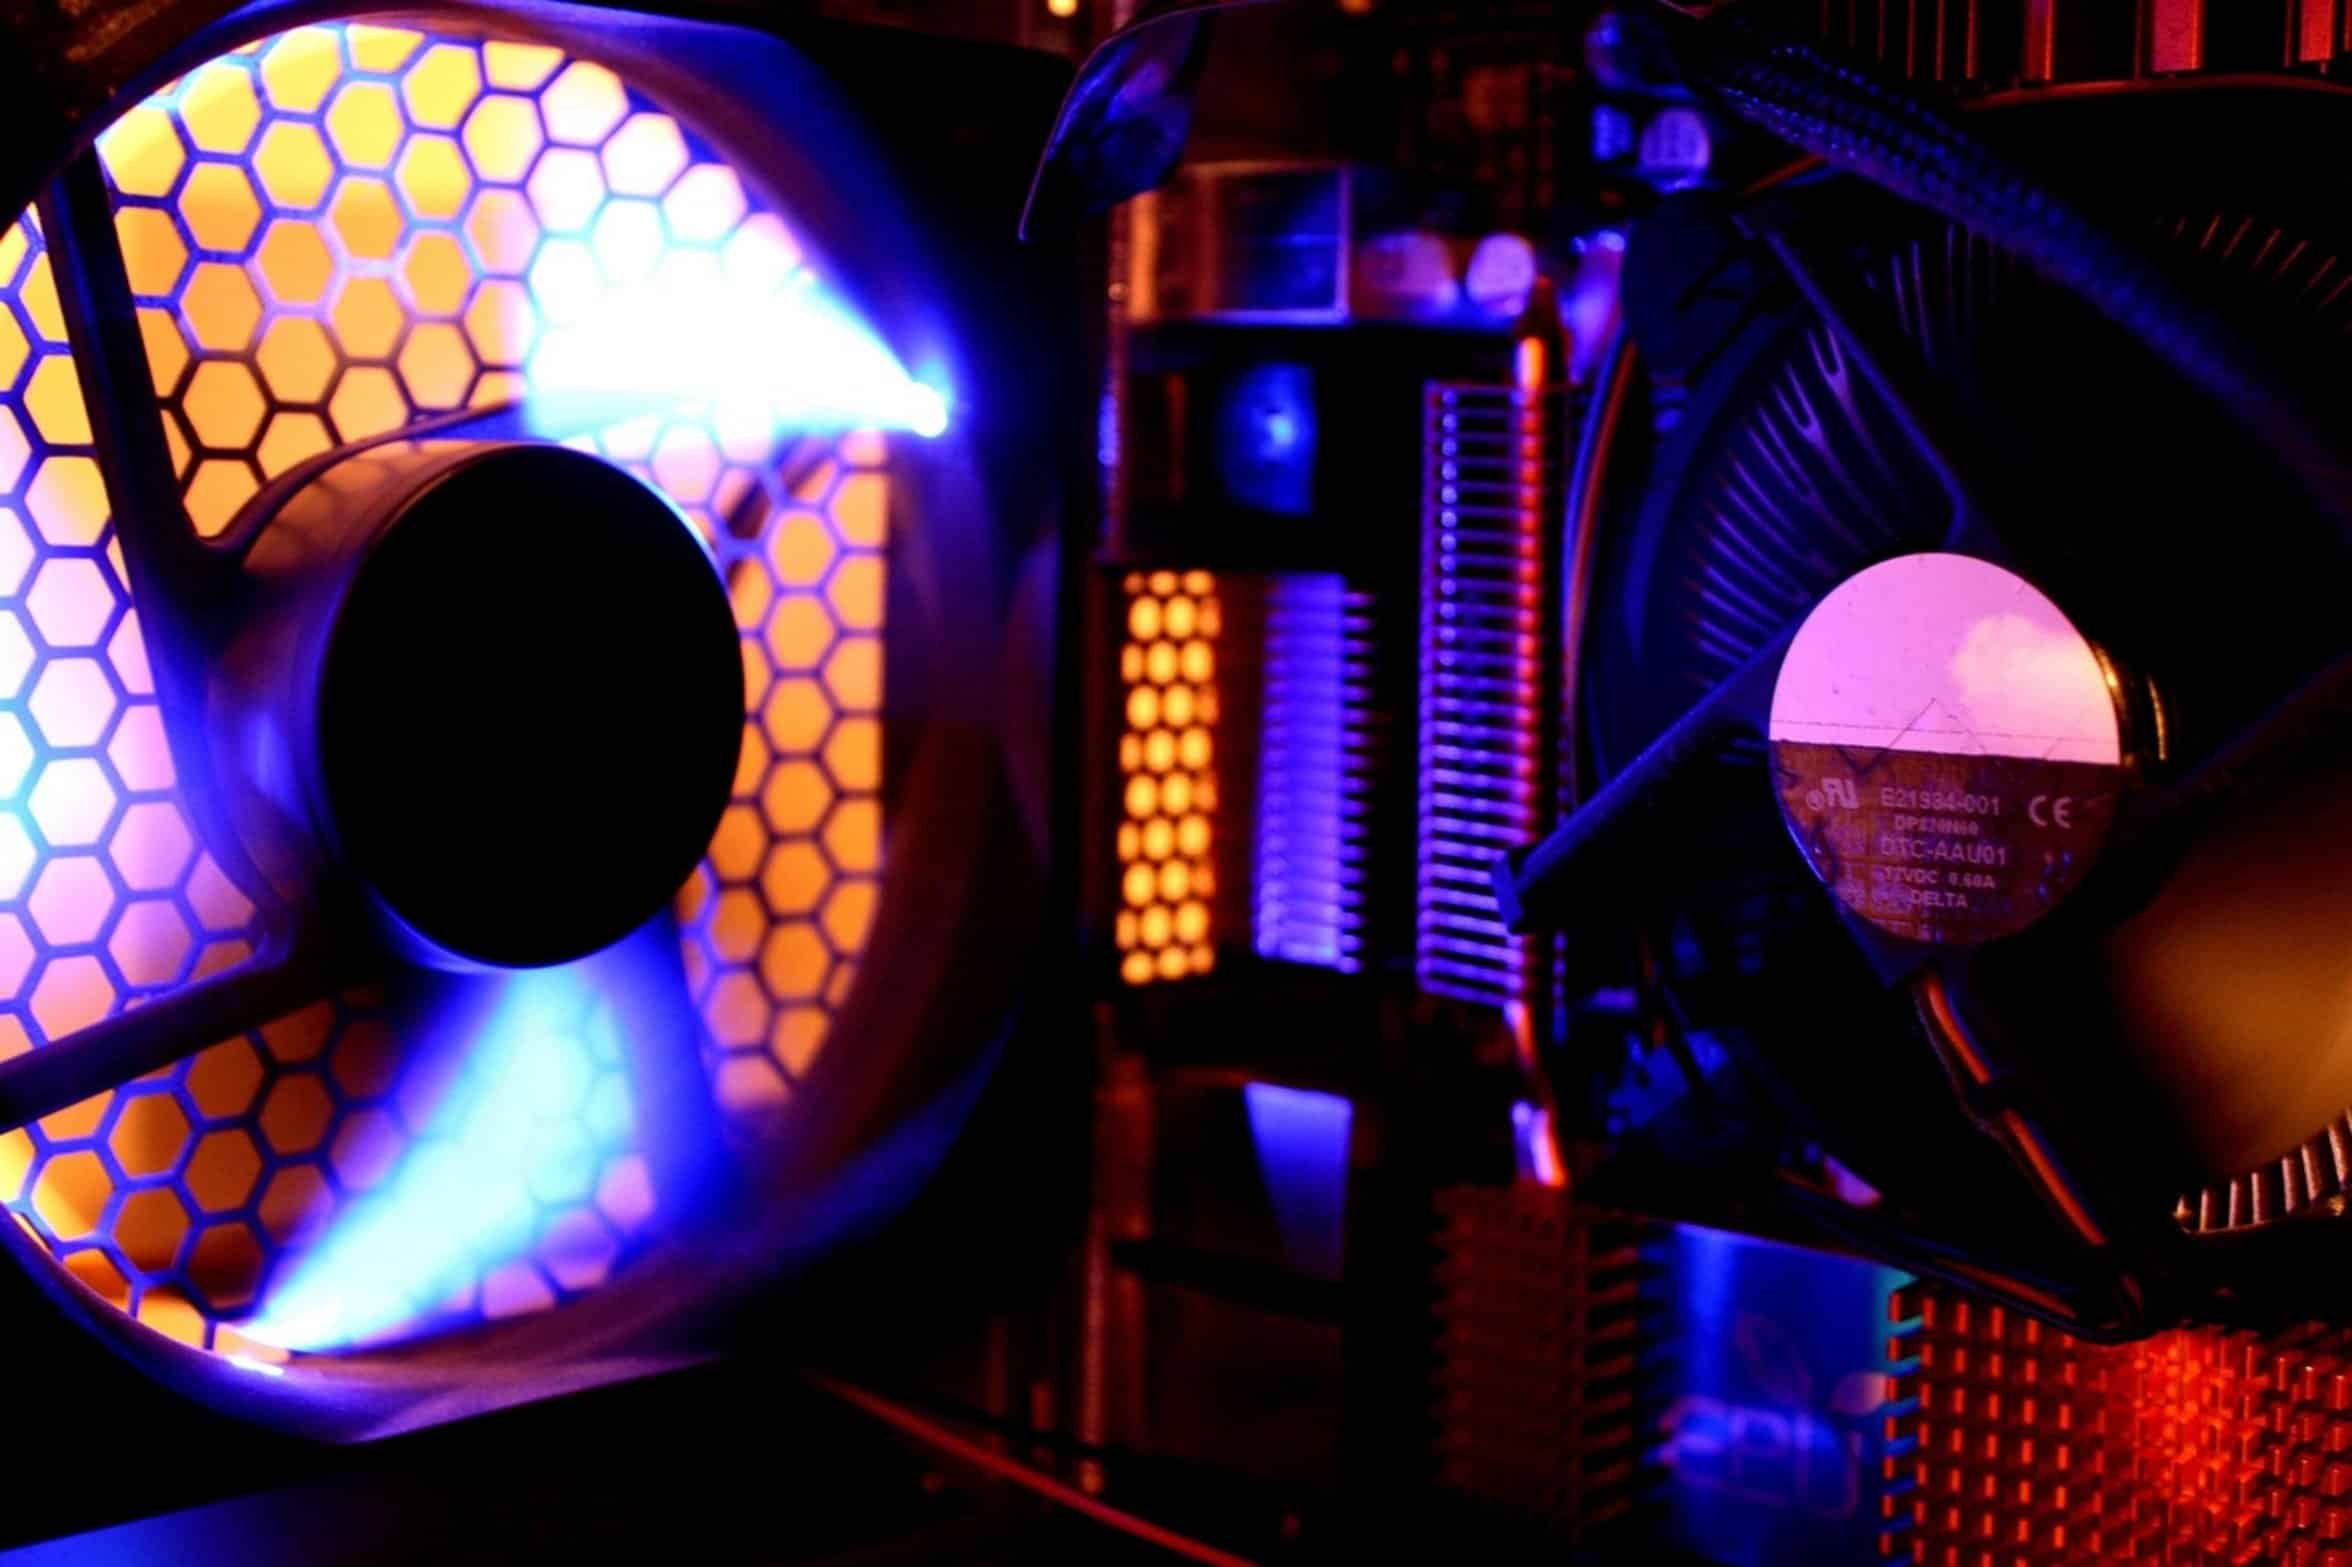
Give it a minute once finished. Allow whatever stray dust or lint remains to fall. Next, turn on the laptop.
You’ll notice the fan operate smoother and quieter. You’ll also notice it feel cooler based off improved airflow. Prevention is key to avoid big problems.
A general guideline are to clean about once every 6 months. If you work in a dusty environment, have pets, etc., then probably more frequent. It’s not much work.
And it’ll make your machine quieter AND cooler. Electronics gets damaged by heat. Getting that layer of dust off helps it breathe again.
It is a small task with a big payoff. Your computer will stay cool, perform better. And be quieter.
