
Heat sinks become caked in dust bunnies. Laptop cooling vent accumulate lint. Slowly, this buildup blocks airflow that keeps your processor from overheating.
Most folks break out a can of compressed air. A couple sprays of propellant find their way into nooks and crannies before they move on to the next thing. It seems thorough enough until the can is empty and there is sticky goop left behind.
Safe Laptop Cleaning With Air Compressor
The Problem With Compressed Air Cans
The goop catches even more gunk. Does that mean an air compressor at workshop will cure what ails you? Yes, as long as you treat tool with respect.
Understanding Air Compressor Risks
Air isn’t subtle. Air pressure, specifically high-pressure air, are a powerful stream that can displaces delicate components. It’ll pop off those flimsy plastic clips.
It’ll short circuit. When using an air compressor on a laptop, you need to change gears. Blowing out a clogged gutter?
No. Cleaning a car engine? Nope. We’re dealing with static sensitive electronics and millimeter tolerance.
So the goal is to blow out any dirt/debris. And you don’t want to transfer that kinetic energy because internal parts won’t survive it. That means making some adjustments to your set up.
And it means controlling airflow as part of a disciplined process. The first thing to do is reduce pressure. Your compressor in the shop probably puts out air at pressures that will catapult keyboard across the room.
Setting the Correct Air Pressure
So get yourself a pressure regulator for your air hose. Turn it way down. It should ideally be no more than thirty pounds per square inch.
Some techs say go less. Like ten to fifteen PSI when actualy cleaning? And high volume isn’t a good idea.
It should be enough to pick up some dust. Don’t use so much that it warps logic board and pulls screws loose. Does it sound like a jackhammer?
It is already doing damage to the inner structure. It all comes down to what you connect to it. A regular blower nozzle emit a focused stream of air.
Choosing the Right Nozzle Attachment
It’s powerful and direct. It has too much power in one spot, that’s not good for delicate spots. Instead, use a fan tip.
Or better yet, fold over a bendy hose‘s end and pinch it off to create an impromptu diffuser. The softening effect disperse the air flow into a larger area, less intense and more like a broad strip of air. It is more like a breeze than a gale.
This will help keep your heat sink in place while protecting fan blades. Beware: Static electricity is an unseen danger with all compressed air blasts. High-speed, dry air create a static charge.
Preventing Static Electricity Damage
The charge will arc to neighboring components. One static discharge is sufficient to fry a capacitor. It can corrupt a memory chip as well.
To prevent this, make sure that compressor has proper grounding. Also, be sure to ground yourself before entering by touching something metallic on the chassis. Do not aim the air directly at a battery connector or power port.
Static charge combined with moisture from the air line equals a recipe for disaster. Make sure that your laptop is fully powered down. Unplug it from all power sources throughout the process.
Compressor lines are another sneaky variable: even if you have a dry-looking tank, there’s usually some condensation hiding inside hoses. Liquid water going into a laptop = bad. Get an inline air filter with moisture trap that sits between your nozzle and your compressor.
Removing Moisture From Air Lines
This will catch any oil mist and water that come out of your compressor and gets blown into your device. The bowl of the filter should be checked periodically and emptied. Without one, just let the air sit in a separate trap for a minute or two before turning it on.
When working with precision electronics, clear, dry air cannot be compromised. How you apply it is just as important than what you are using. Don’t point nozzle straight at the surface.
Applying Air Safely to Components
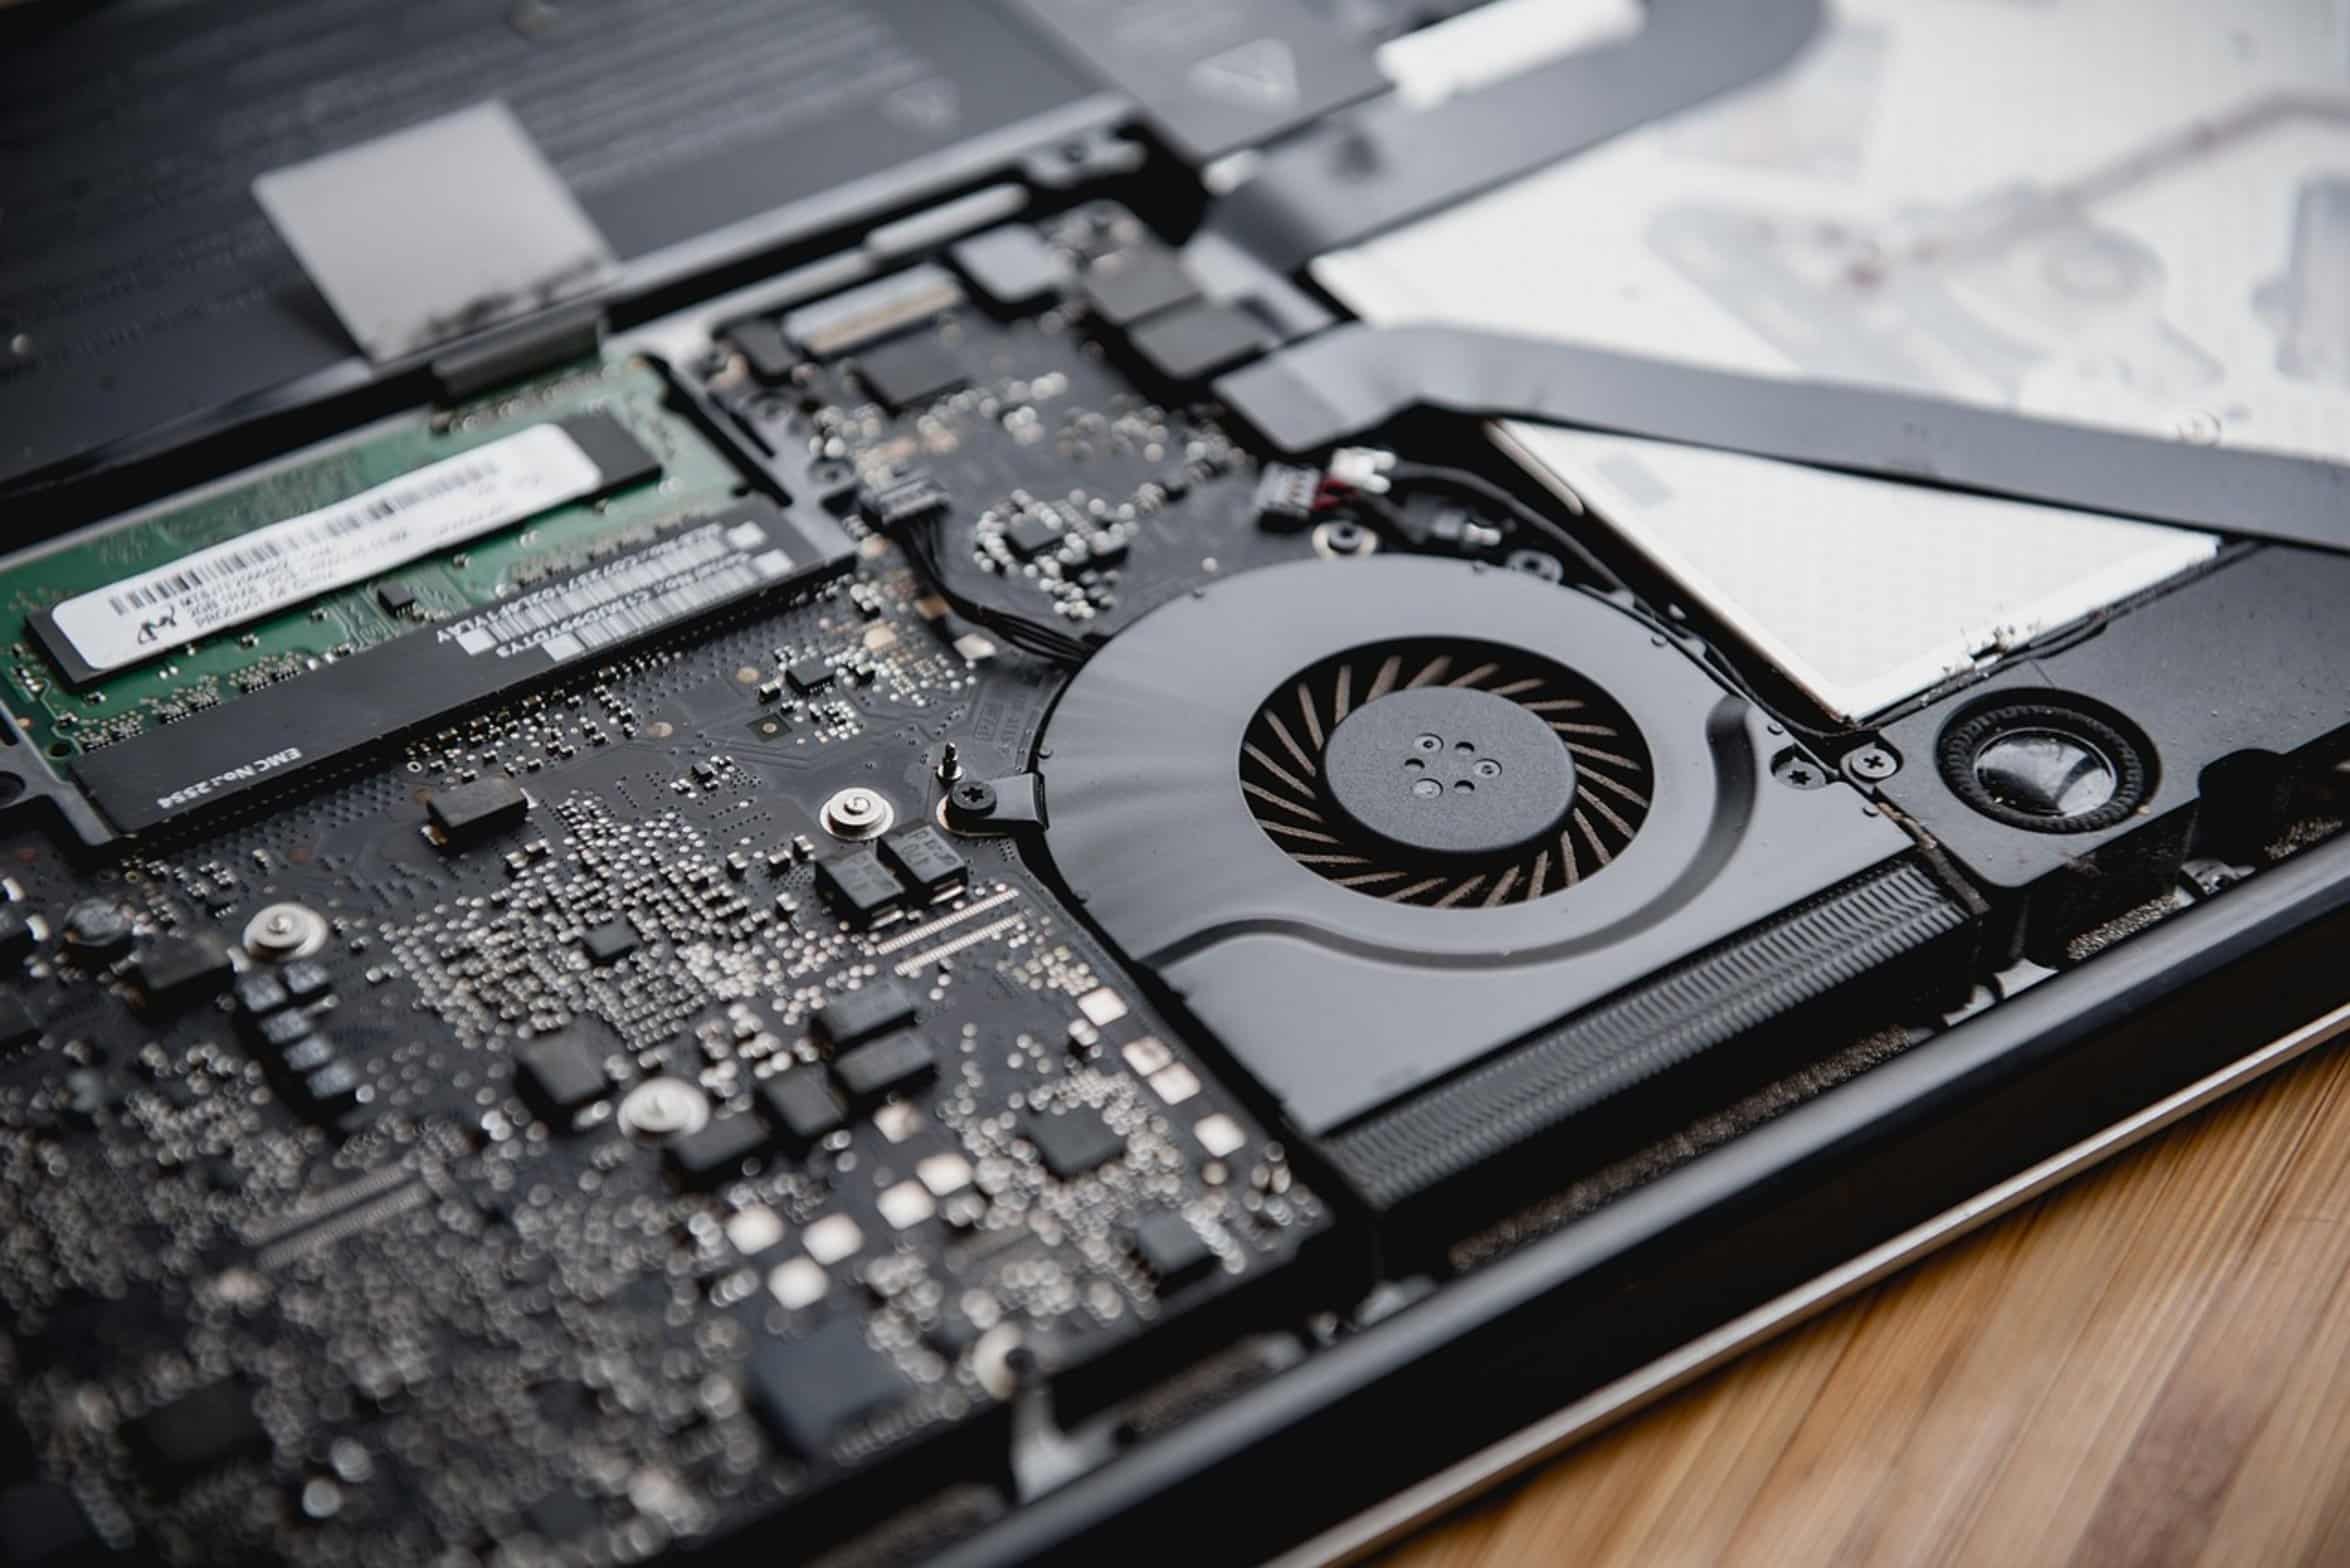
Point it at a slight angle and use short, steady bursts. Don’t let nozzle sit in one spot too long or you’ll build up heat. You’ll build up static too.
Pay special attention to the fans and vents. Not the keyboard gaps. That’s where you might push more dirt deeper into your computer.
Use an inside-out approach. Push dust away from delicate circuitry. Cleaning this way carefuly will ensure that you’re taking something off instead of spreading it around.
A good clean is as much about patience as it is about tools. Don’t be in a hurry here. Go slowly, and check each area under the airflow.
Wait another moment if there’s still dust. Adjust your pressure and have another go. Sterile doesn’t matter; functional does.
Respect the pressure limitations of the thing and you’ll respect its lifespan. Manage that static and you’ll manage those circuits. Keep that air dry and you’ll keep that hardware intact.
You’ll transform a fearsome weapon into a precise instrument. Your laptop will thank you. No more self-inflicted heartbreak over hardware failures.
