
How do you organize that messy garage? For instance, mounting a reel on ceiling for your air hose would free up some precious floor space for your vehicle or your workbench. It would also eliminate the need to trip over coiled-up rubber.
Not only does it instantly look better, but putting one together isn’t as simple as drilling a hole and hammering in a screw. Several thing come into play here. You have to consider the ceiling joists, how the suspension mechanism work with their spacing, and the moving load it must support.
This isn’t just about hanging something on a wall. With gravity pulling in a different direction, this time around the stakes is higher. Sure, if the mount gets a bit loose it looks bad.
But when that reel is under pressure, it’s not just a matter of appearance; it has become a potential safety issue. When you’re driving nails or filling a tire, the bracket might give way. If it does, the recoil will whip the hose back at you, potentially hard.
Get it mounted correctly and it’ll last years. It will never strain the compressor output and won’t sag over time.
Step By Step Guide To Mounting Air Hose Reel
Why Ceiling Mounts Are Safer and Cleaner
The first actual decision: Where will I put it?
Choosing the Right Location
You’re looking for an area with good overhead clearance so the hose has enough room to stretch out all the way and not get caught in any insulation or other beam. The ceiling of most garages are made from 16- or 24-inch-on-center joists, so those locations dictates where your beefy anchor points will be. Of course, you’ll be tempted to position the reel directly atop your workbench, since that’s convenient.
But do the headroom check, does the reel housing obstruct your head if you stand up? Position it slightly off to the side, near a corner or above a storage area where the hose can swing freely. One thing that is absolutely essential with this project is solid structural support.
Identifying Solid Structural Support
Pulling on your hose while reeling is not something a drywall anchor can handle with the weight of a fully-loaded steel reel. It must be drilled into either the concrete ceiling or wood joists. Find your beam location with a stud finder and then double-check its position by tapping the ceiling until you hear the thud of solid wood instead of the echo of open air.
The echo of open air. On a concrete slab building, you’ll want to use either a wedge anchor or hammer-set anchor rated for the amount of weight expected to be applied to it. This connection to the frame of the building is what makes the mount strong or weak.
Selecting the Right Hardware
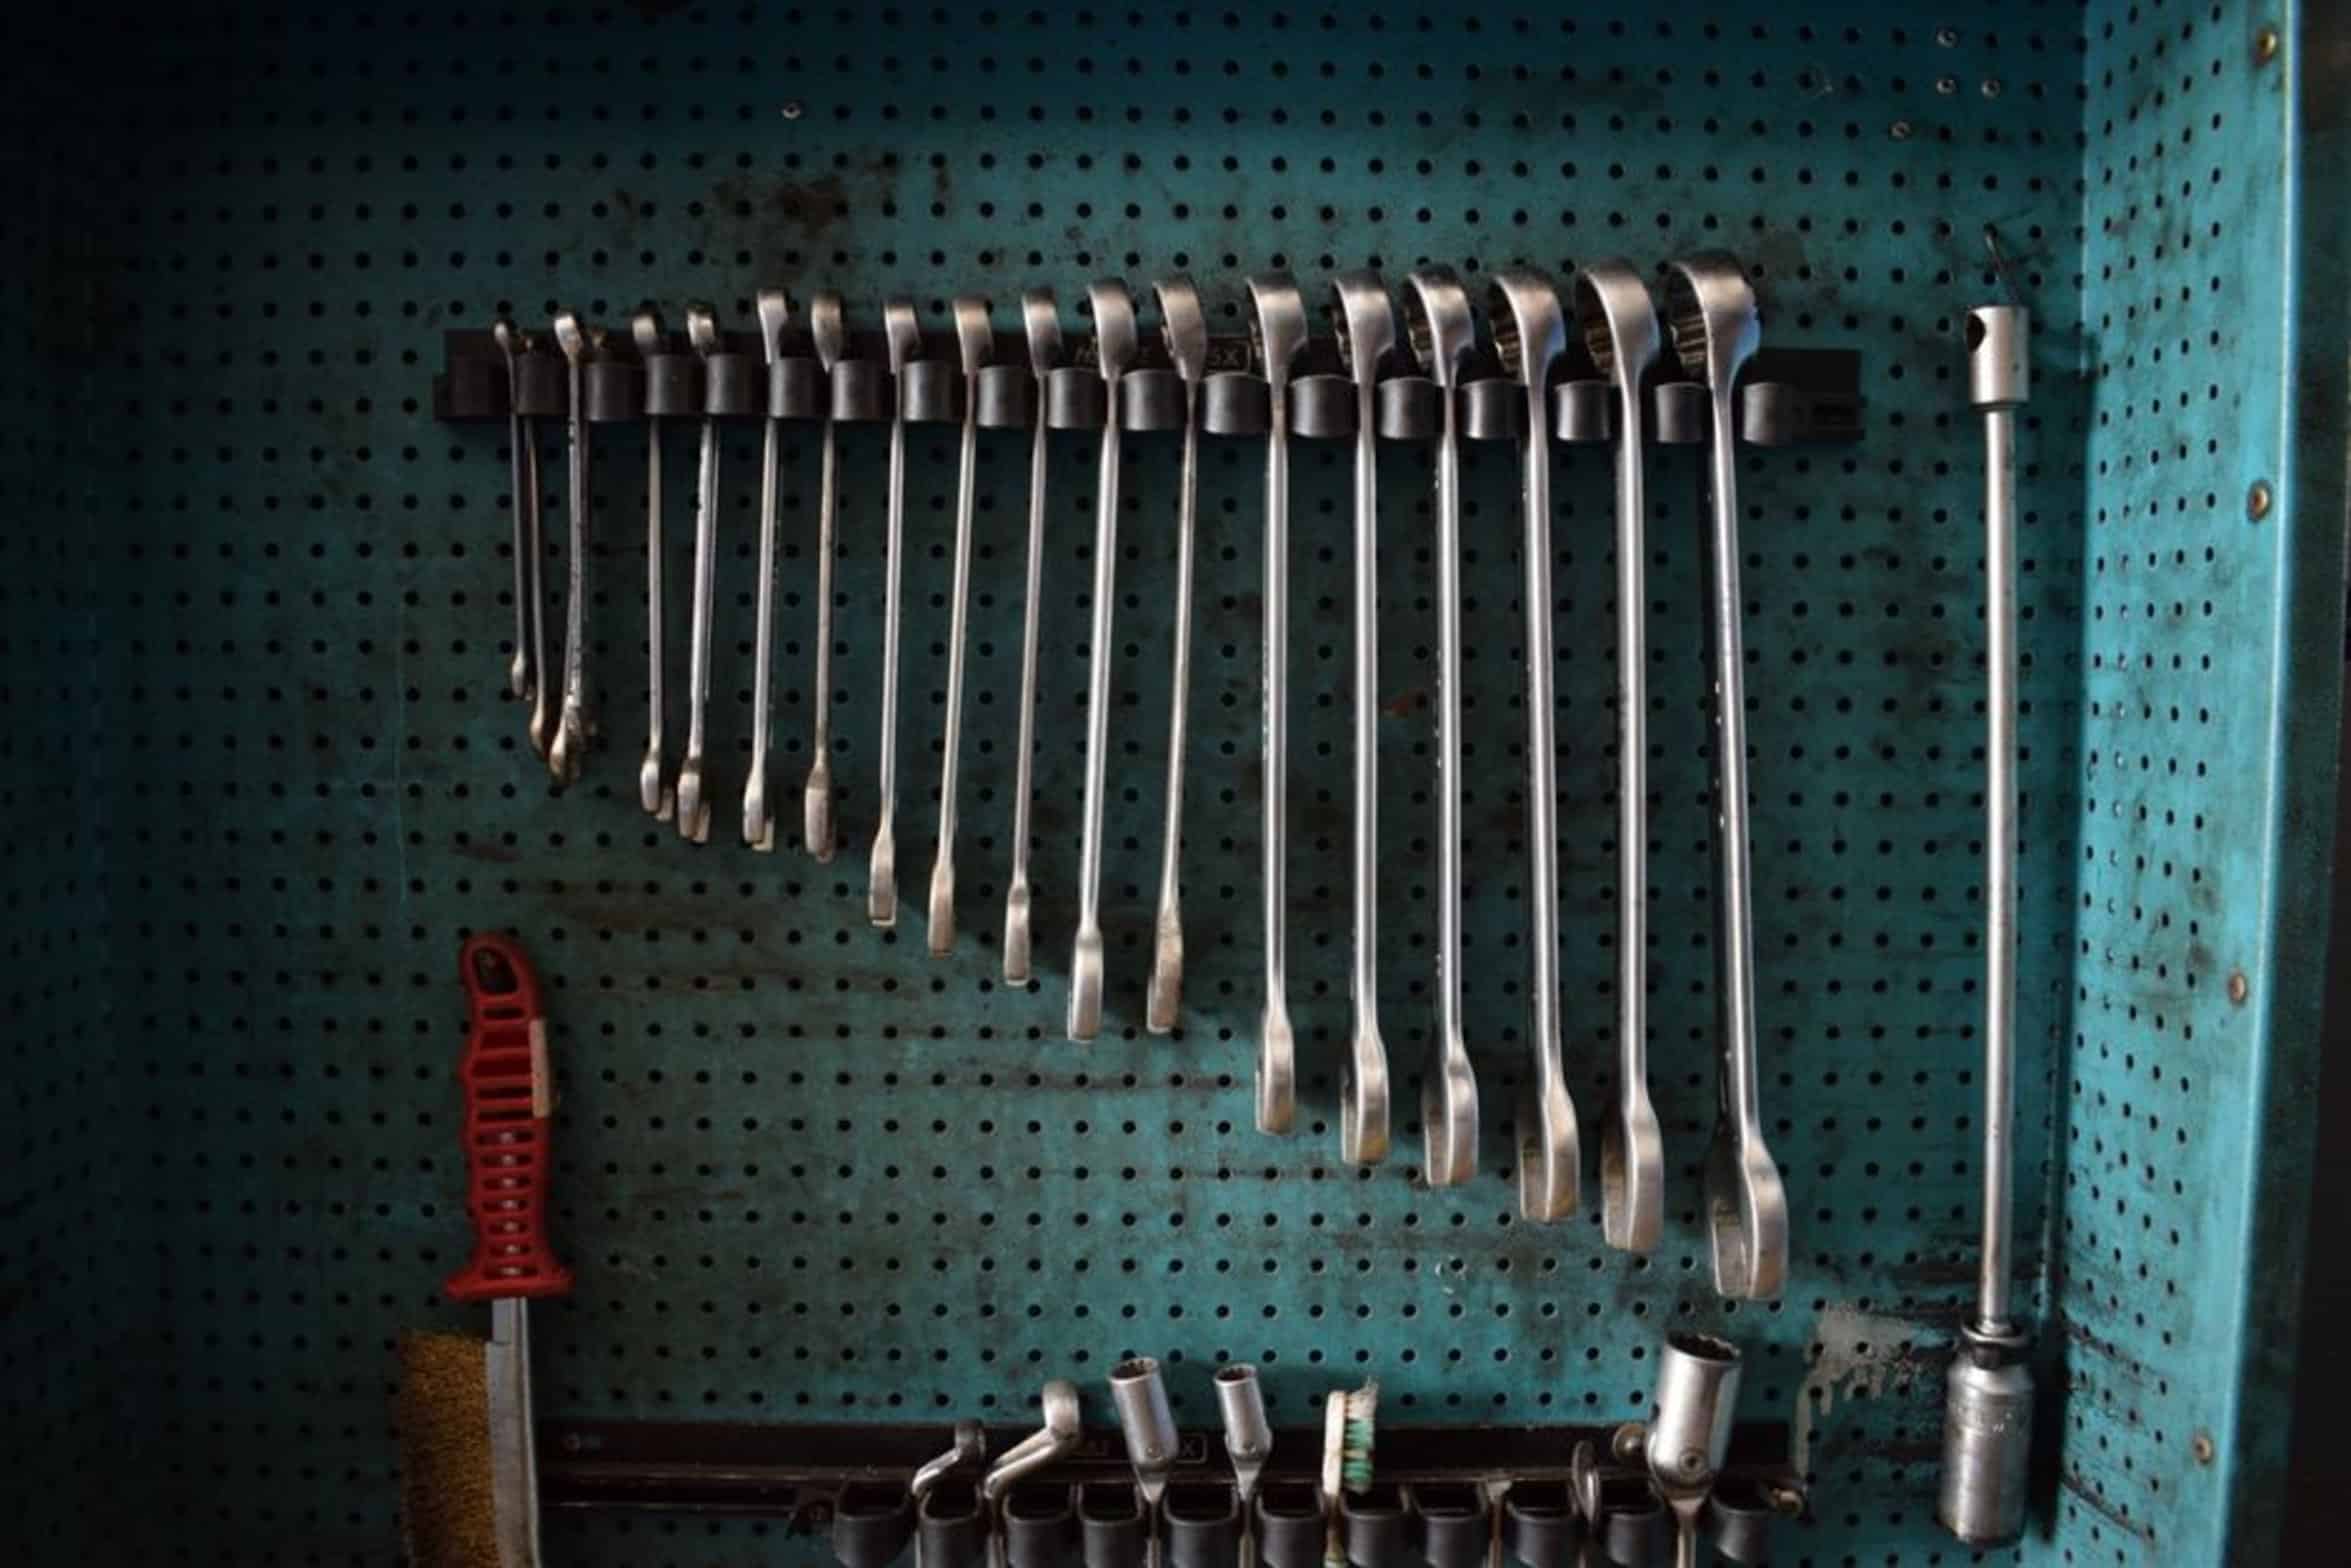
The right hardware is critical to a rock-solid reel versus one that’s wobbly. Lag bolts are best. They has coarse threads that dig deeper into the joist material than standard wood screws can handle under the shear forces applied.
For heavy-duty reels, you’ll often see a half-inch diameter lag bolt used. Use big fender washers too to spread out the force on the wood’s surface. That keeps the head of the bolt from pulling out over time.
This is another small detail that prevents a total failure. Many amateurs don’t drill pilot holes before drilling. The result is stripped bolts and split wood.
Drilling Pilot Holes for Secure Anchoring
Pre-drill small holes slightly smaller in diameter than the threads of the lag bolt. It’ll guide the screw straight and true…straight into line with the mounting bracket hole. Force the bolt into position without a predrilled hole and the wood fibers compress unevenly…which actualy reduces the holding power of the anchor.
Go slow here. You’ll end up with a crooked mount, which doesn’t look professional, and can also cause the reel to bind during rotation. Straight holes = straight bolts = secure installation Mounting the bracket can be tricky, so take your time.
Installing the Mounting Bracket
First, slide the lag bolts into place by hand; this will help keep the threads aligned so they catch properly when you tighten down. Then screw the bracket in using a socket wrench. Tighten it just enough so the bracket is snug against the ceiling.
Don’t overdo it and crush the wood fibers. You want it to have no wiggle room whatsoever and be completely level so the reel hang straight. If you mount the reel crooked it will put an extra twist on the hose and result in early wear on the internal mechanism.
Connecting the Air Hose
After physically assembling it all together, you connect the air hose. Run the air line from your compressor to your reel with no sharp turns or kinks where the air flow can be restricted. Then attach the hose to the hub on the reel as directed by the manufacturer (typically some sort of threaded connection or a special clamp).
Testing and Maintaining Your Setup
After connecting it, retract it and extend it a few times. You want to watch for hesitation or binding when it rotates. If it doesn’t spin smoothly, inspect the hose routing or maybe adjust the mounting angle.
If it operate smoothly, it is good. All in all it’s a much more efficient work area with safety and cleanliness as added bonuses. Now that most of the hose has been removed from floor you’ve got space back for doing things.
Every time you pull down on the nozzle, you’re seeing the benefits of going through the trouble of locating the joists and hammering those monster bolts in there. What would otherwise be a pain in the neck becomes a smooth part of your shop workflow. Once a year look at the mount and quickly check to ensure the bolts remains tight.
Your garage will feel far more organized and your compressor will appreciate it.
