
After a few sprays, it’s quiet in the booth. You take a step back and admire your handiwork. The coverage are even.
You’re pleased. And then you glance at the spray gun. On the bench, it looks harmless.
But inside there’s residual paint that’s hardening up. That’s when hard work begins. If you walk away for an hour, you risk damaging your expensive equipmet.
Maintaining a spray gun isn’t just about keeping it clean. It’s about keeping it clean and working well. Clogged nozzle wreck its pattern.
It turns a smooth coat into an orange peel nightmare. The trigger spring dry up and makes the gun feel dead. For professional painters, clean is half of equation.
The other half is spraying. Noobies view cleaning as something that they has to do but hurry through and clean with thinner and a rag. That doesn’t work.
That causes destroyed tips and stripped seals. Before long you’re picking up a new one from Sata, Wagner or Graco. It all sounds so easy, right?
Flush out that fluid. Wipe down the outside. Take it apart and clean key components.
Still, folks wreck their stuff doing this very thing. Why? It is typically because they’re impatient.
They don’t understand the relationship between the parts. It’s a matter of being methodical. Respect the precision engineering of the tool.
So here we go; we’ll take you step by step through correct order.
Step by Step Guide to Properly Clean a Spray Gun
Why Immediate Flushing Is Critical
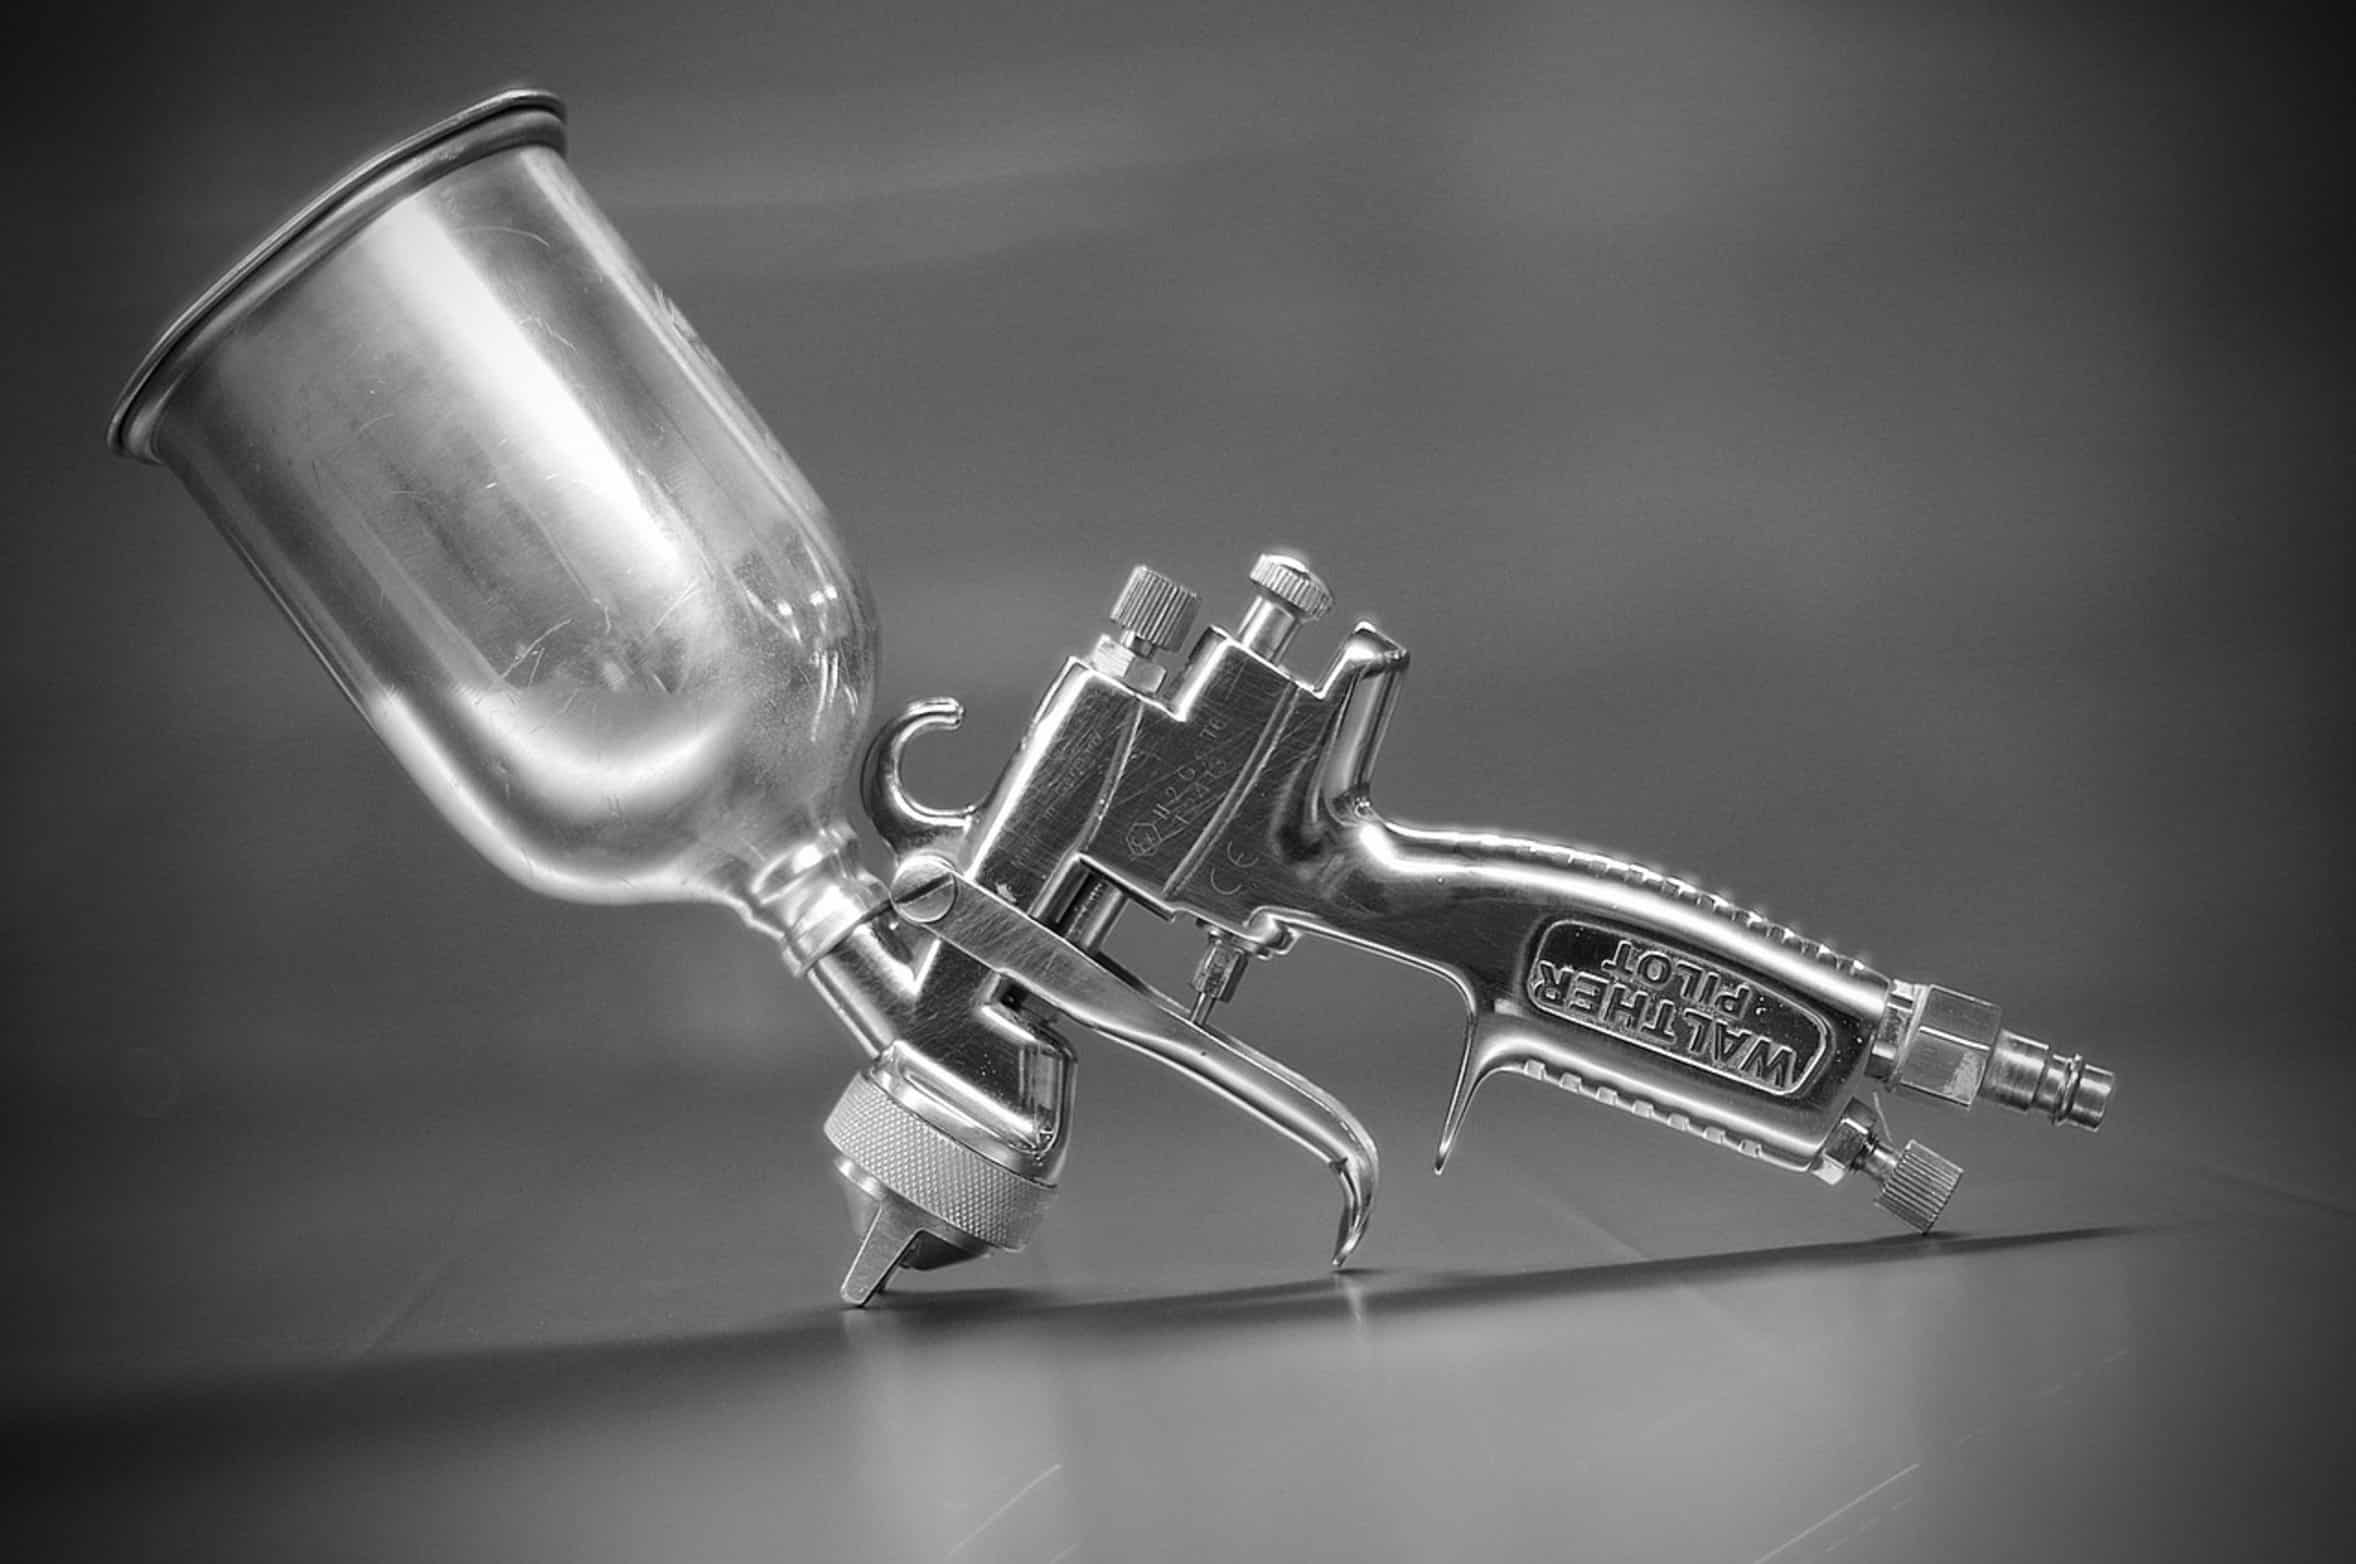
Before you turn a wrench: Here’s the most important step. Flush it right away.
No delay. Right after spraying is done, pump cleaner solvent through the gun. The thinner must match the type of paint you sprayed.
Water if water based latex. Use lacquer thinner or mineral spirits for oil base enamel. The initial flush gets out most of color.
It keeps paint from setting up in fluid tube. It protects air cap. Everyone skips the flush because they is tired of sitting.
Don’t sit down. A five minute flush will save you hours of scraping. The golden rule of taking care of your spray gun is to take it apart while it is still wet.
You would of had to fight a chemical bond if allowed to dry. The damaging residue is found when you remove the needle, the air cap, and the fluid nozzle assembly from the gun. A bucket of clean solvent is next.
Soaking and Agitating Disassembled Parts
Put the little pieces into the bucket. Soak the pieces. Agitate helps.
Move the parts around. What we want to do is loosen the dried film. Before touching the pieces with a brush are best.
Using the Right Brushes for Nozzles
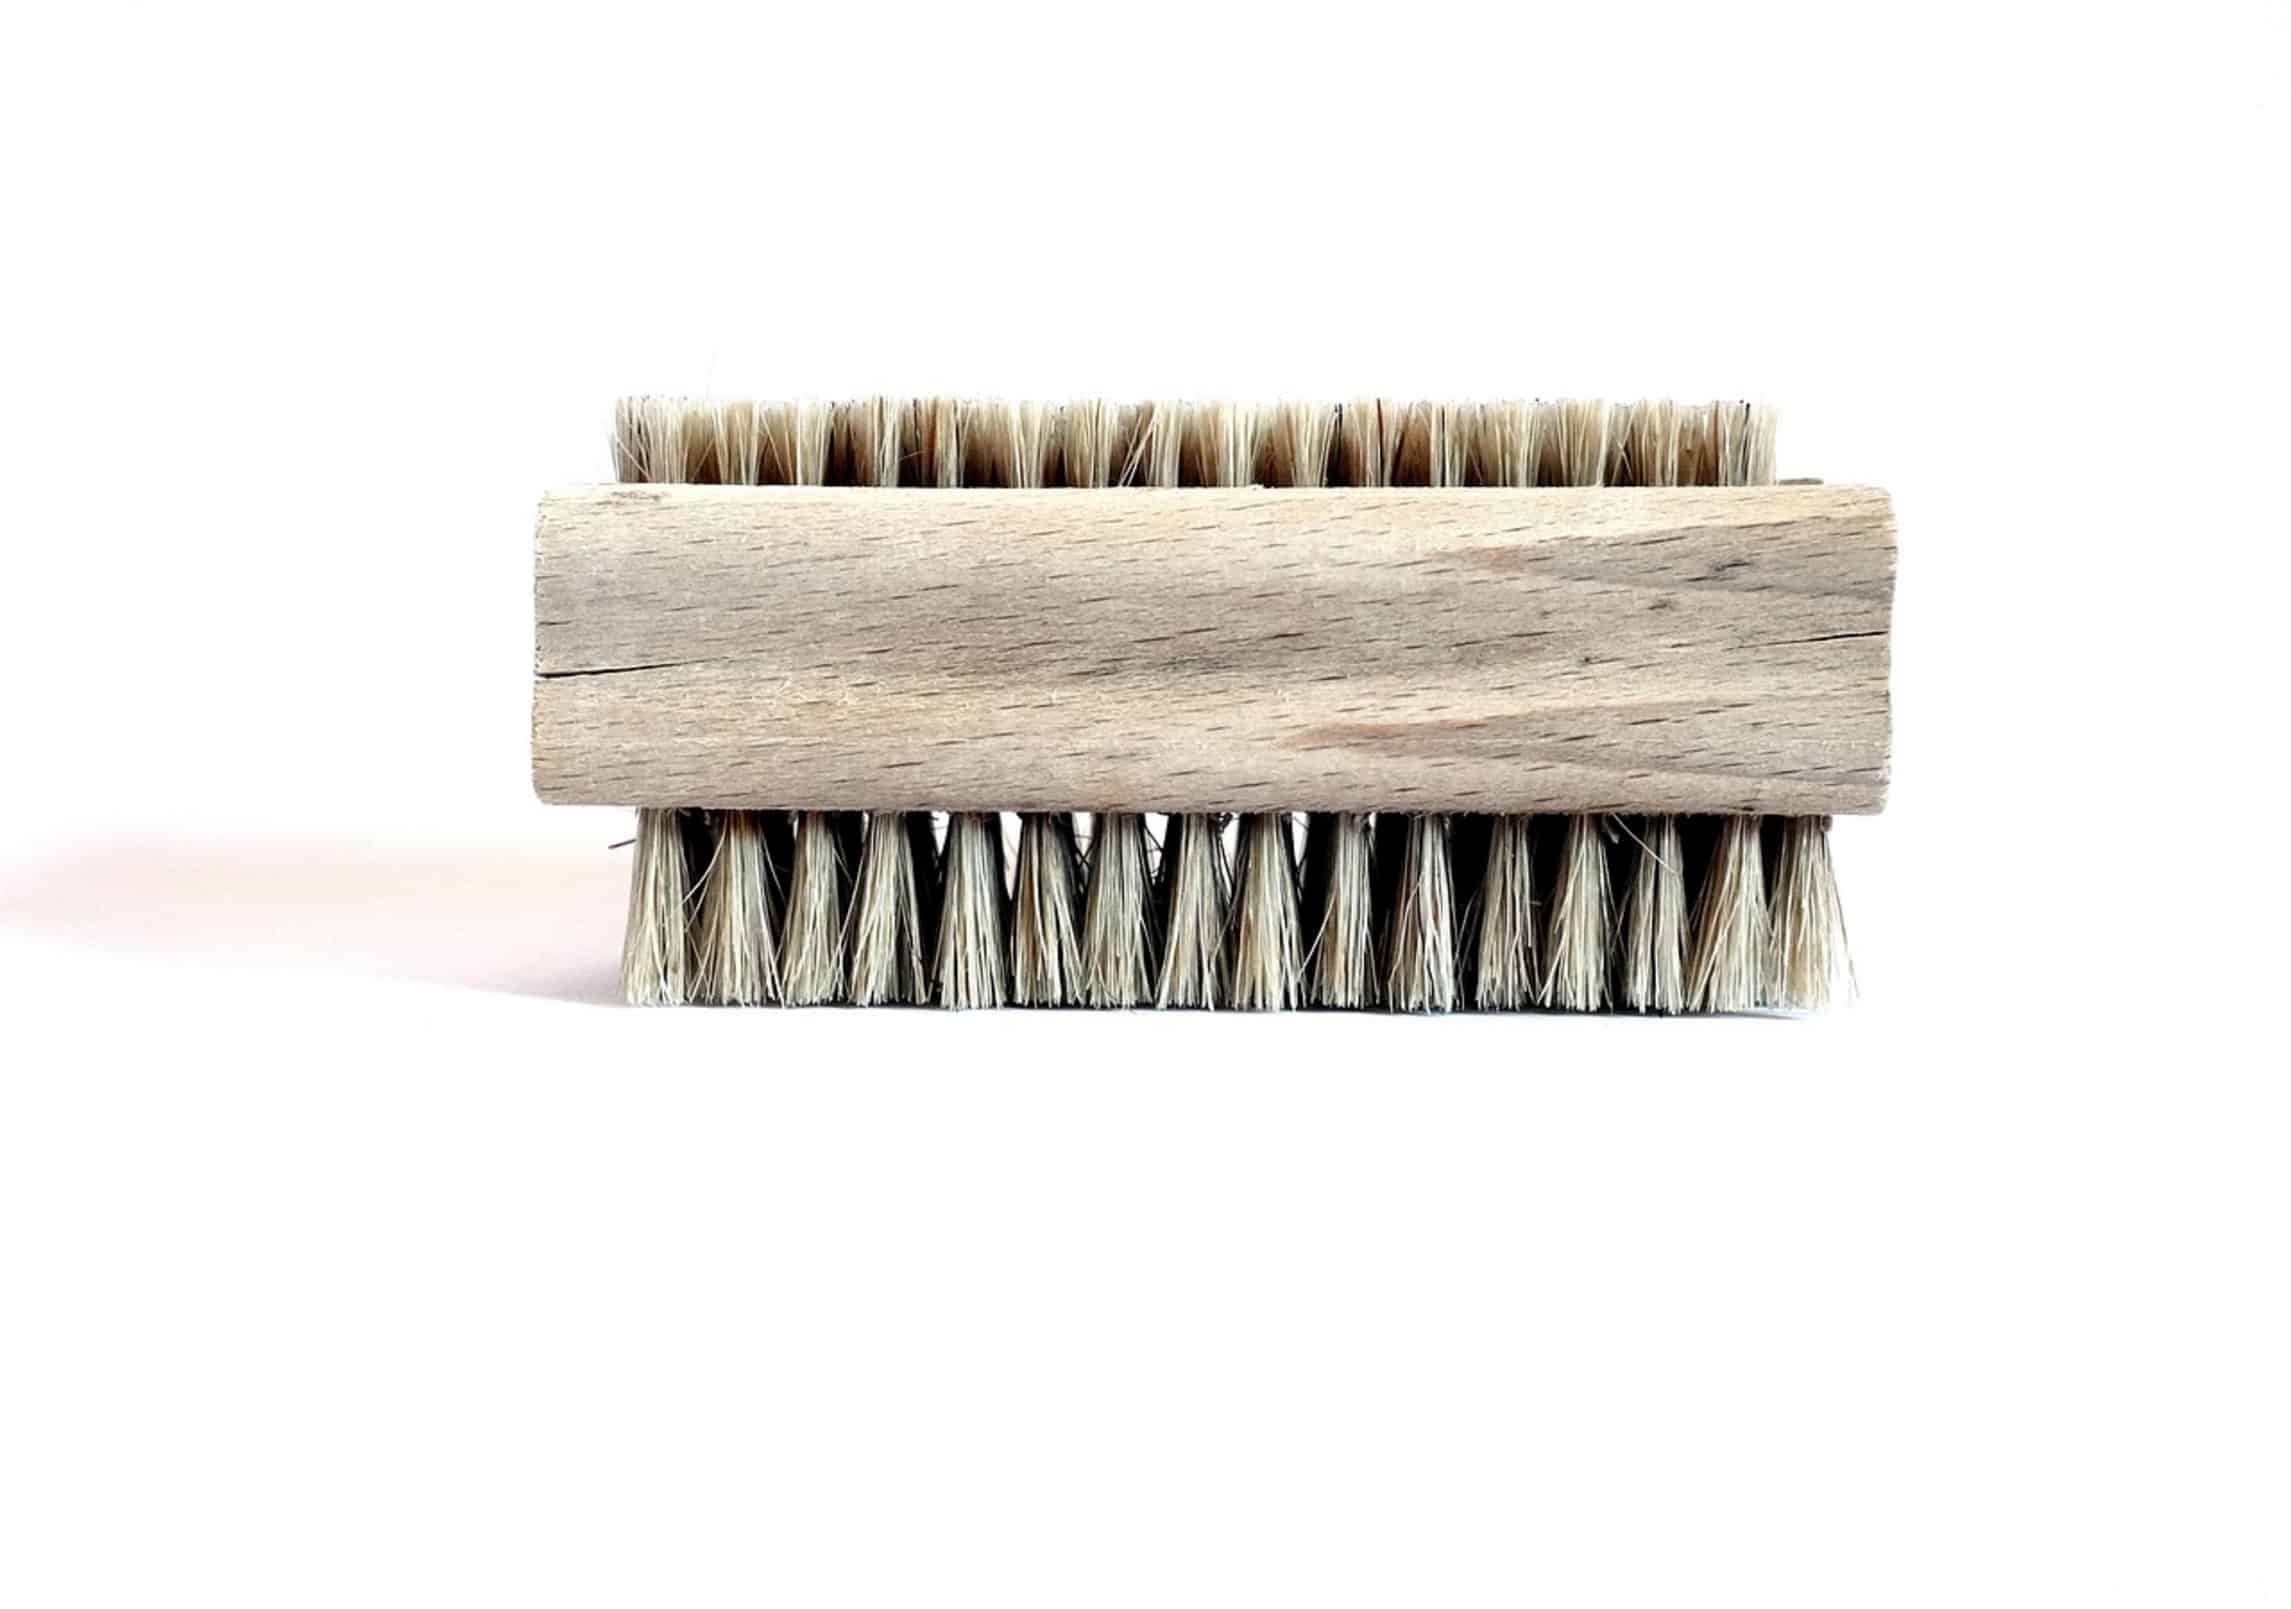
Use the proper tools for the task. Nylon soft brushes is preferred. No metal or wire brushes on any surface, especially metal.
That’s your nozzle. It is precision machined, so you will scratch it if you use wrong brush. One scratch is one hiding place for paint.
It ruins the spray pattern forever. Always have a special nozzle cleaning brush for the fluid tip. Have another one for air cap holes.
Go easy. Remember those passages are tight. You don’t want to scrape them clean but get out what is there.
Clean often with fresh solvent.
Cleaning the Needle and Trigger Mechanism
Watch out for the trigger mechanism. The trigger spring is delicate.
The needle is extremely precise. Any grit on the shaft of the needle will cause the seal to fail. If there is any grit or dried paint on the needle shaft, fluid will leak from the nozzle when the gun is not in use.
Use a clean, lint-free cloth. Dip the cloth into some solvent and wipe the needle. Check for any bends in the needle.
If it’s bent, it won’t spray correcty. Also clean the spring housing. The trigger feels gritty because debris gets in there.
That change the feel of the gun.
Drying and Lubricating for Storage
Reassemble when thoroughly dried out. Rust can occur if there’s moisture in the gun.
Contamination or fisheye occurs if there’s moisture in the paint. Parts should be allowed to air dry on a clean towel. Don’t use compressed air to dry the parts unless it’s filtered and oil-free.
Air has moisture too. That compound the situation. Once they are dry, lube the needle packing nut.
A drop of lightweight oil will make the seal pliable and extend life of your gun. To store it properly, put it back into a clean and dry location. Covering the inlet where the paint goes in with a cloth is what some painters do.
Leaving it open to the air is what others do. Both are fine, but the enemy of a gun is dust. Dust gets on your gun and becomes debris that can clog tip at the start of your next job.
Protecting your investment makes the gun work like it should. Make sure it works just like it did the first time. The difference between a good finish and a great one often lies in the cleanliness of your tools.
A spray gun, like any other tool, is an extension of your hand. If it’s well maintained it will respond to your needs consistently with predictable results. If not it will fight you.
Invest your time and clean it up, because cleaning now means a better finish on your next job. Take pride in the process and it will show through in the finished product.
