
Here you are standing in the garage with a brand new can of automotive urethane in your hand, ready to transform your project car. You grab the HVLP spray gun, hook it up and pull the trigger. Sputter, sputter.
No flow, just sputtering. Your finished product is all dried up and orange peeled. It is not the smooth and glossy look you envisioned.
Frustrating isnt it? It is most likely not your fault. It’s usually a mismatch of air delivery from your compressor and air demand from the gun.
Guide to HVLP Spray Gun Air Requirements
Understanding CFM and HVLP Requirements
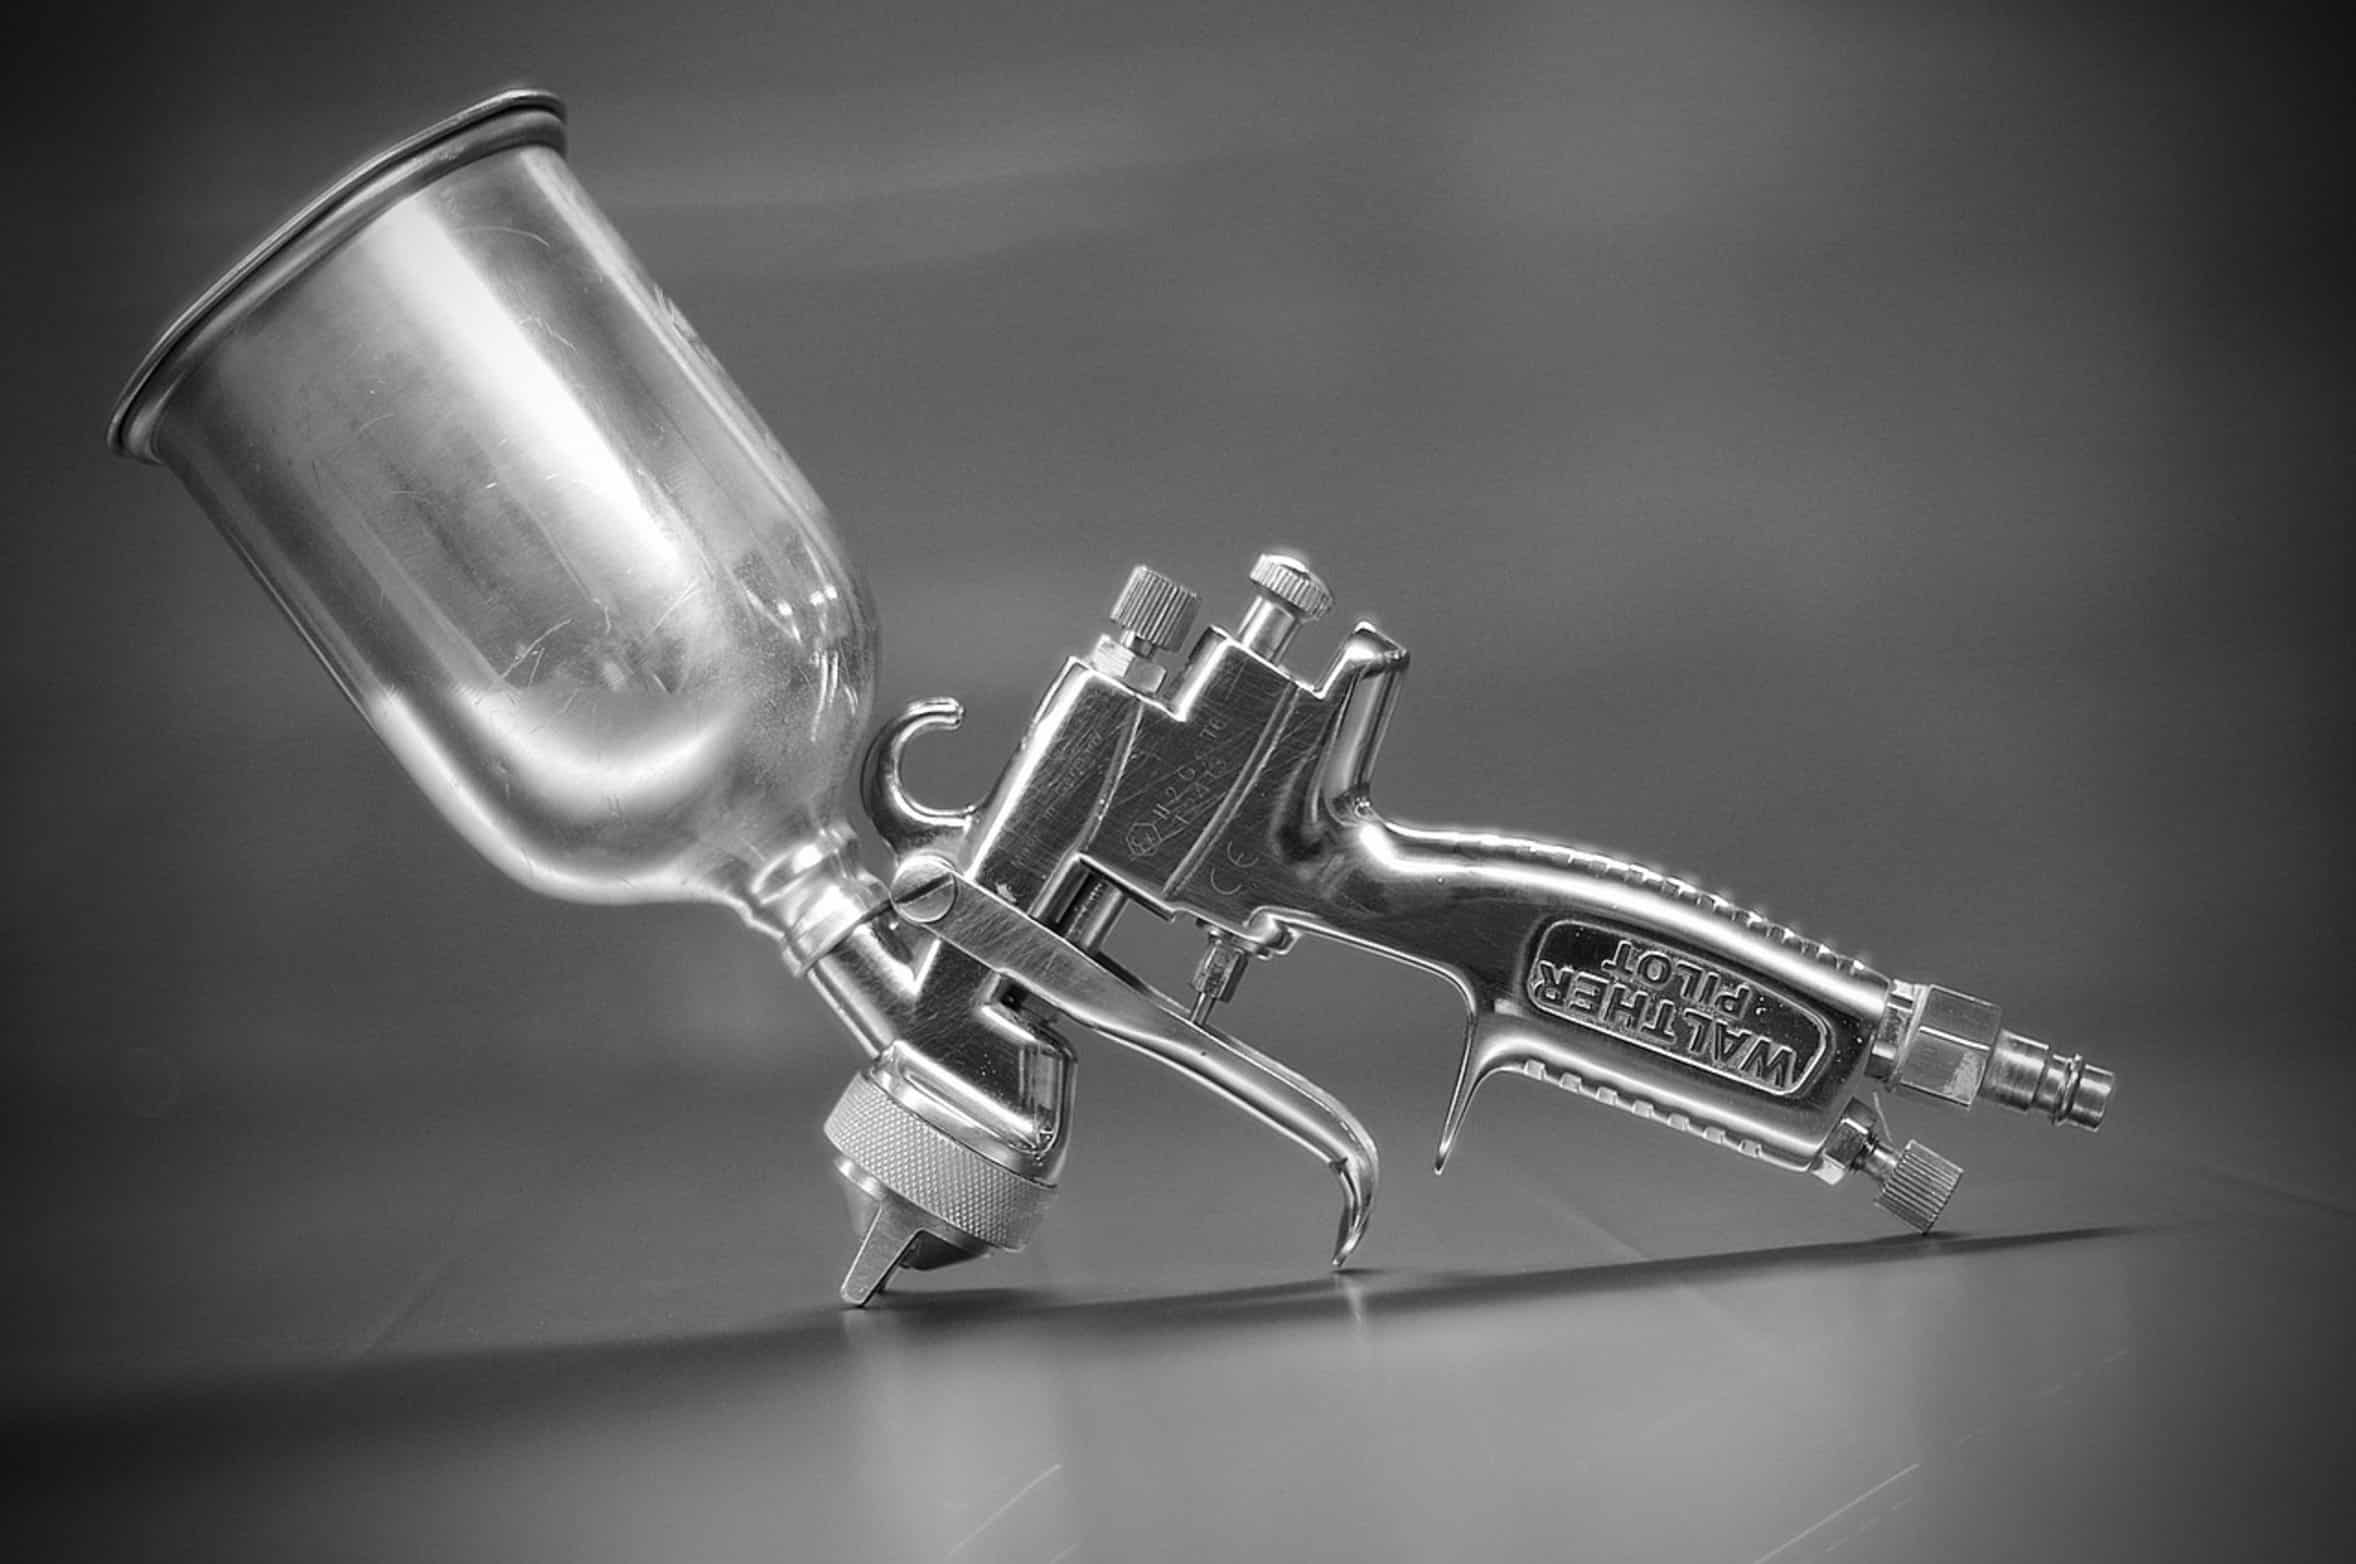
The difference between a repaint job and professional grade finish is understanding something called CFM (Cubic Feet Per Minute). Hobbyists gets caught up in PSI (pressure) and not volume. Big mistake!
HVLP mean High Volume Low Pressure. What does that tell you? It needs not only low pressure but also a high volume of air to push the paint around.
If your compressor cant supply that specific volume, your gun will starve. The paint atomizes poorly and look bad. Time and money wasted.
For example, most standard HVLP guns requires 12-16 CFM at the regulator. However, the specific CFM requirement depend on the gun model, the fluid tip size, and the viscosity of material. So you have to pay attention to the specs and realize how real-world conditions affect those numbers.
Matching Compressor Output to Gun Demand
This isn’t a matter of picking up a compressor off the shelf. This is a matter of matching the tool to the task. Look on the specs of your particular spray gun for recommended CFM.
Wagner, Devilbiss, Hostar all these brands will have it listed either in their manual or right on the gun itself. You typically see these rated at some PSI (usually 50 psi). Don’t assume this number.
It can be as low as 10 CFM if you’re using a small detail gun for trim work, or up to 20 CFM or higher with a big cap gun that you use for priming a hood. This will cause a chain reaction throughout your whole set-up if you don’t get this one right. This is a compressor.
Accounting for Air Hose Pressure Drop
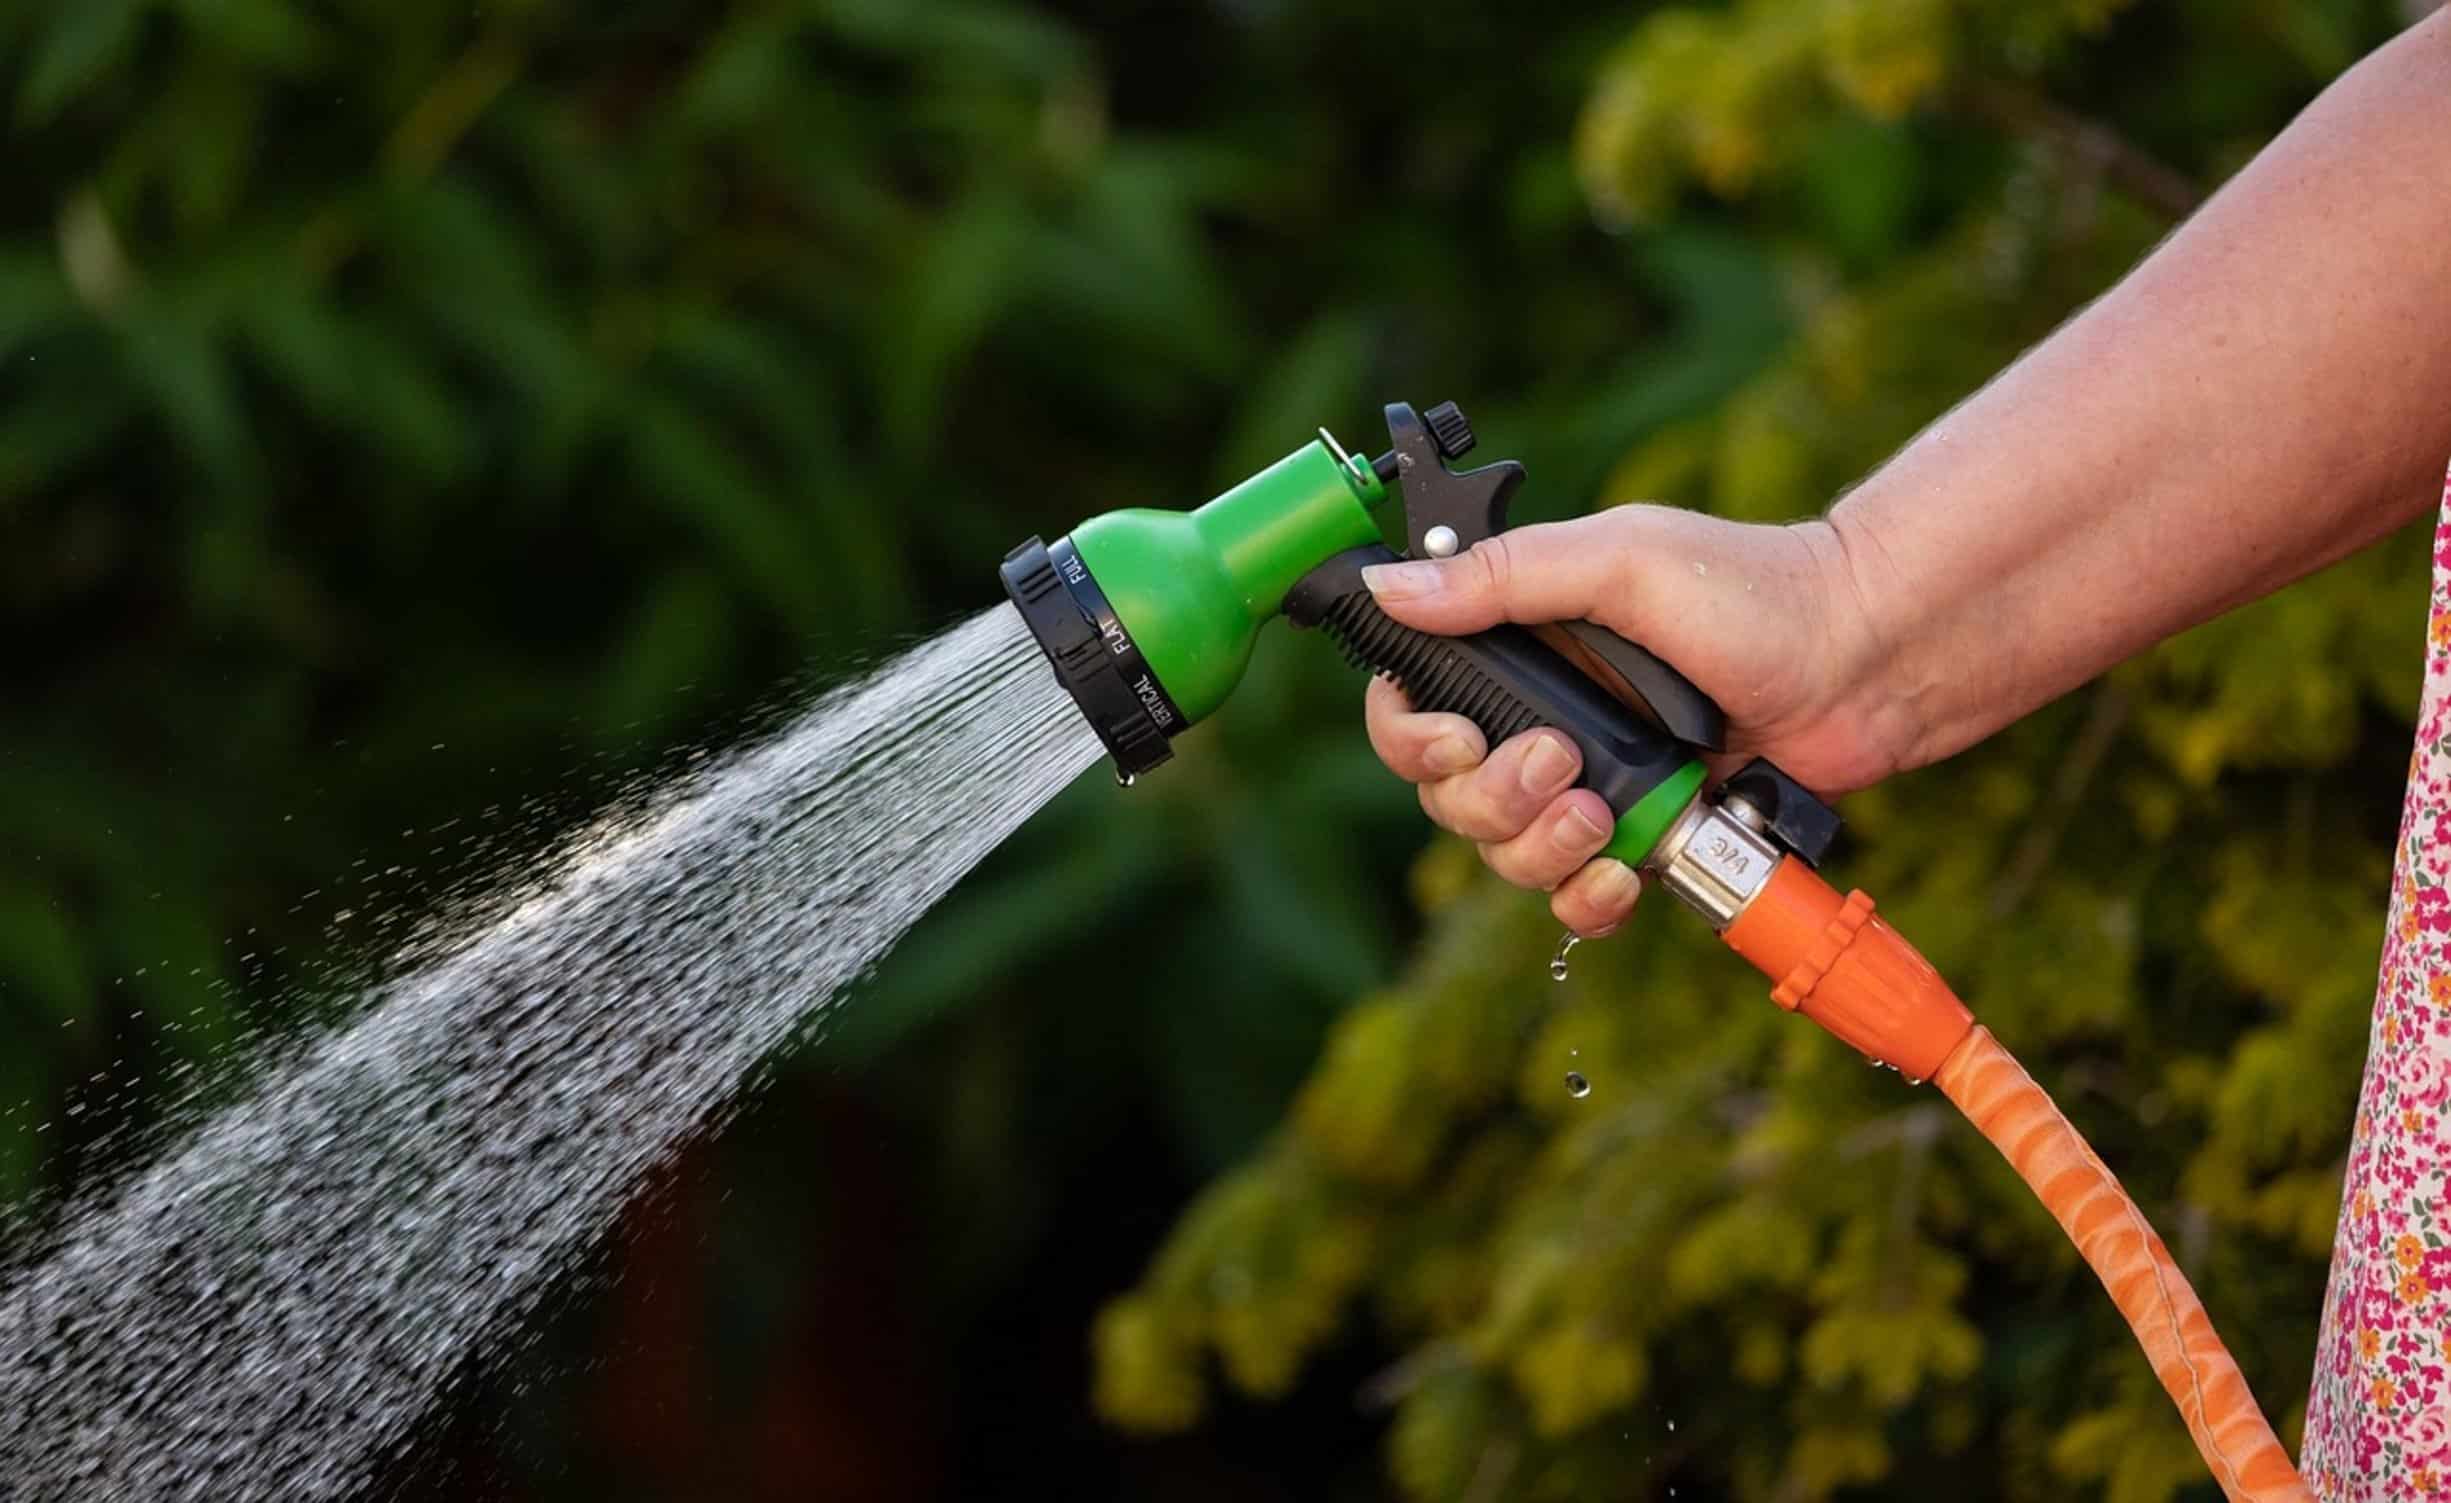
CFM rating on your compressor is not the same as the CFM delivered to the gun. The CFM number that a compressor manufacturer rates there machine at is at the tank pressure, which is high. When the air pass through the hose it drops off in volume because it’s expanding.
And this drop-off can be signifficant. Your gun may require 12 CFM at 50 psi, so you may have to size your compressor with 18 or 20 CFM at the outlet to account for pressure drop. Size your compressor up, never down.
Surprisingly, this also has a lot to do with your air hose size and length. Long, thin air hoses is essentially a choke point on airflow. They diminish volume, which decreases the actual CFM being delivered to nozzle.
While a 1/4-inch air hose may be fine for a nailer, it’s going to suffocate an HVLP gun. If possible, bump up to a 3/8-inch air hose. Yes, it’ll cost more initially, but it guarantees the air reach the paint without losing its mojo.
Choosing the Right Air Compressor Type
You’ll notice a big difference in your spray pattern. What kind of compressor? Pancake compressors is inexpensive, small and generally not good for HVLP painting.
They do not have enough flow to maintain constant airflow. Yes it may get the pressure up, but the second you pull the trigger you lose volume. You want one of those big old stationary tank compressor with a bigger motor.
You need at least 15 CFM at 90 PSI. That gives you a buffer. It can make up for the loss in lines and keep the air flowing steadily.
Adjusting for Paint Viscosity
And then there is viscosity. Clear coats and stains are thinner than base coats and primers. A thinner material take less air pressure to atomize well while thicker paints takes more.
For instance, going from a clear coat to a heavy primer will require some adjustment. What may have been acceptable air pressure with the clear coat may now be struggling for the heavier primer. Keep this in mind for multi-step projects.
Testing Your Setup Before Painting
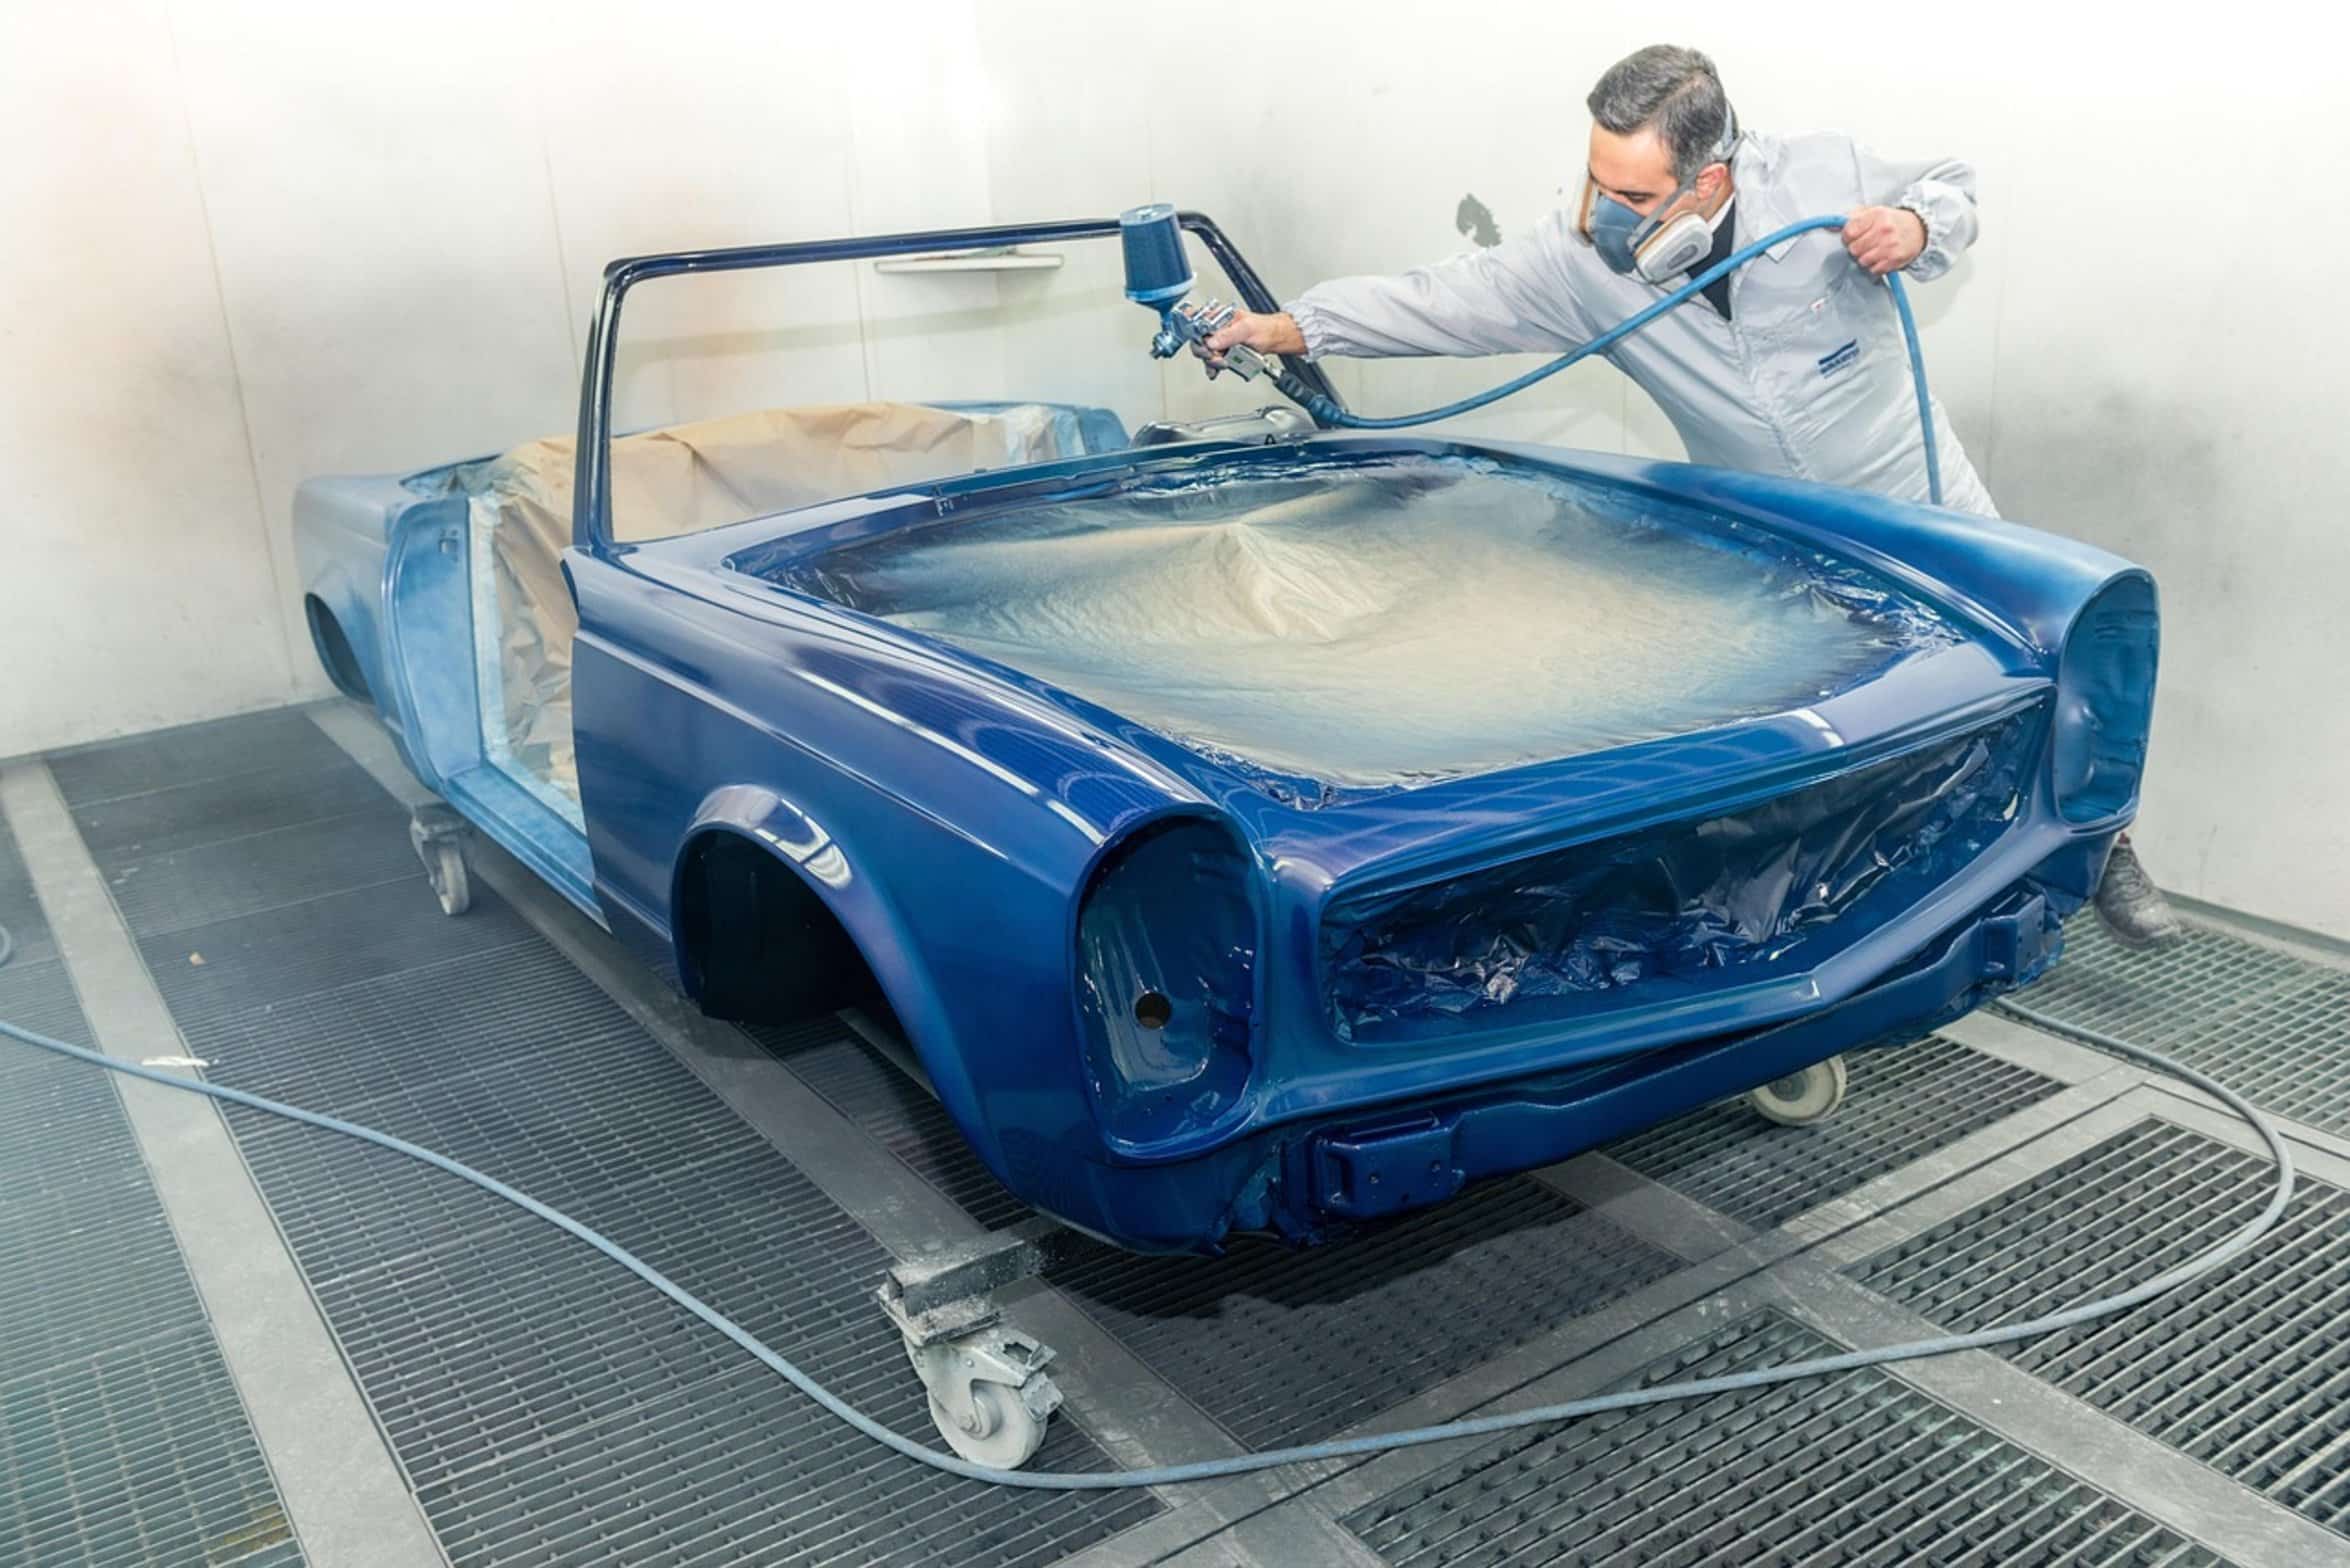
Always test your rig out prior to painting something that costs good money. Fill the cup with water and try it out. Is the fan even?
Does it look spotty? You dont have enough air. Shorten your hose, adjust the regulator or get a bigger compressor.
Having correct airflow will save you grief down the road. Better to adjust the air flow now than spend time sanding off an ugly paint job later on. Painting is as much about the air as it is about color.
The right air supply makes the gun do what it’s supposed to do. Having a good quality air supply matched to the amount of air the HVLP gun you use needs will give you control of finished product. Calculate what your need is and take your time.
The paint will look better if it goes on smoothly.
