
Chances are that you’ve witnessed someone take some dull furnitures and transform it into something like this with help of a spray gun. It’s sleek. It is smooth.
Even. Sounds easy enough, right? That is until you try it.
Now you’re faced with drips, runs, wasted product…or something just doesn’t look quite right. Often it have nothing to do with your ability to keep your hands steady. It’s typically related to what equipment you chose and how it operate.
A Complete Guide To Using HVLP Spray Guns
What Is HVLP Spraying
High Volume Low Pressure, or HVLP, refers to a physical mechanism rather than a marketing idea. Previously the old sprayers depended on high pressure to break down the paint. It wasn’t efficient and it wasn’t pretty.
With an HVLP unit, they uses air volume but not so much force. This make for a great finish. It’s all about forcing enough air past the paint to shatter it into drops.
With regular sprayers, they has a small nozzle and force the paint out at high pressure. That cause overspray to blow around where you don’t want it. With HVLP, there’s a lot of air but at low pressure.
It tear the paint into fine particles with the air. Because it’s low pressure, the drops stays in the air stream longer. They travel to the surface without bouncing off.
Choosing the Right Compressor
Regulators pushed this technology in the 1990s for its high transfer efficiency. The gun is driven by airflow. Get a compressor with adequate cubic feet per minute (CFM).
Graco and DeWalt are two brands; each specifies their CFM needs. Some smaller compressors might lacks the necessary power to run the gun. Your compressor should of have the ability to maintain its airflow without cycling motor constantly.
If it doesn’t, then the atomization is compromised. Instead of misting, the paint stream out. This result in a textured finish.
Selecting Spray Tips by Material
Before buying the gun, check its rating different than your compressor. How thick the material is also important. Clear coats are thin and paint is thicker.
The gun need to be able to handle the material. Most HVLP guns has interchangeable tips. Latex paint, stain is thick so a bigger tip on the gun are needed.
Primers and lacquers are thin so a small tip is better. The wrong tip will result in poor spraying or clogging. Test how the material flows.
Slowly? You probably should go up a size in the tip or reduce the material by making it thinner. The end results are as much about technique as they is equipment.
Spraying Technique and Distance

The gun should be held roughly six to eight inches off the surface. Keep it parallel with what you’re spraying. Move steadily and straight.
Pull the trigger as you approach the item being sprayed, then let go once passed. That way the ends gets an even coat. Next overlap each pass by half so there aren’t any streaks.
It will feel awkward initially. Your body wants to hover over something and add another layer. Don’t.
Trust the atomization to do its job.
Cleaning and Maintenance
If you don’t clean the gun right after shooting, your paint will hardens inside its tiny passageways. Avoid this by soaking it in solvent.
Don’t neglect to disassemble the cap and tip too. Gently wipe away any crud with a soft brush. Inspect the air filter for dirt build-up.
Clogged filters inhibits airflow. Inhibited airflow result in poor atomization. Take care of your stuff and it’ll last years, ignore it and you’ll find yourself needing another one before long.
Mastering the Learning Curve
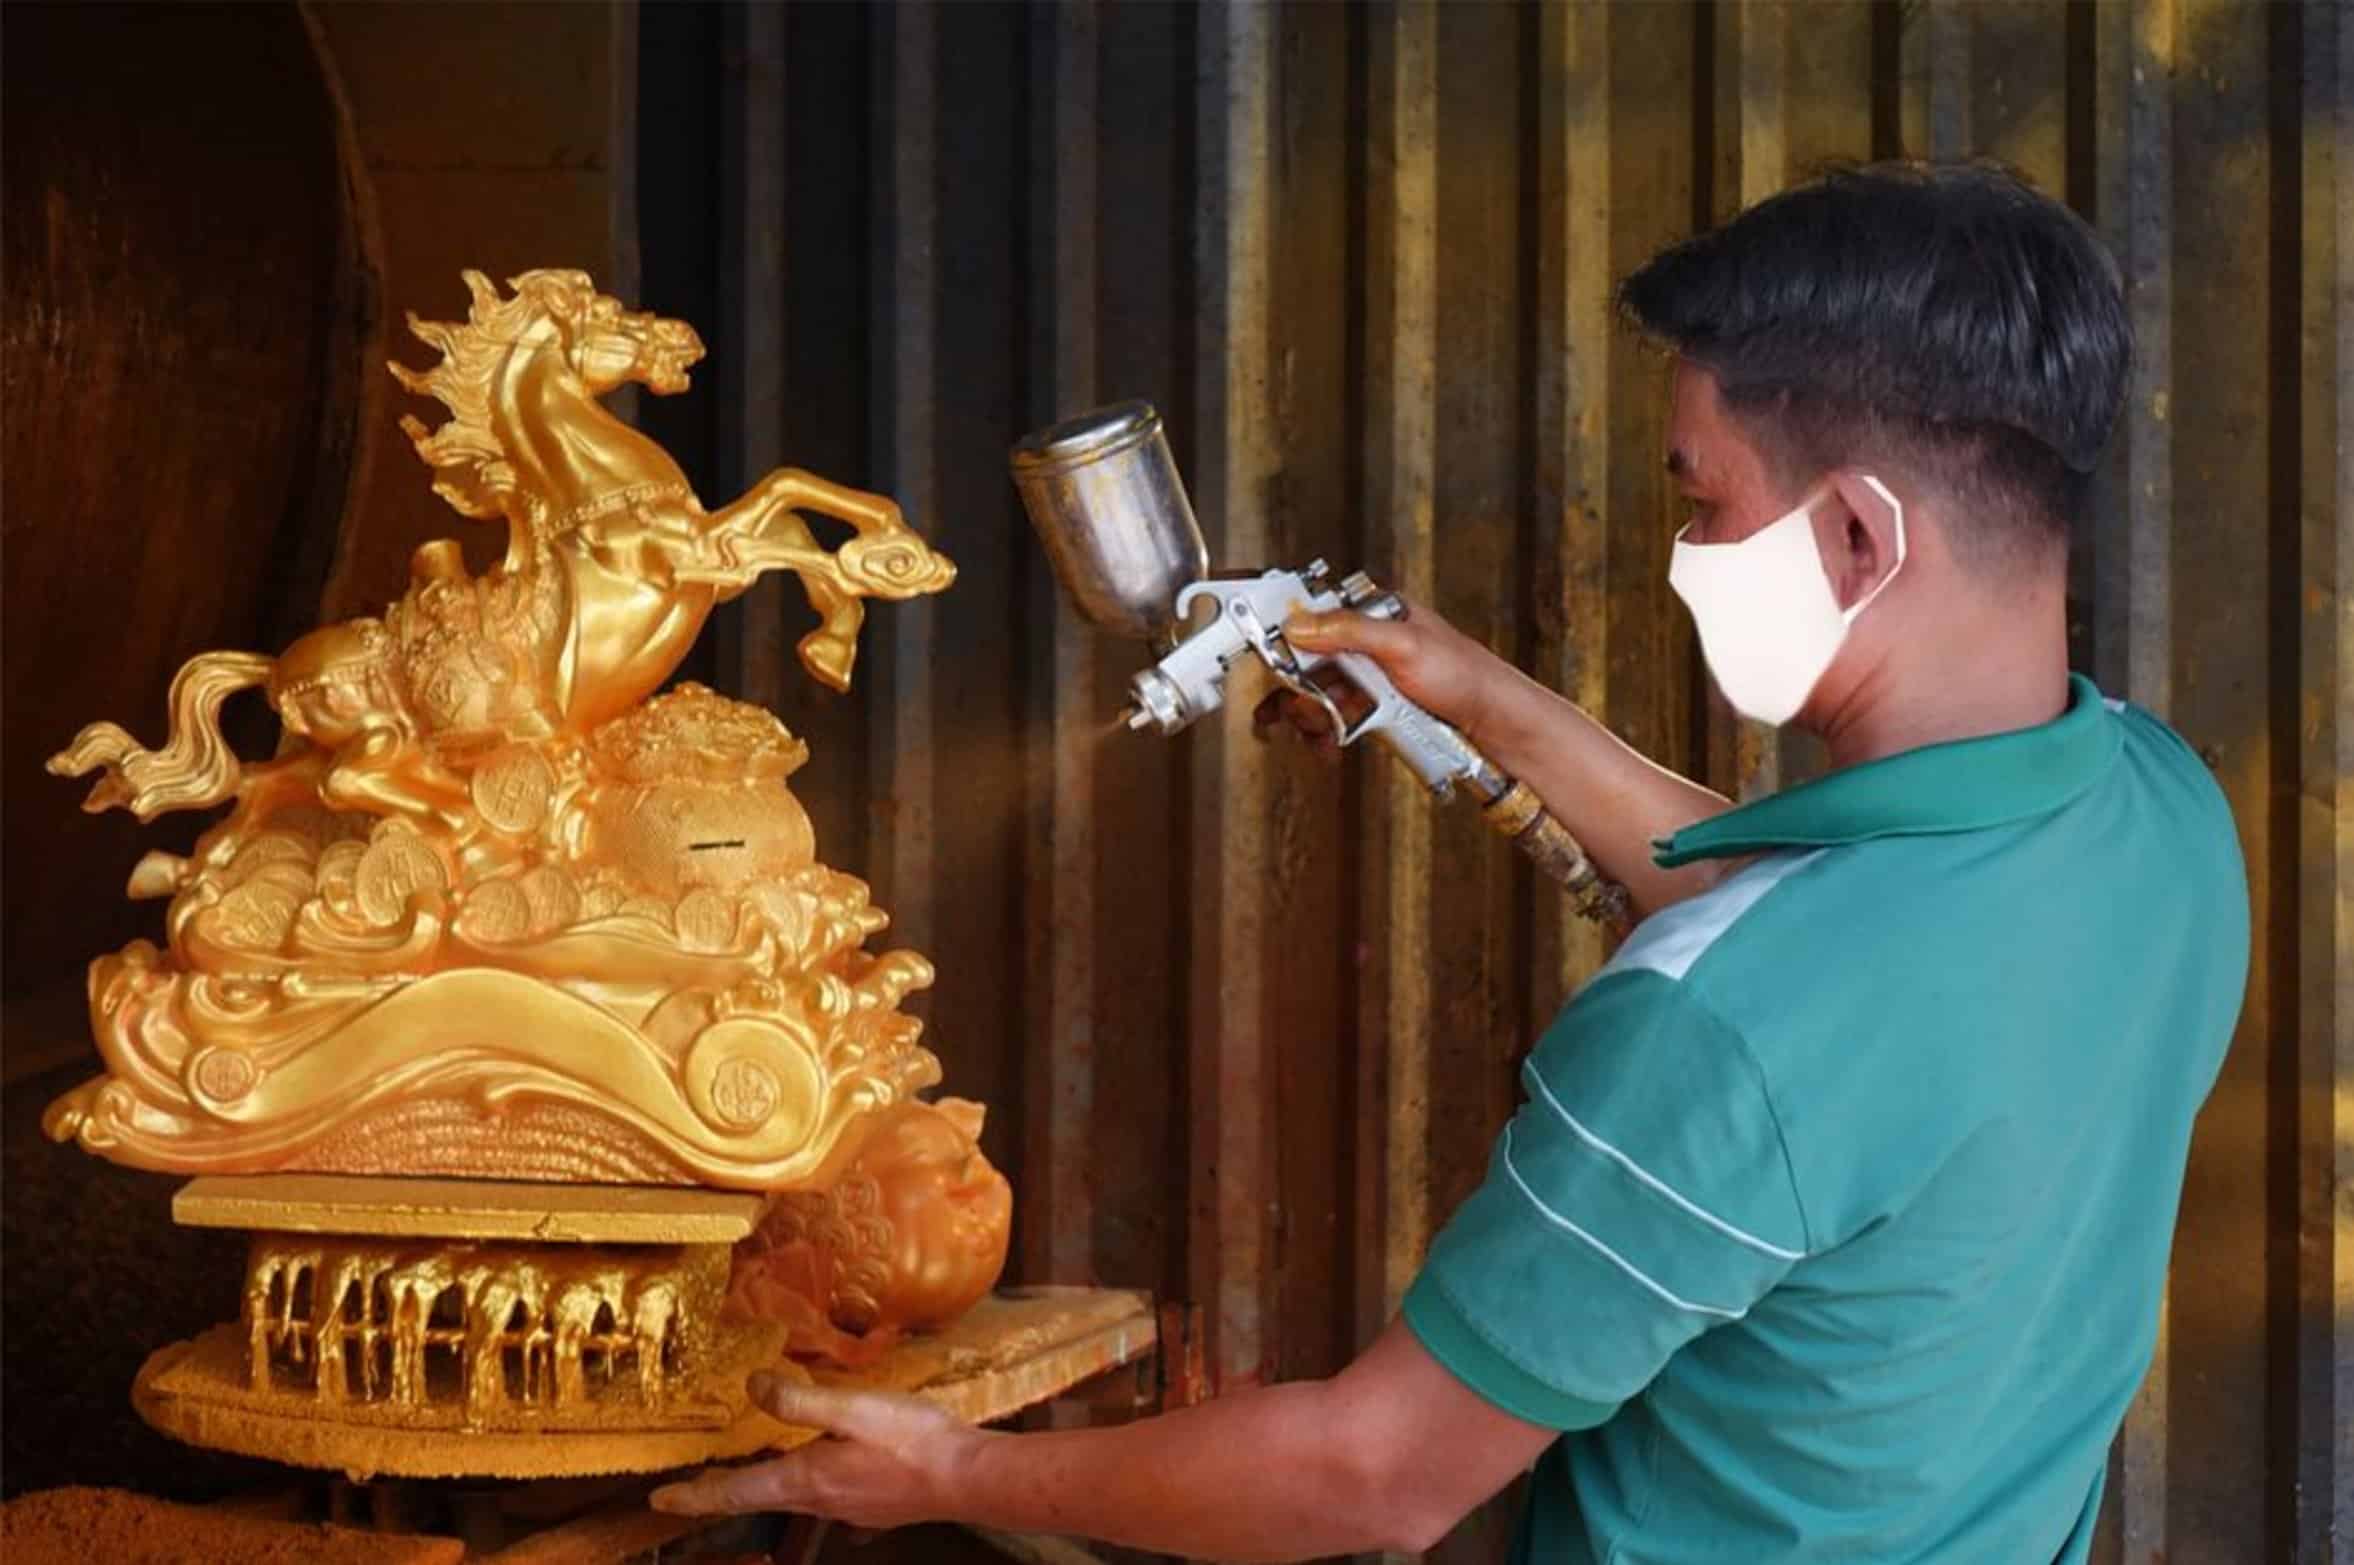
It has a learning curve; it is not as hard to learn than some might think, but the challenge is real. It takes time. You’ll mess up.
You’ll have sags and runs. But that’s all part of it. Learn to tweak the fluid volume.
Adjust the fan width. Play with your distance. Every adjustment is something you learn about the gun.
When you dial it in right, results are rewarding. Keep your hands steady, master the airflow, respect the viscosity. Then it’s simply a matter of practice.
