
The compressor itself is an investment but the true cost of ownership come when you first turn the key. Hit the switch, plug it in and hope for the best; that’s what most folks do. While this may be enough for a basic pump, an air compressor are more like a precision machine with moving parts that must settles into their role.
How To Properly Break In Air Compressor
Why Break-In Matters for Air Compressors
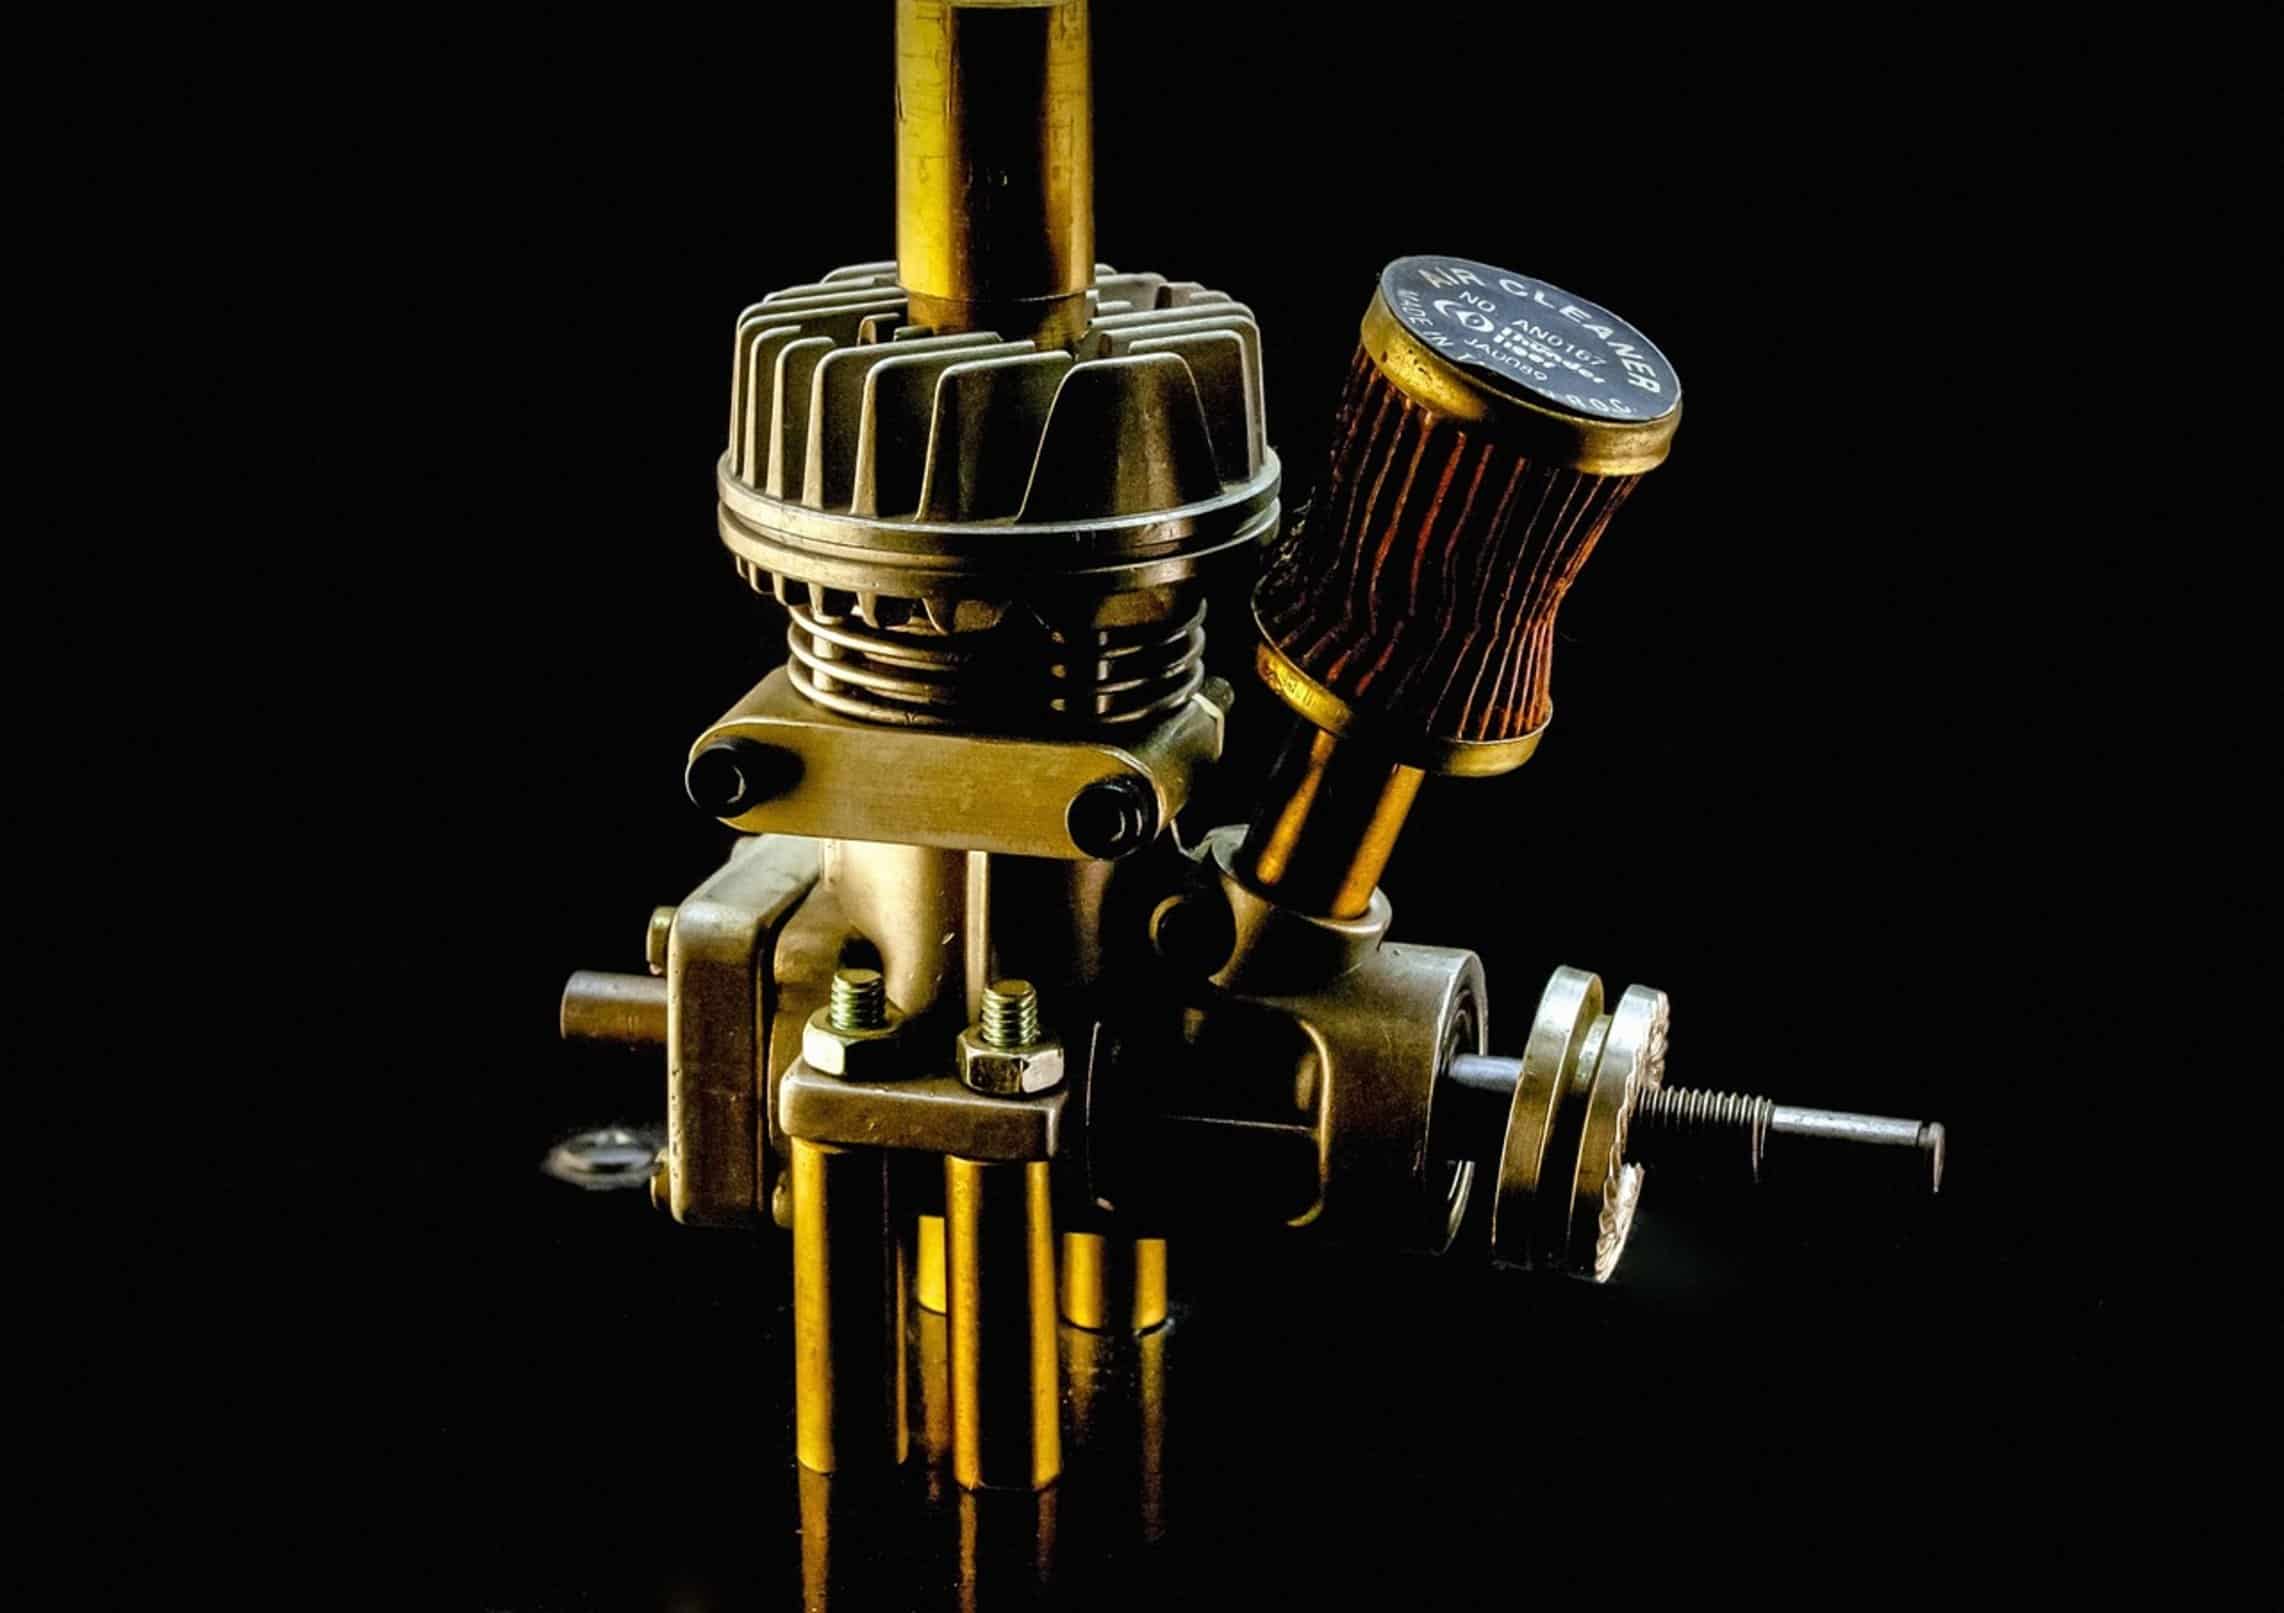
Failing to go through correct break-in process is like taking a new car out on the road at top speed the moment you drive it off the lot. You get a few miles under your belt but ultimately life of the vehicle is compromised as its internal components is unable to adequately seat themselfs. It matters more then you think.
Skipping this process will lead to overheating, premature seal failure and shortened tank life with your compressor. This thing isn’t cheap; you don’t buy it to last until next home improvement project. Breaking in your compressor help prevent an instant breakdown and ensures the unit run as cool and quietly as possible for years to come.
Prepare Your Compressor for First Use
That first hour of operation is key. You’re doing more than just filling a tank. You’re getting the oil into all the nooks and crannies of your pump head.
You’re getting the valve plates to properly seat and pistons to spread out on cylinder walls. It’s a delicate buildup. Build pressure gradually, let it settle down, release it gently and do it again.
Repeat. Don’t rush it. The lure of filling ‘er up so you can go back to business is strong but that’s where long-term tools are made; resisting the urge make for a short-term fix.
If yours is an oil lubricated model (most larger stationary models such as DeWalt and Campbell Hausfeld), check the oil level first. Oil should be up to fill line… No more, no less.
No oil? Then it’s an oil free compressor and you will want to check intake filter instead. Why?
Dust isn’t good for life of a compressor. When the filter become clogged, the pump must work extra hard to draw in air. This generate needless heat and wear from very beginning.
A clean filter make it easier for machine to run. Plug straight into wall. If at all possible use a separate circuit for your power source.
A compressor will pull heavy starting amperage. Running an inexpensive extension cord can result in poor voltage. This can stresses your motor and possibly prevent pump from operating at maximum speed.
The First Run Cycle Steps
After plugging it in, wait until the unit reach full operating speed with no load. This will allow the compressor to fill up to cut-off pressure on its own. You do not want to hook up any air tools until then.
As the compressor builds speed listen for what it sounds like. It should be a rhythmic, consistent hum. If you hear any kind of screaming/knocking noise turn it off immediately.
Let it max out on the tank. Monitor the gauge. You’re pushing oil through internal passages and pressuring up the system as the needle rise.
When the motor cuts out, don’t drain the air; let it sit for a minute or two before you bleed it. Wait. Dwell time will give oil a chance to coat all the still surfaces.
More importantly, it keeps the internal pressure up so you can also feel around inside motor housing. It should be warm but nowhere near hot. If it’s scalding, there’s an issue with either the load or cooling.
Once you have let it run for a minute or two, open the bottom drain valve on your tank. Let all of the air bleed out. It should be steady and clear flow.
Look at exhaust for oil or moisture. Some will give off a small amount of oil as a mist. If you see a stream of liquid oil, you have a real problem with seals.
Repeat Cycles to Seat Components
After you reach zero on the gauge, shut the drain. The first cycle is done. Do this filling and draining three or five additional times.
Basically you’re letting the metal expand and contract with its natural thermal expansion, finding its right fit in the system and flushing it out again. Every subsequent drain and refill should became a little easier than the previous one. The time it takes to reach the cut-off pressure might differ, but how consistent it is will tell you if you are doing good work.
Think of it as conditioning the machine to take the stress of compression. It’s a simple ritual, but it makes a big difference in how those internal components wears down. After all cycles are done, the last step is to turn the tank off and let it sit for several minutes.
Finalize and Maintain Your Compressor
Next, top it up to pressure again and leave it that way. This seats the seals with pressure on them. After filling it to pressure one last time and leaving it there, hook up your nailer or impact wrench.
Crank it up and check it out. If it’s like mine did, you’ll see it’s more responsive than starting from cold. It has more snap to it.
The compressor regain speed quicker. That’s what good sealing does for you. But the break-in period has passed.
The habit should of been developed. After each use, drain the tank to remove all the condensation. This alone keeps rust from eating its way into the inside of your tank.
And it’s the most important thing you can do to maintain your compressor. By running your projects reliably for decades to come, you’ll extend the life of your compressor. Do it now, avoid the headache later.
It’s the difference between having a tool that works and a tool that quits.
