
There’s nothing quite like that feeling when you’re stripping a rusty bolt. The impact driver is braced on the metal; you squeeze the trigger and tool turns slowly, making no headway whatsoever. Air hisses out of hose and you waste precious minutes watching the clock tick down.
That’s the moment where a workshop toy becomes a pro tool. Most folks lumps all impact tools into one category, and they’re right. Your level of comfort and workflow depends on which tool you pick up.
It will either get you home in the dark or not. So when you’re picking out an air wrench or air ratchet, don’t just grab biggest one off the pegs. The tool’s physical features should match the resistance and work environment you expect.
For example, while a big ol’ 1 inch drive may be the best for going all out, there’s nowhere you can stick it underneath your truck frame. On the flipside, a small 1/4 inch ratchet may fit into everything, but won’t have enough oomph to break loose a stuck wheel nut. So consider air consumption, torque, and size to determine what fits best for you.
How to Select the Right Air Ratchet Tool
Choosing the Right Drive Size
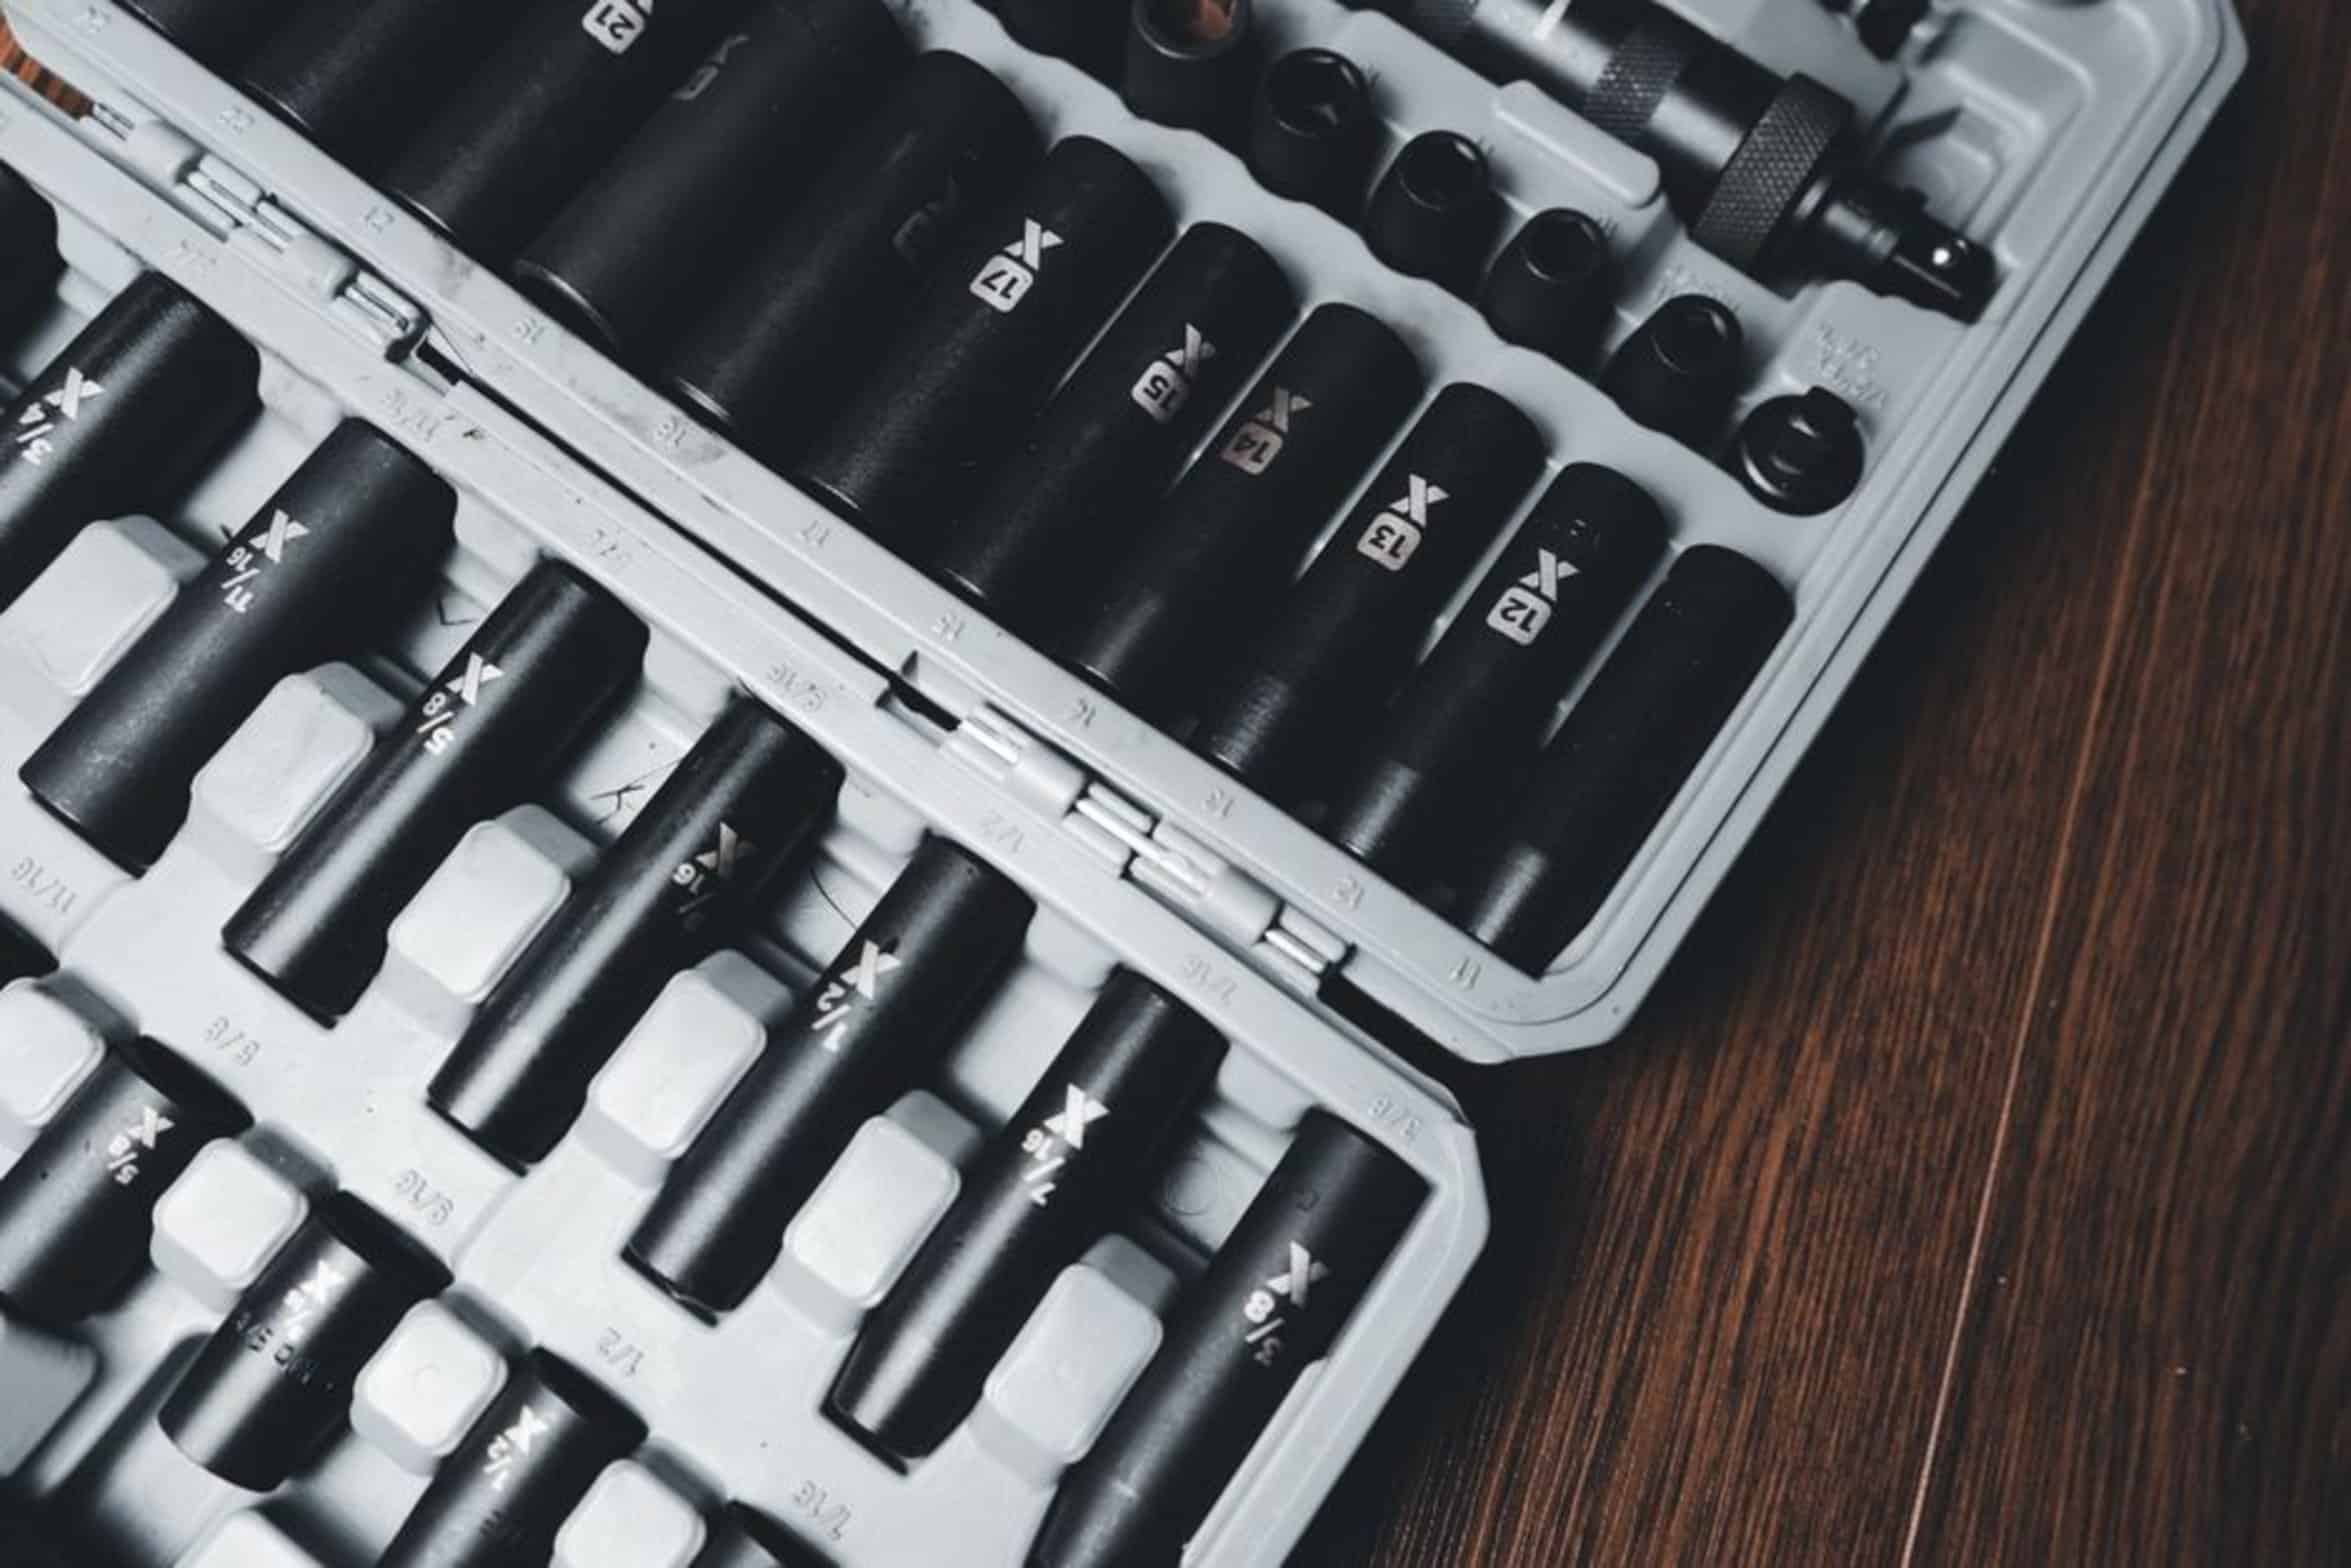
Practically speaking, most obvious filter is also the first one: the drive size. The drive size limits how far the tool can reach, and more importantly, what kind of socket will fit on there. A 1/4 inch drive is basically just a pneumatic screwdriver.
They gets down into tight places, like inside panels or under an engine bay. A regular wrench would just jump around and bounce off surrounding parts there. Brake caliper bolts and other trim type stuff are what you’ll find them on.
Bump up to a 3/8 inch drive and you’re getting into general utility territory. This is the go-to size for most general automotive tasks; it’s got plenty of force without being too unwieldy, so you’ve got a pretty good option from spark plugs all the way up to suspension component. Larger drives are for larger problems.
For big suspension work and tire changes, a 1/2 inch drive is the norm. It’s got enough grunt to crack loose even the most obstinate lug nut and it gives you the leverage required to do so. However, there’s no getting around the fact that it also needs space to work.
If you attempt to wrestle a 1/2 inch drive into a tight engine bay, chances are good you’ll either hurt yourself (scraped knuckles) or something else (damaged component). This brings us to the specialty tool: the 1 inch drive. This thing is huge; it’s loud as all get out and used for heavy industrial machinery such as railroad maintenance.
You don’t need a 1 inch drive unless you’re maintaining a locomotive… and even then I’m not so sure. It’s overkill for 99 percent of garage jobs. The amount of torque do matter, however.
Understanding Torque Specifications
But torque isn’t all there is to it. On the spec sheet you’ll find two numbers. One is fastener removal torque, which is the maximum amount of force that the tool can deliver as it begins to turn.
That’s what breaks the bolt loose. The other is fastener installation torque, the force delivered during tightening. Usually this is greater, because the bolt hasn’t been seated yet and the tool has momentum behind it.
When looking for a tool to do general repair work, concentrate on the removal torque. As long as your tool advertises 300 foot-pounds of removal torque, it should be able to tackle most automotive jobs. It measures raw breaking power.
Matching CFM and Air Supply
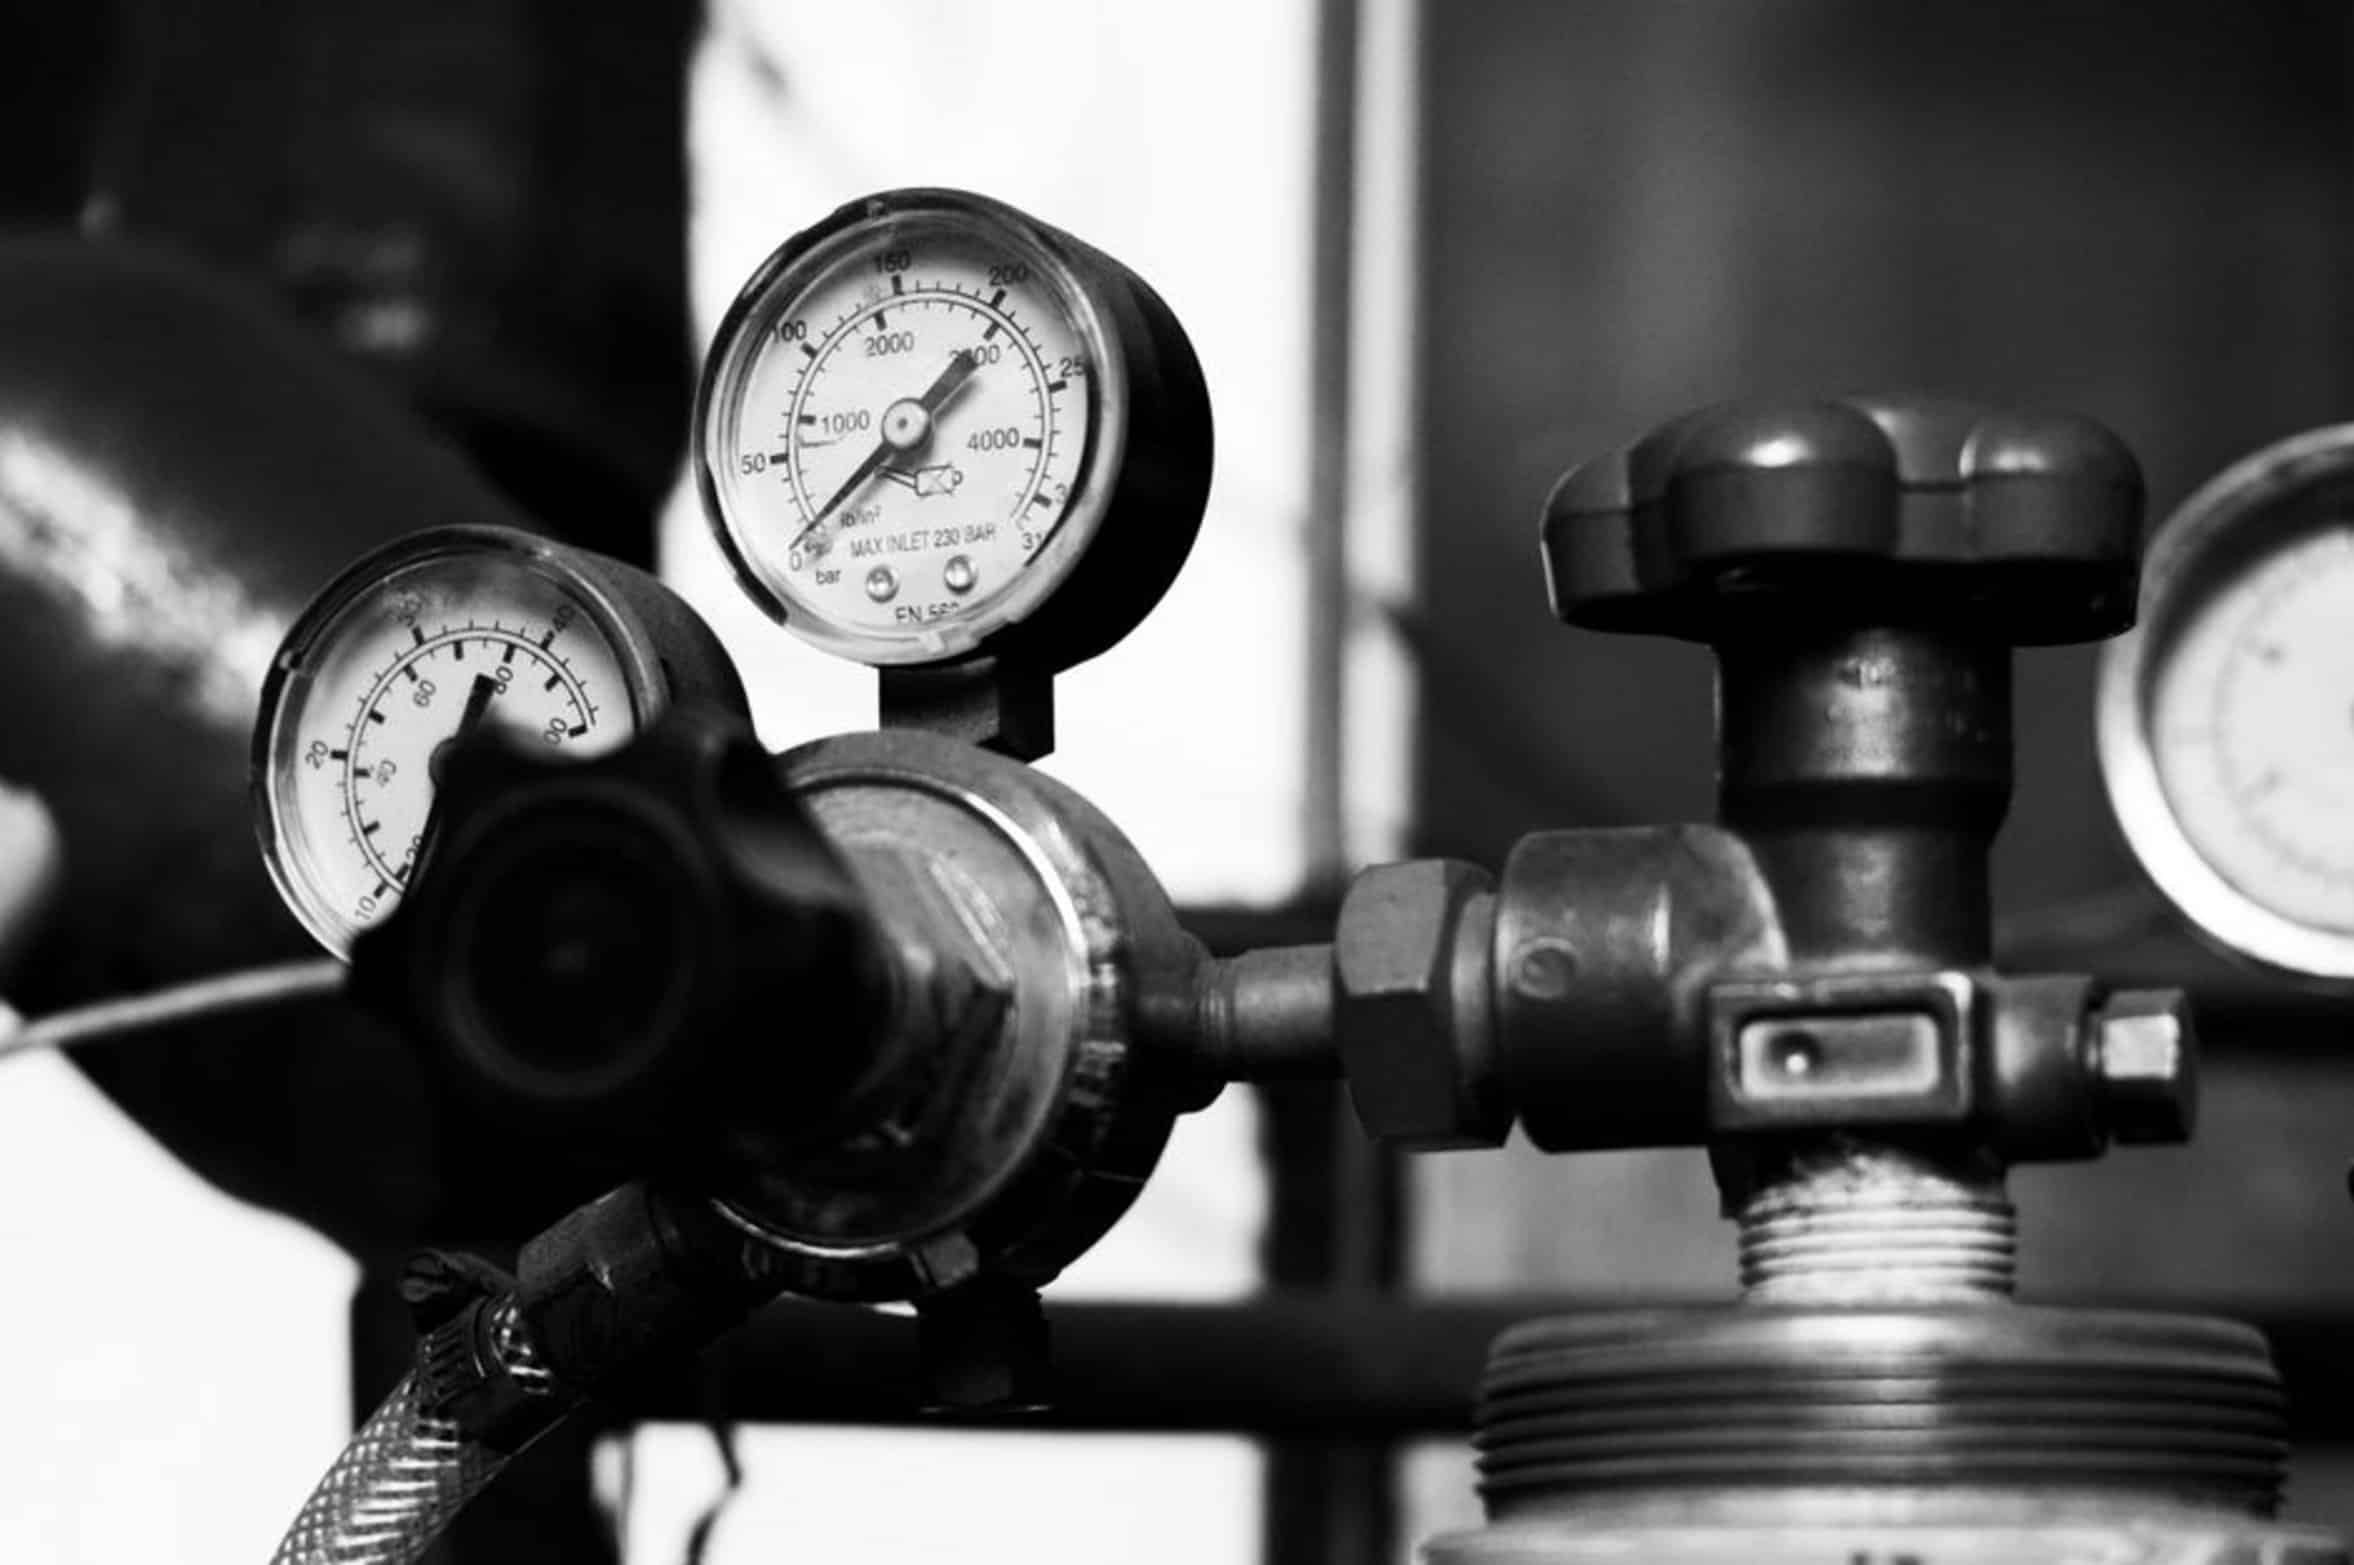
Air is power. And so we arrive at CFM. That’s an acronym for cubic feet per minute.
It refers to the volume of air the tool consumes. Of all the specs on a pneumatic tool, this one is the most misunderstood. What they’ll do is list CFM at a given PSI (typically 90 PSI).
The problem is if your compressor doesn’t produce that volume then it can’t provide enough air to keep the tool running. Check the rating on your compressor; don’t look only at the size of the tank. Small pancake compressors may have a large tank but a puny pump.
It will take forever to refill, forcing you to pause between bursts of activity. One key is matching your air supply to the tool. Some tools may require as much as 20 CFM from an impact wrench with high torque.
Run something that requires 12 CFM hard. Don’t try using a beast with 20 CFM when you have a compressor with only 10 CFM. The second you put any load on the tool, it will whine and suck up less and less air.
Get one sized to your needs. Don’t get a 20 CFM monster that gobbles up what you’ve got; instead, use a tool that only requires 12 CFM. Also, check the diameter of the hose.
The smaller the hose the more the air flow is restricted. That is a bottleneck you won’t overcome with more power in the compressor. For heavy duty use, go with 3/8 inch or at least 1/2 inch hose.
Ergonomics and Final Selection
When making your decision, think about the ergonomics of it all. Because air ratchets are meant to get into tight places, a lot of times they are longer and skinnier than an impact wrench. Although this makes them perfect to get down deep on bolts, it also means they can be awkward to use in more open spaces.
An impact wrench tends to be shorter and fatter and provide more control over a wheel or chassis mount job. Where do your hands go? How do you grip it?
When that bolt breaks free, what’s the most comfortable position to work in? Whatever tool fits both you and your environment best is going to be the right one for you. If in doubt, start with 3/8 inch drive.
This is the most versatile one that covers most of the regular maintenance and repair stuff. Get a good length hose that delivers the air, but also be sure it doesn’t overwhelm the compressor’s ability to keep up with air needs. Get the proper amount of air and correct size drive and both your sanity and knuckles will thank you.
You’ll know you have the right equipment when you break the bolt loose with just one solid thud.
