
That’s the sound of a stuck key, popping out again with a delayed clack. You hear it because it isn’t just annoying. It’s also a symptom.
Tiny crumbs, dust, and hair is building a home on your keyboard membrane or mechanical switches. Your keyboard is treated like a piece of indestructible stone, but it’s a complex mechanical system, breathing in its surrounding atmosphere over time. That atmosphere are a problem.
Cleaning is always in order, right? Not quite. Cleaning is more about how you do it than whether you do it.
How do you get it out without screwing up your switches? Various sources disagrees and there’s plenty of bad information floating around on the web. Some people say canned air only.
Other folks claim vacuum cleaner are best. Still others recommend just gently brushing. While they all have their uses, some of them actualy make matters worse by pushing things further into the nooks and crannies.
So what’s the difference? It depends on what’s in there, like a crumb underneath the stabilizer bar. Or is there surface dust that settles on the caps?
Knowing how physics behind each works will help guide your selection based off the nature of the mess. Break the methods into their three basic forms. This way, you will know when to pick one over the other.
There is no more guesswork, just cleaner results and more confidence! Most folks use compressed air. It’s cheap.
How To Choose The Right Cleaning Method
The Problem With Stuck Keys
It’s quick. It work for light surface junk. Here’s how it goes: You shoot that dust out from under the keys so it doesn’t get a chance to settle in.
Using Compressed Air Correctly
Do it quickly with short blasts. Don’t just hold it there for a long time. That’ll only freeze your circuit board.
Hold the can angled up, not pointing directly downward. Why? This avoids getting solvent/moisture inside your switchs.
So here’s the catch: Compressed air doesn’t clean things; it moves ’em around. It just moves dirt from one side to the other. If you don’t clean after this way, you’ve just redistributed the mess.
And it won’t budge any sticky residue or embedded hair. Think of it as Step 1 of your process, not The Whole Solution. That makes sense with vacuuming, but then think about static electricity.
Vacuuming Without Static Damage
Regular home vacuums can create a lot of static charge. That can attract more dust into your keyboard (or even worse: harm delicate component). Suction power alone can also pull off keycaps if they are not secured properly.
It is not really a risk worth taking without a dedicated device. When vacuuming, be careful not to set your machine on high. Use the lowest possible setting with the soft brush attachment.
Avoid placing the nozzle against the switch housing; instead, hover it several inches above the board at all times. The idea is to pick up what the canned air dislodged. Too close and there’s friction and static, which causes more problems.
It’s a balancing act of how far is too far from the board when vacuuming and how much cleaning power to apply. The most hands on approach is brushing. It’s also usually the most effective, particularly with textured surfaces.
Brushing For Deep Clean
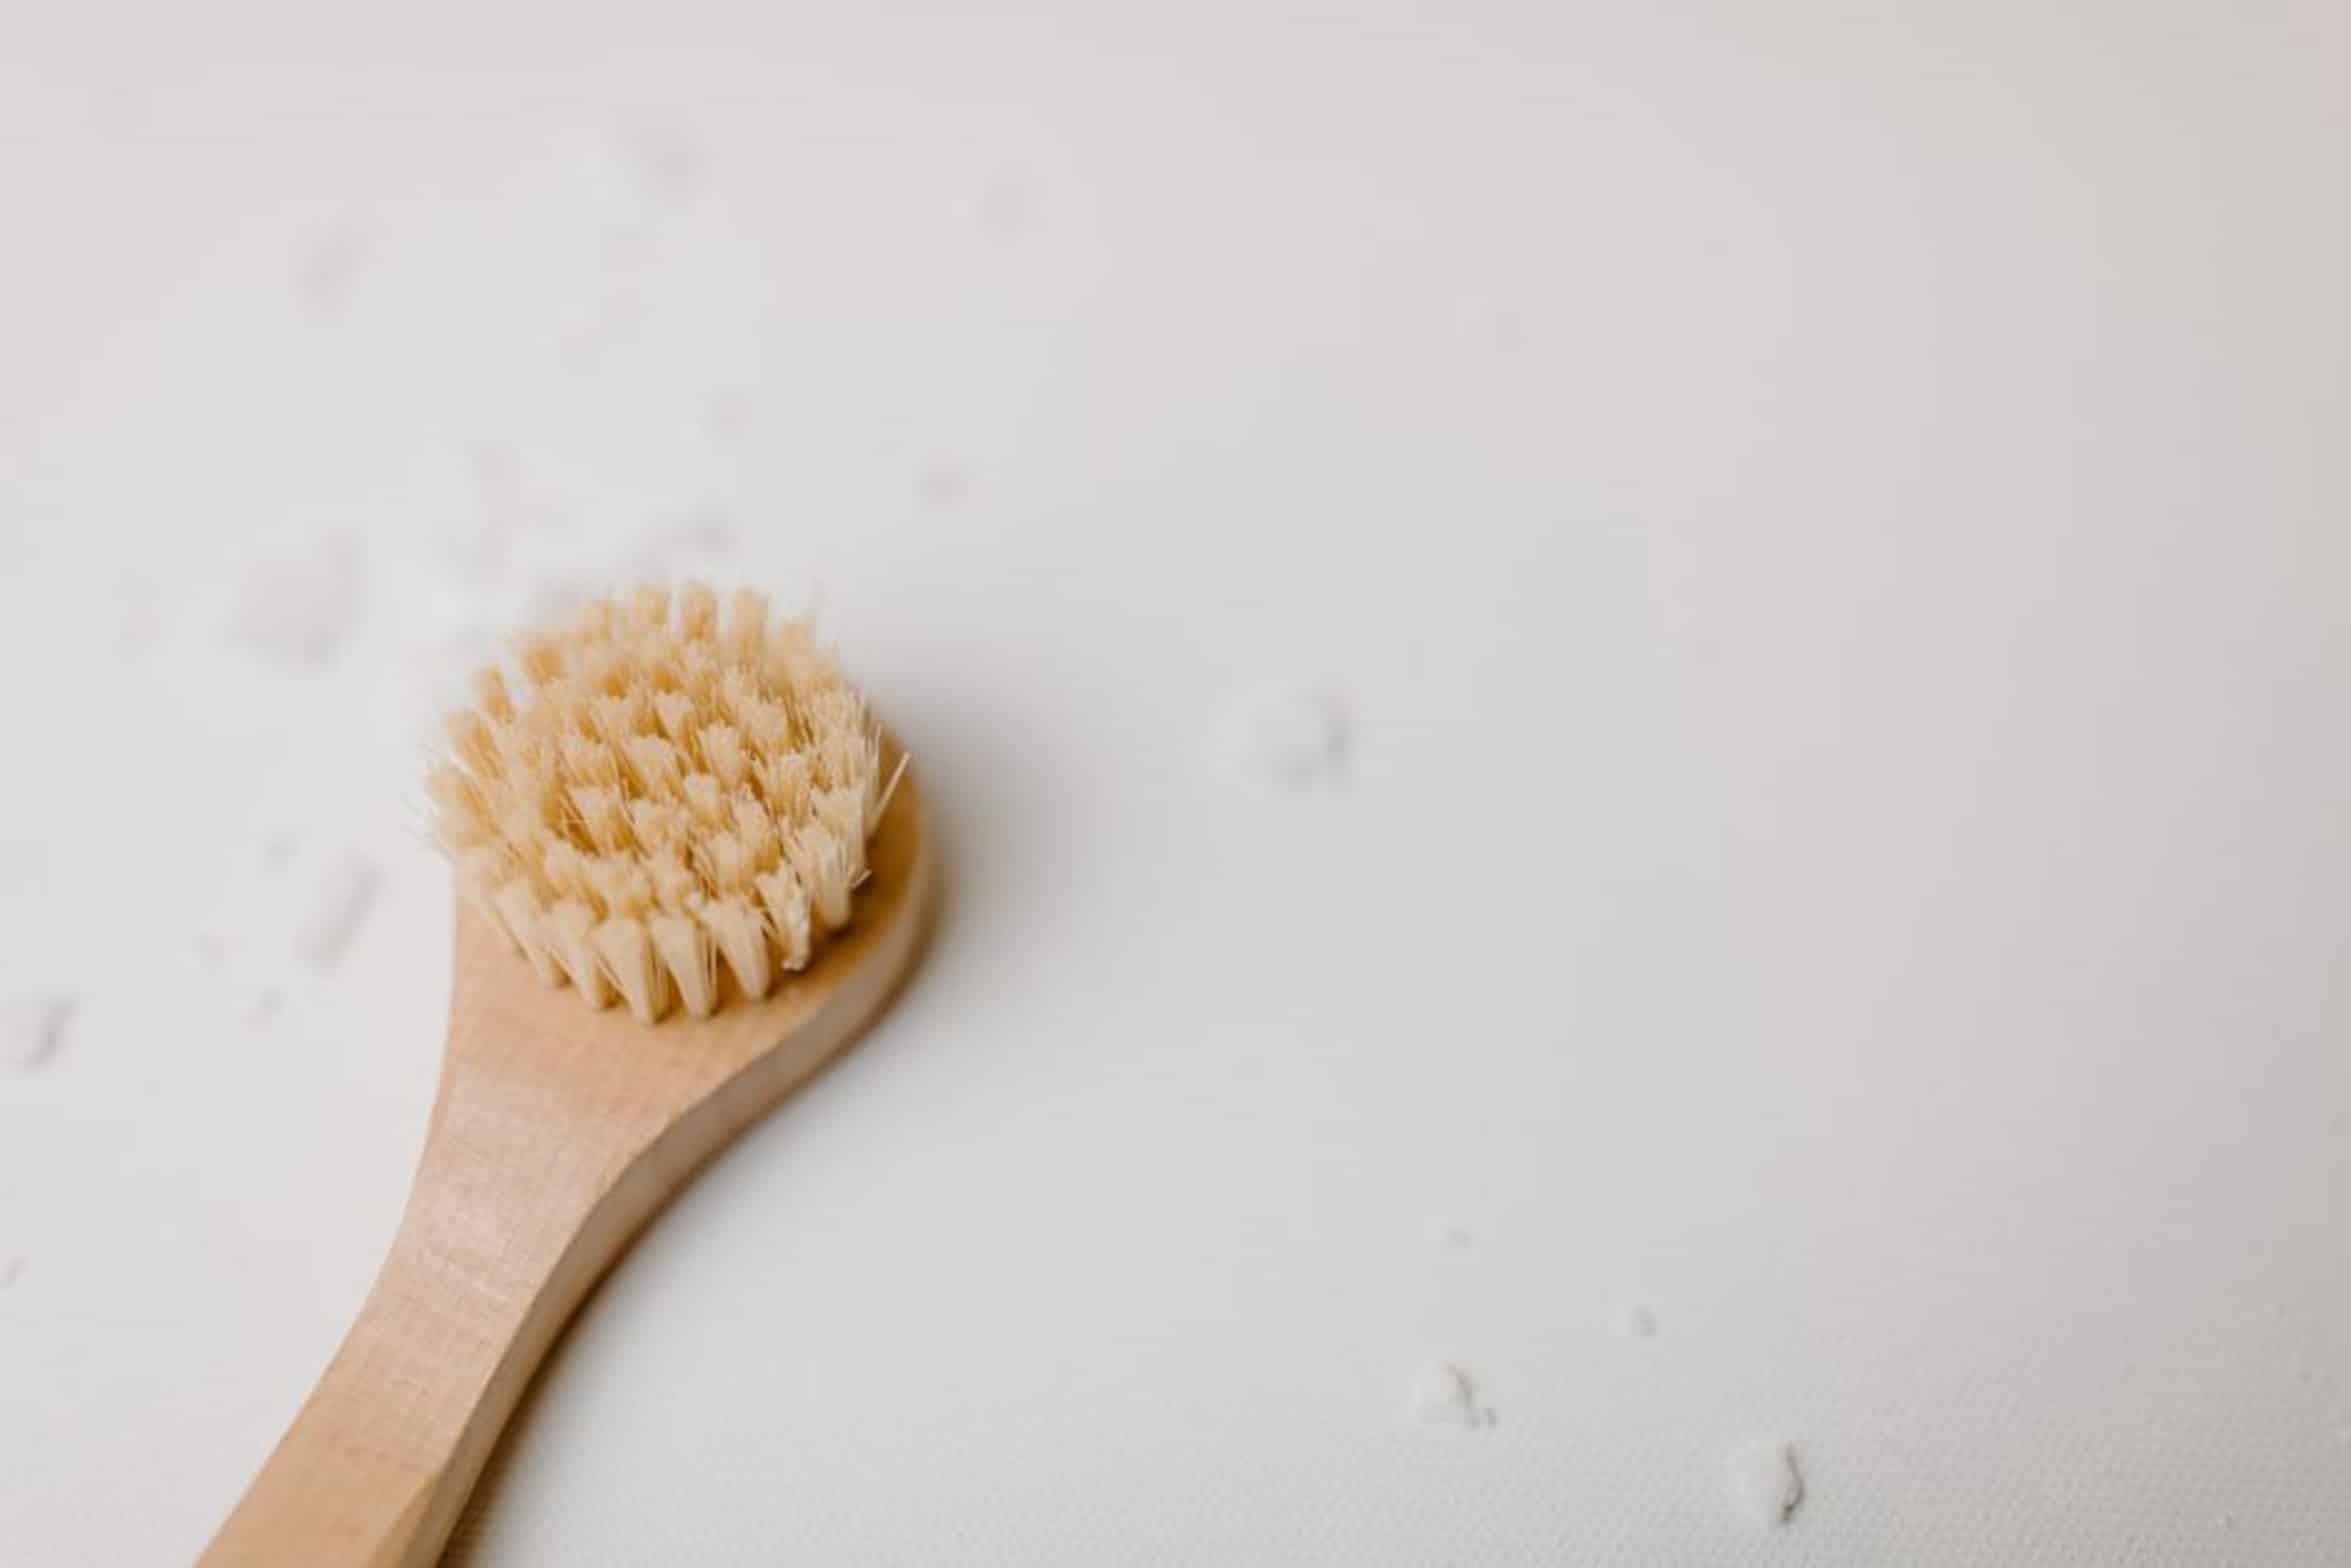
With a soft bristle brush (a clean makeup brush works well, or one specifically for keyboards), you can get into those hard to reach areas the air missed. Ideally, you’re looking for a brush soft enough to not scratch plastic, but stiff enough to really move the dirt around. The nice thing about this technique is the tactile feedback, you know when you’ve got something stuck and have started to work it loose.
Using the brush is really where you start getting the meat on the bones of this cleaning method. I would recommend sweeping whatever crap is on your board towards the edge and then blowing it off the desk completely with the compressed air. This kind of hybrid method won’t allow all that crud to fall right back onto the switches.
You’re basically taking a messy pile of dust and making it an organized cleaning process. It is a little more work, but it is longer lasting and cleaner. That’s where all the grossness lives.
Skin oils, dead skin cells, bits of food… none of which has seen the light of day. For this part, you’ll want to get a keycap puller. No knives; no forcing.
Removing And Washing Keycaps
If you do, plastic will break and bend and you’ll be annoyed. Pull ’em straight out, not at an angle. After you get them off, wash them in some warm soapy water.
Dry thoroughy. If you eat around your keyboard, this one is not negotiable. Now, while the caps dry, you get to look at the switch plate.
Time for the canned air! Blow over the plate to remove any last bits of loose crud. If you’ve got a cotton swab handy with some isopropyl alcohol on it, you can really clean around each switch to remove any sticky residue that wouldn’t go away with air or brushing.
It is more work, but it gets keyboard closer to new than ever. It’s better to do it weekly but lightly than monthly in-depth. Regular brushing and blowing out will make your switches feel more responsive and less mushy.
Maintaining Switch Longevity
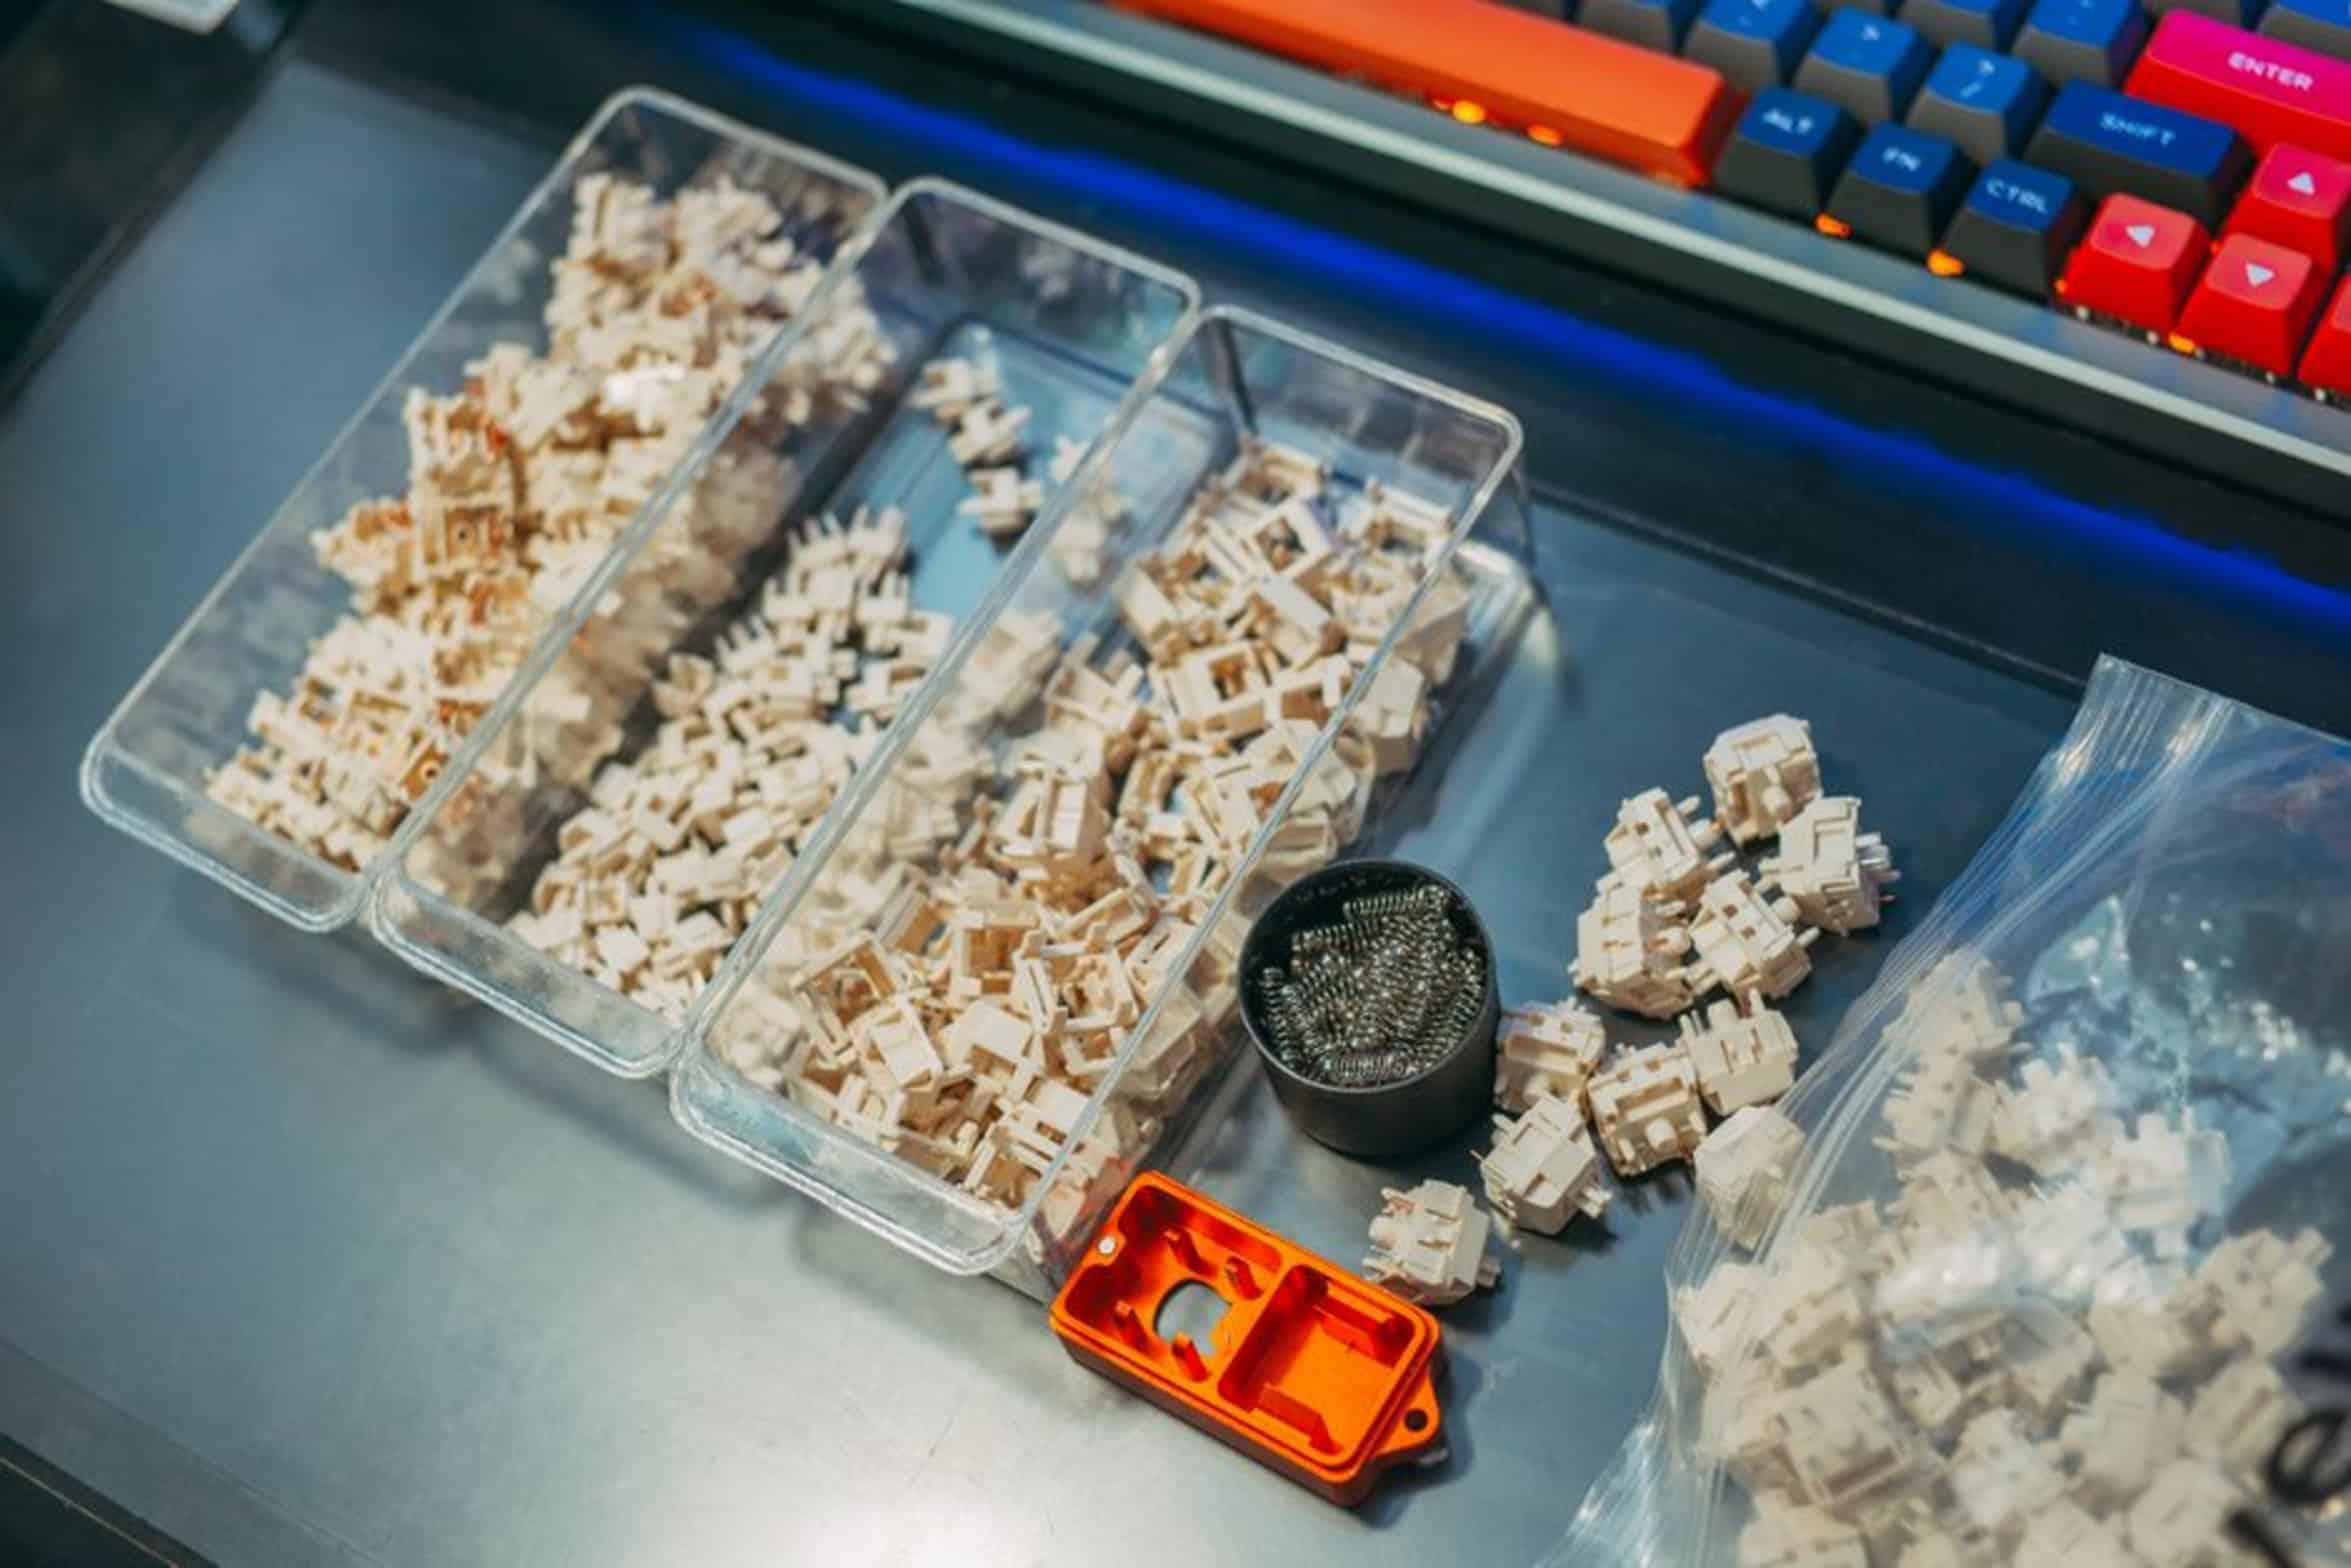
Not only that, but consistent care allows you to avoid ground-in grit wearing down the contact points, extending the life of your keyboard. Don’t let it get so caked on that you have no choice but to give it an all-out beating. Smaller, more frequent care is more effective, and easier.
Bottom line: Treat your keyboard like any other tool and give it a little love. Daily abuse is a given. A combination of air, brush and periodic vacuuming help keep your keyboard going strong.
Try this if you are in doubt. Use air to loosen, a brush to agitate, and a vacuum to catch. For really bad scenarios, take the caps off.
The tactile feedback will make your fingers happy. Your typing speed will be too.