
Nothing ruins fresh paint job on automotive or furnitures projects like orange peel. You spent hours preparing, mixing color, and getting the gun dialed in. Pull the trigger and watch wet film settle into a texture that looks like skin of a citrus fruit…
Looking just like an orange peel. No, it’s not smooth. No, it doesn’t look professional.
And yes, it’s frustrating. It’s happened to us all: we need to refinish something, whether it be a table or old car. When these people wants a glass smooth surface, they end up with orange peel.
This phenomenon is also known as orange peel. It plagues automotive painters who work on vintage cars and furniture maker trying to restore their tables. While it is not necessarily a death sentence, it isn’t usually one either.
It just takes some human error, some fluid dynamics, and some physics to make the puzzle solve itself most of the time. Once you know what causes this behavior in your paint, you can prevent it before ever grabbing a sanding block. Most often, however, it stem from way the paint breaks into droplets.
How to Fix and Prevent Spray Gun Orange Peel
What Is Orange Peel
In that sense, think about what happens when you pull the trigger on your spray gun (be it an old-school conventional one or an HVLP). The spray gun attempts to turn the liquid into tiny droplets. Those droplets then travels through the air to the substrate.
Then, before drying, those droplets recombine and form a uniform layer of film. If the paint hits surface either too wet or with overly large drops, they don’t blend well. Instead, they remain side by side like a stack of marbles.
That’s orange peel. It is simply bad leveling and flow.
How Spray Guns Create Texture
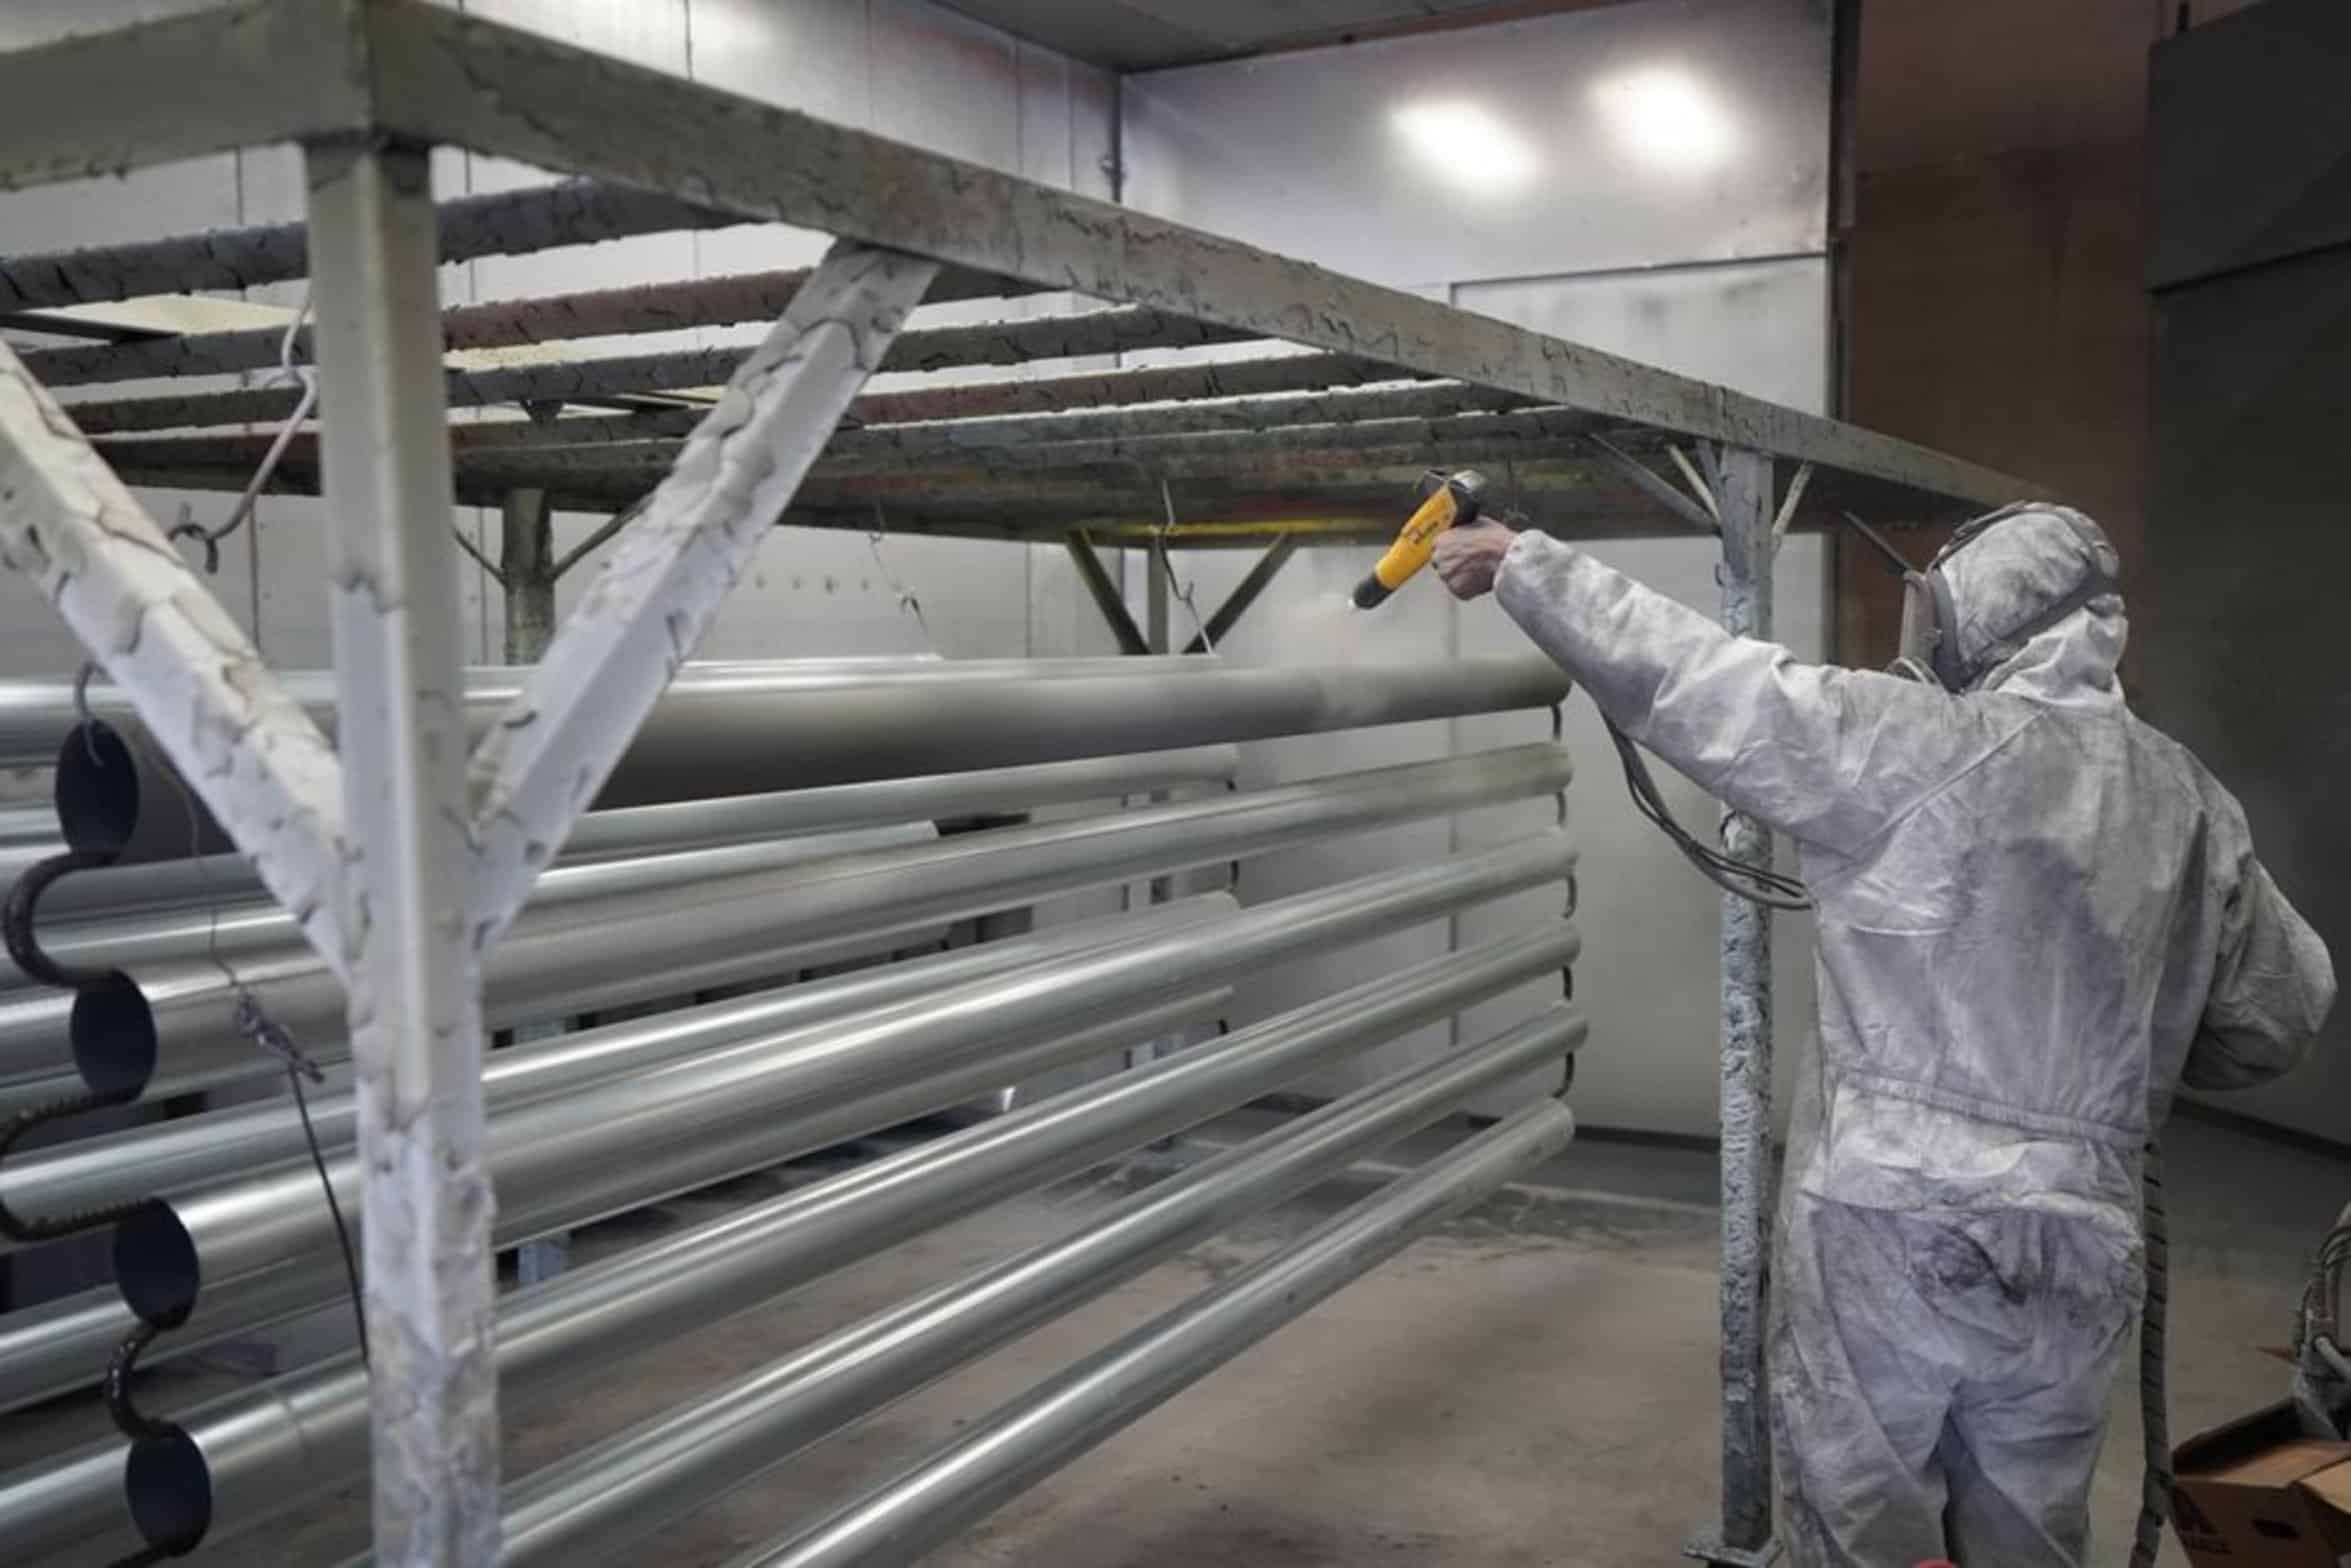
The first variable to check is pressure.
A lot of painters has an urge to just crank the air pressure as hard as they can to get as much material on the part as possible. Wrong! Doing so will cause a turbulent spray pattern which in turn can bounce big droplets back off the piece.
Too little pressure won’t give the material enough force to be broken into fine spray. So where’s the sweet spot? With most HVLP guns, it starts with the fan pattern.
Adjusting Air Pressure
Set that first, then tweak the air pressure at regulator until the spray has a soft, foggy appearance. There should not be a sharp or well-defined spray. If the spray appear like a solid cone, you’re under-pressurizing.
If it’s a wide, harsh fan, you’re probably over-pressuring. The other factor of viscosity is also critical. The more air you blow through it the better it will atomize, but if your paint is too viscous, it won’t atomize well.
Managing Paint Viscosity
It come out in chunks. Chunks fall onto surface and dry up before leveling. Unless it’s a heavy enamel or single stage urethane, just about every time you’ll have to thin it down.
Check the tech data sheet from manufacturer for the proper reduction ratio. One frequent blunder is not using the proper reducer for ambient conditions. Slow reducers used in a hot garage = runs because the paint stays wet too long.
Fast reducers used in a cold shop = runs because the paint dries too fast and locks in orange peel before the paint has a chance to level.
Correct Spray Distance
How far you hold the gun from the panel is more important than most realize. If you hold it too closely, solvent vapors gets trapped between surface and the gun.
This creates a turbulent air pocket that disrupts the atomization. That can lead to solvent popping. If you hold the gun too far out, the solvents will have evaporated by the time the paint particles make contact with the object.
They’re already dry and cannot flow. For HVLP guns, six to eight inches is generally considered rule of thumb. Maintain even distance and keep your wrist steady.
As you approach the panel’s edge, resist moving the gun closer, this is a surefire way to ruin what would of otherwise been a good pass.
Applying Proper Coat Thickness
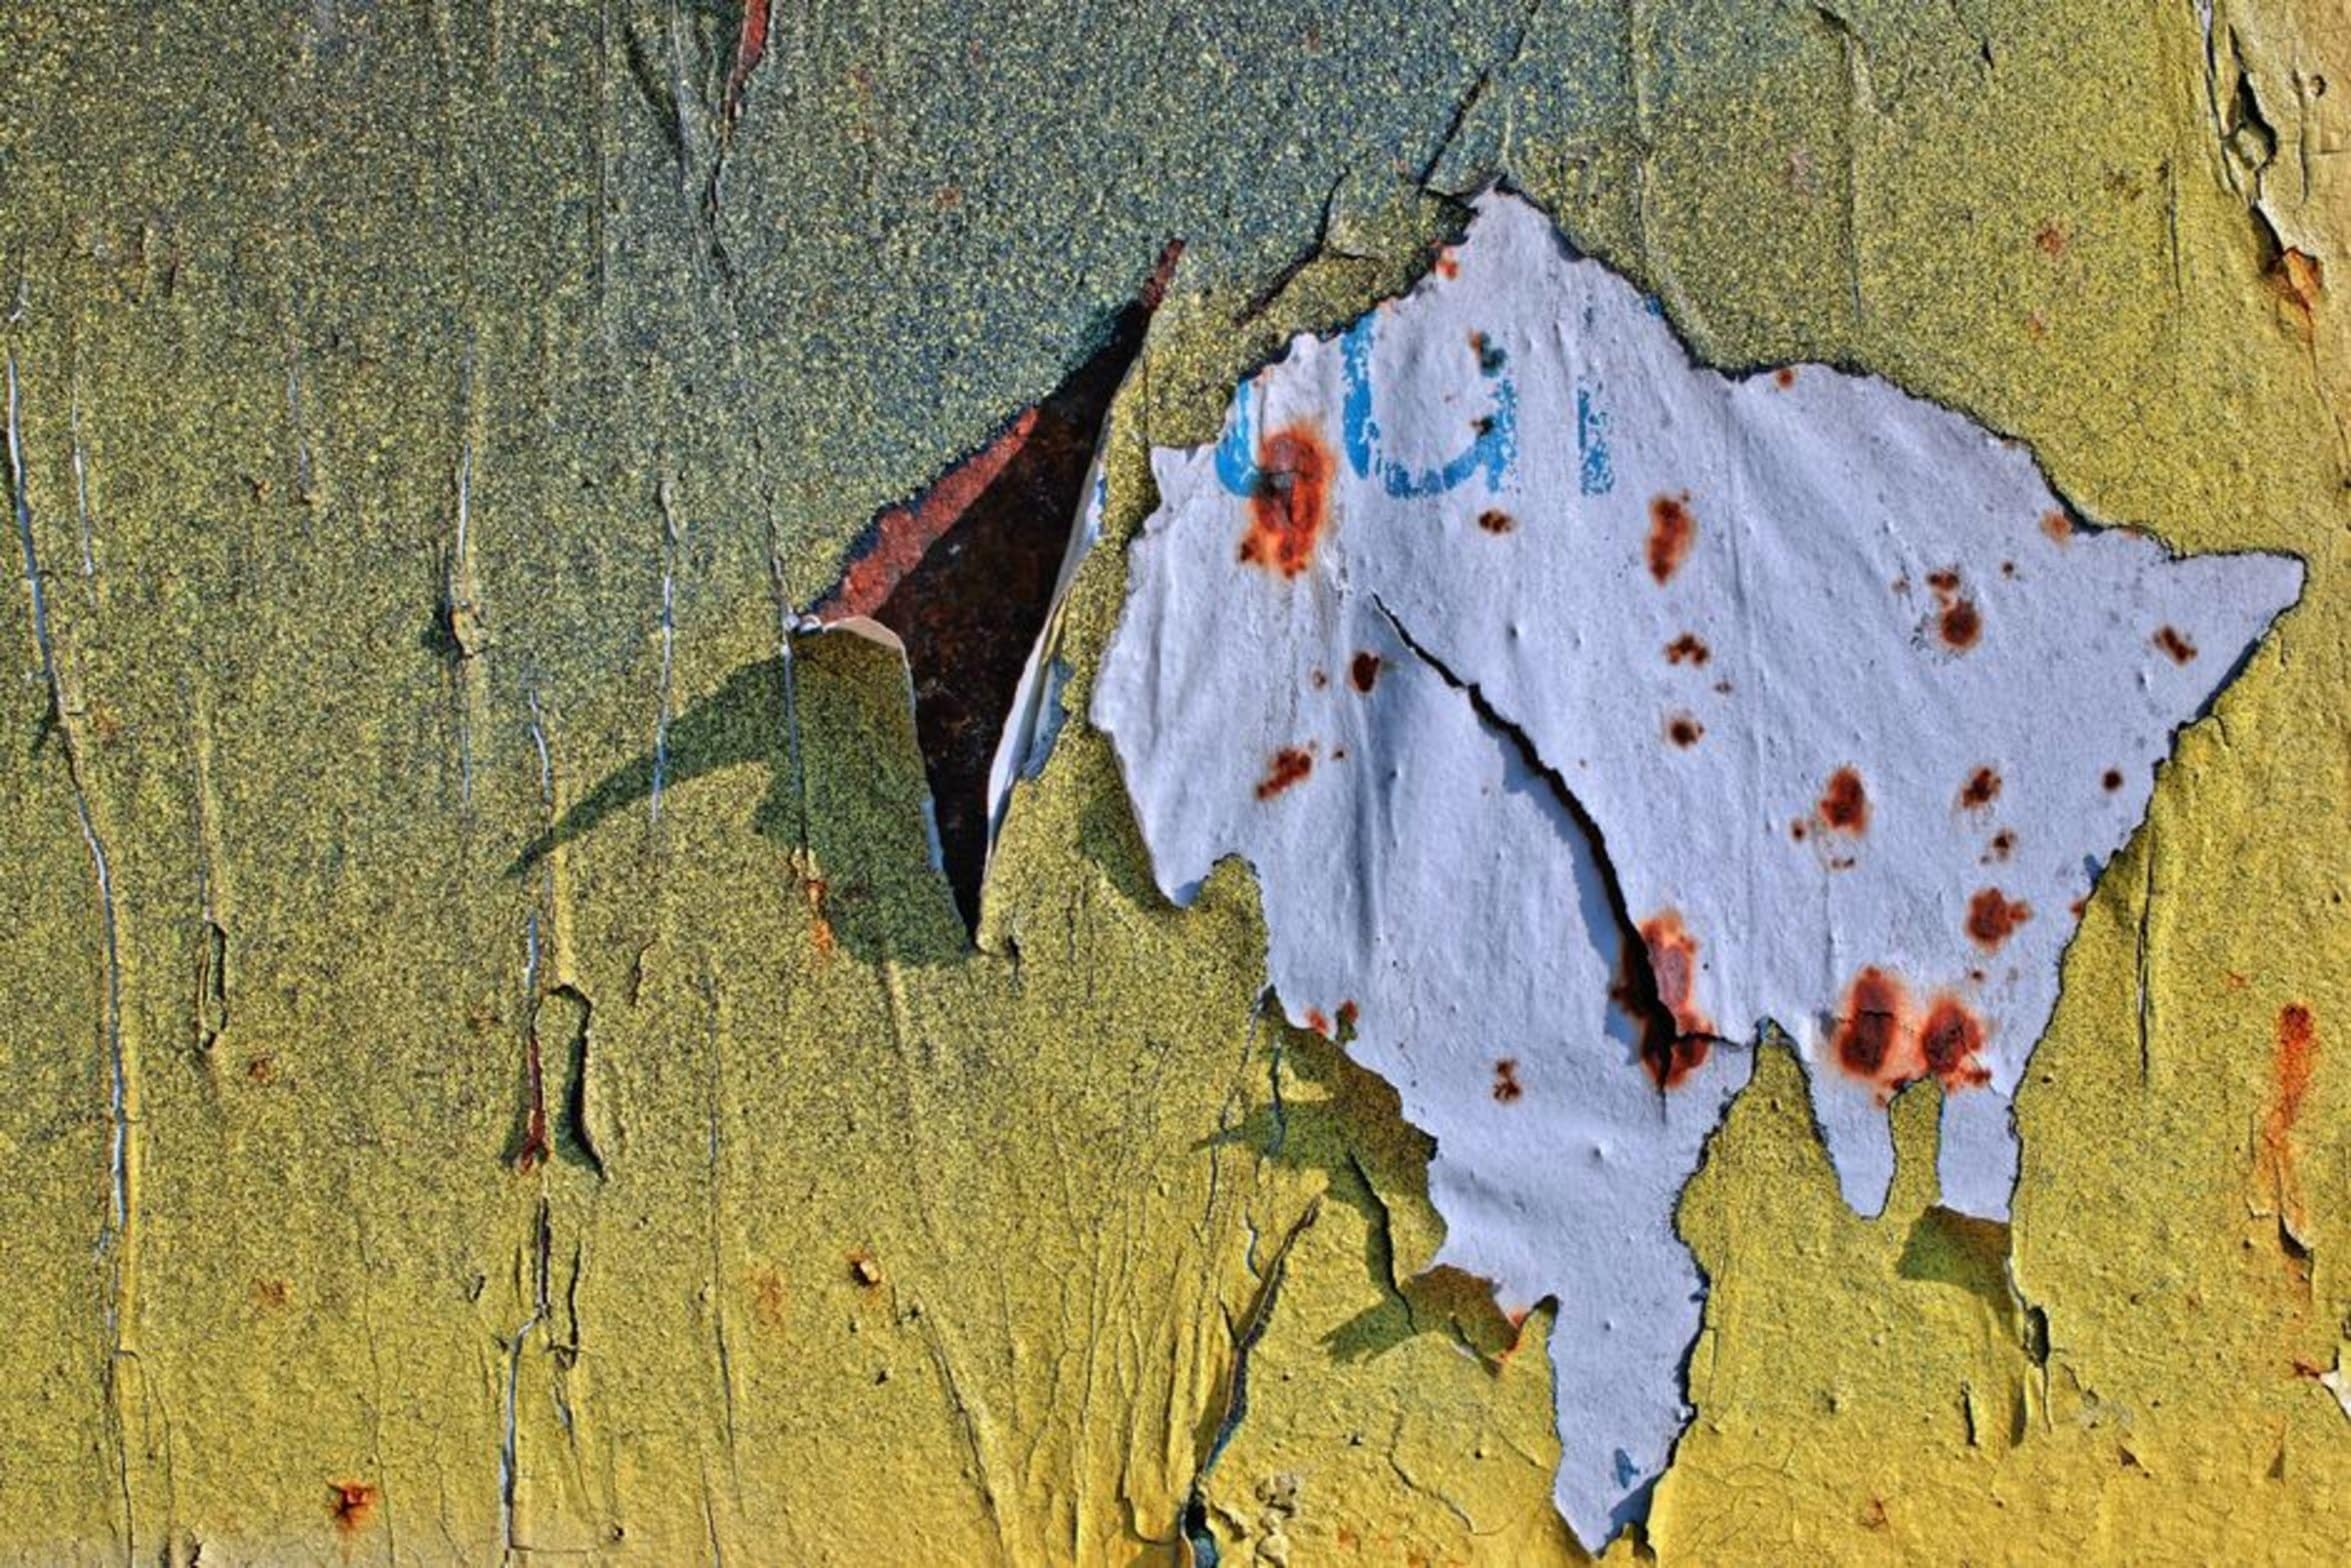
Another big offender is over spraying. Some painters think that they should apply 3 thick coats rather then 2 medium coats.
That is not true. Thick coats stresses the drying film and trap solvent. As the paint dries its weight causes the paint to pool and sag.
Meanwhile the surface skin tries to dry too. Tension between this and what is below cause texturing. Overlapping thin passes let each coat flash off just enough until next is laid down.
This gradually builds up the film without stress. It allows the solvents time to get out. When you see the last pass is still shiny and wet, wait a min. Let it dull just a bit.
Lay on the next. If caught in time, orange peel is easier fixed than avoided. The sooner you do something about it the better.
Fixing Orange Peel With Sanding
Once the paint is cured you will want to try wet sanding if it’s only a slight orange peel issue. Use fine grit sandpaper, something around 2000 grit or 1500 grit. Keep sanding until you can feel that the surface is even.
It should be smooth all over. Do not sand until you see the primer or bare metal. You just want to knock down high spots.
Once you’ve sanded through the texture until it feels smooth, apply a compound on the spot. Follow with a finer polish to make it glossy again. Sometimes, depending on how bad the orange peel is, the sanding won’t work.
You’ll have to go back to primer and respray.
Preventing Future Issues
Don’t want orange peel? Patience and process are the keys.
Before you lay a single drop of paint on your project, dial it in on some scrap material. Adjust your gun settings. Check your viscosity.
Check your distance. Check your pressure. Don’t make drastic changes.
Just make small ones. There’s no such thing as “smooth by mistake.” If you control the variables that control how the paint behaves in flight, you’ll get a smooth finish every time. Learn to master these things and you won’t fight with your equipment anymore.
You’ll produce flawless results. That little adjustment here or there makes all the difference between an amateur finish and a professional finish.
